Lemon Rosemary Beef – Juicy & Flavorful Recipe
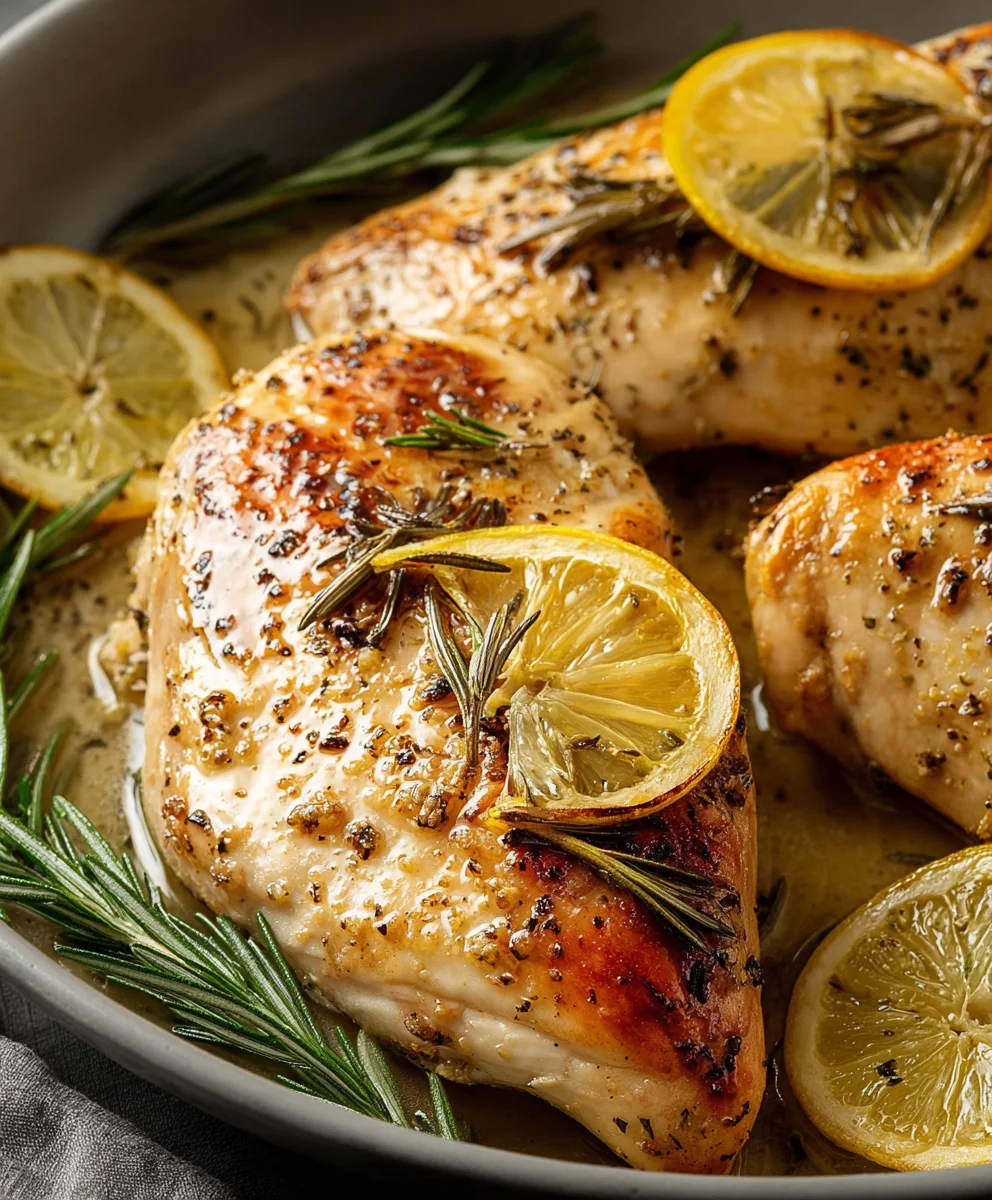
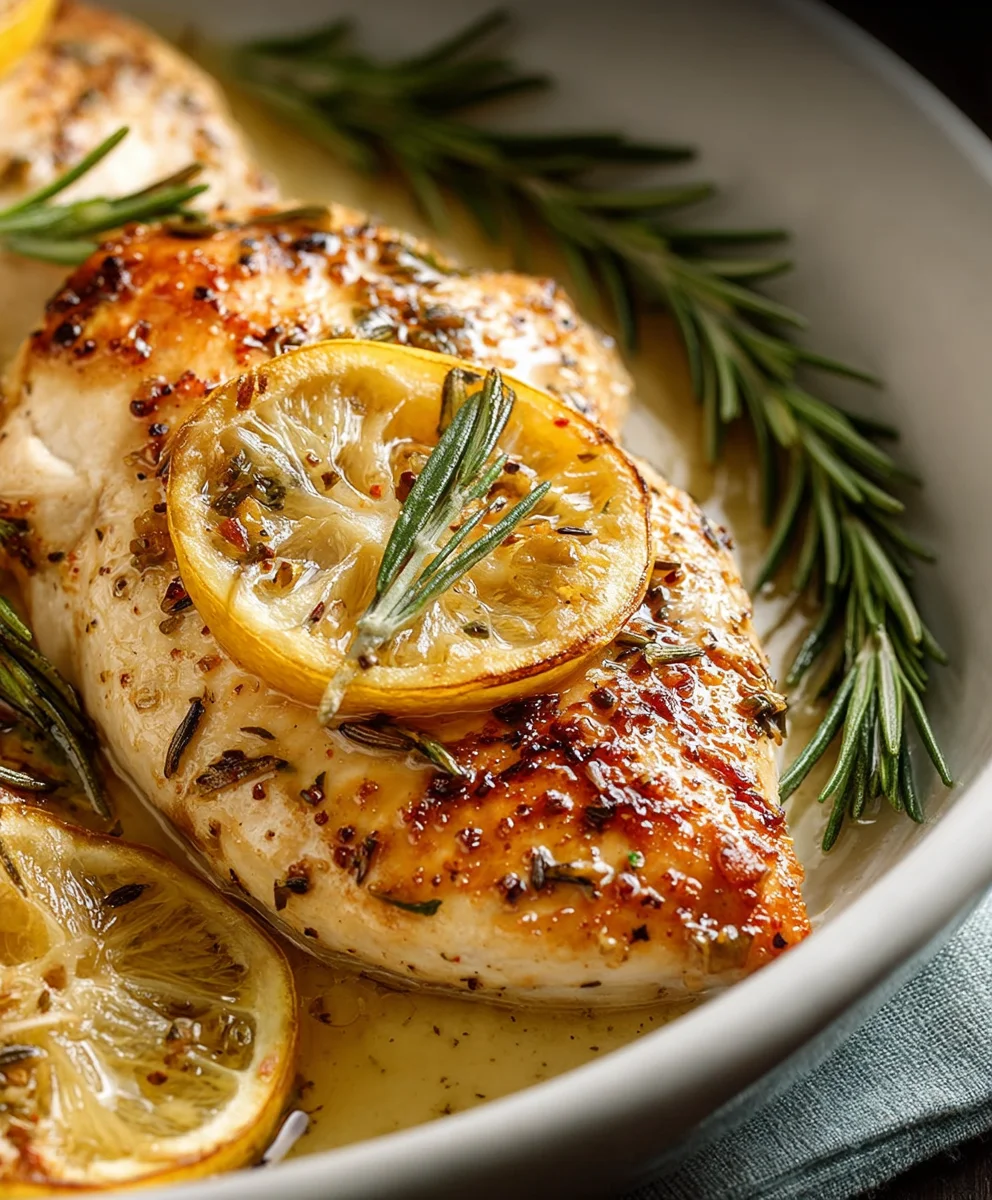
Lemon Rosemary Chicken is more than just a meal; it’s a fragrant symphony of bright citrus and earthy herbs that instantly transports you to sun-drenched Mediterranean kitchens. There’s a reason this dish is a beloved classic, gracing tables for weeknight dinners and special occasions alike. It’s the perfect balance of simple elegance and satisfying flavor. What truly sets Lemon Rosemary Chicken apart is its incredible versatility and the way the humble ingredients come together to create something truly magical. The tangy lemon cuts through the richness of the chicken, while the aromatic rosemary infuses every bite with a warm, comforting essence. It’s the kind of recipe that feels both comforting and sophisticated, making it an absolute winner for anyone looking to impress without spending hours slaving over the stove. Get ready to fall in love with this unforgettable preparation of Lemon Rosemary Chicken.
Ingredients:
- 4 thin-sliced boneless, skinless chicken breasts
- 1 teaspoon kosher salt
- 10-12 cranks fresh-ground black pepper
- 1 tablespoon olive oil, plus extra if needed
- 4 cloves garlic, minced
- 3 tablespoons fresh rosemary, chopped
- ¾ cup low-sodium chicken broth
- ½ cup dry white grape juice (or extra broth if you prefer to avoid the sweetness)
- 2 tablespoons lemon juice (freshly squeezed from about 1 medium lemon)
- 2 tablespoons unsalted butter
- Extra fresh rosemary for garnish
- Fresh Italian parsley, chopped, for garnish
- Lemon wedges for serving
Preparing the Chicken
Seasoning the Chicken Breasts
Begin extract by preparing your chicken breasts. Ensure they are thin-sliced; if not, you can butterfly thicker breasts and then slice them horizontally to achieve this. Pat the chicken breasts completely dry with paper towels. This step is crucial for achieving a beautiful golden-brown sear. Once dry, generously season both sides of each chicken breast with the kosher salt and the fresh-ground black pepper. Don’t be shy with the seasoning – it really brings out the flavor of the chicken. Place the seasoned chicken aside while you prepare the other components of the dish.
Searing the Chicken
Achieving a Golden-Brown Crust
Place a large skillet, preferably one that is oven-safe if you have one, over medium-high heat. Add the tablespoon of olive oil to the hot skillet. You want the oil to shimmer but not smoke excessively. Carefully add the seasoned chicken breasts to the hot skillet, ensuring not to overcrowd the pan. Cook in batches if necessary to allow each piece of chicken to sear properly. Sear the chicken for about 3-4 minutes per side, or until it develops a nice golden-brown crust. The thin-sliced nature of the chicken means it will cook relatively quickly, so keep a close eye on it to prevent overcooking. Once seared on both sides, remove the chicken from the skillet and set it aside on a clean plate. It will not be fully cooked at this stage, but the searing locks in the juices.
Building the Flavorful Sauce
Aromatic Foundation
Reduce the heat under the same skillet to medium. If the pan looks a bit dry, you can add another teaspoon of olive oil. Add the minced garlic and the chopped fresh rosemary to the skillet. Sauté for about 30-60 seconds, stirring constantly, until the garlic is fragrant and the rosemary releases its lovely aroma. Be careful not to burn the garlic, as this can turn bitter. This step infuses the oil with fantastic flavor, which will form the base of our delicious sauce.
Deglazing and Simmering
Pour in the low-sodium chicken broth and the dry white grape juice (or extra broth if you’ve opted out of the juice). Use a wooden spoon or spatula to scrape up any browned bits that are stuck to the bottom of the skillet. These browned bits, called fond, are packed with flavor and will enrich the sauce. Bring the liquid to a simmer and let it cook for about 3-5 minutes, allowing the flavors to meld and the liquid to reduce slightly. This creates a more concentrated and flavorful sauce.
Finishing the Dish
Incorporating Lemon and Butter
Stir in the fresh lemon juice. The brightness of the lemon will cut through the richness of the sauce and complement the rosemary beautifully. Now, add the butter to the skillet, one tablespoon at a time, whisking gently until it’s fully melted and incorporated into the sauce. This is called “mounting” the sauce with butter and gives it a silky, luxurious texture and a wonderful glossy finish. Continue to whisk until the sauce is smooth and emulsified. Taste the sauce and adjust seasoning if necessary, adding a pinch more salt or pepper if needed.
Returning Chicken to the Pan
Gently return the seared chicken breasts to the skillet, nestling them into the simmering sauce. Spoon some of the sauce over the chicken. Cover the skillet or, if using an oven-safe skillet, transfer it to a preheated oven at 375°F (190°C). If cooking on the stovetop, let it simmer gently for another 5-7 minutes, or until the chicken is cooked through and reaches an internal temperature of 165°F (74°C). The sauce will continue to thicken slightly and coat the chicken beautifully.
Serving Your Lemon Rosemary Chicken
Garnishing and Presentation
Once the chicken is cooked through and the sauce has thickened to your liking, remove the skillet from the heat. Arrange the chicken breasts on serving plates. Spoon a generous amount of the fragrant lemon rosemary sauce over each piece of chicken. Garnish with extra fresh rosemary sprigs and a sprinkle of chopped fresh Italian parsley for a pop of color and freshness. Serve immediately with lemon wedges on the side, allowing each person to add an extra squeeze of lemon if they desire. This dish pairs wonderfully with rice, pasta, or a simple green salad.
Conclusion:
There you have it – a simple yet elegant way to create delicious Lemon Rosemary Chicken that’s perfect for any occasion. This recipe is designed to be forgiving and incredibly flavorful, bringin extractg together bright citrus notes with the earthy aroma of rosemary for a truly satisfying meal. The beauty of this dish lies in its versatility; it’s equally at home as a weeknight dinner with your favorite side of steamed vegetables or roasted potatoes, or as the star of a more elaborate Sunday feast. Don’t be afraid to experiment! I encourage you to make this Lemon Rosemary Chicken your own. Whether you try different herbs, add a splash of white grape juice to the marinade, or serve it over a bed of creamy polenta, the possibilities are endless.
Frequently Asked Questions:
Can I prepare the Lemon Rosemary Chicken ahead of time?
Absolutely! You can marinate the chicken for up to 24 hours in advance. This allows the flavors to meld beautifully and tenderize the chicken even further. Just store it in an airtight container in the refrigerator.
What are some good side dishes to serve with Lemon Rosemary Chicken?
This dish pairs wonderfully with a variety of sides. Consider roasted asparagus, a fresh green salad with a lemon vinaigrette, creamy mashed potatoes, or fluffy quinoa. Rice pilaf is also a fantastic option!
Can I use other types of chicken cuts?
Yes, you can! While bone-in chicken pieces like thighs and drum extractsticks lend themselves well to longer cooking times and retain moisture, boneless, skinless chicken breasts work too. Just adjust the cooking time to prevent them from drying out. You might want to sear them first and then finish them in the oven.
Lemon Rosemary Beef – Juicy & Flavorful Recipe
A simple and flavorful recipe for tender, juicy beef infused with bright lemon and aromatic rosemary, coated in a luscious sauce.
Ingredients
-
4 thin-sliced boneless beef steaks (e.g., sirloin or flank)
-
1 teaspoon kosher salt
-
10-12 cranks fresh-ground black pepper
-
1 tablespoon olive oil, plus extra if needed
-
4 cloves garlic, minced
-
3 tablespoons fresh rosemary, chopped
-
¾ cup low-sodium beef broth
-
½ cup white grape juice (or extra broth)
-
2 tablespoons lemon juice (freshly squeezed from about 1 medium lemon)
-
2 tablespoons unsalted butter
-
Extra fresh rosemary for garnish
-
Fresh Italian parsley, chopped, for garnish
-
Lemon wedges for serving
Instructions
-
Step 1
Prepare the beef steaks by patting them completely dry with paper towels. This is essential for achieving a good sear. Generously season both sides of each steak with kosher salt and fresh-ground black pepper. Set aside. -
Step 2
Heat a large skillet over medium-high heat and add 1 tablespoon of olive oil. Once the oil shimmers, carefully add the seasoned beef steaks, ensuring not to overcrowd the pan. Sear for about 3-4 minutes per side, or until a nice golden-brown crust forms. Remove the beef from the skillet and set aside; it will not be fully cooked yet. -
Step 3
Reduce the skillet heat to medium. If needed, add another teaspoon of olive oil. Add the minced garlic and chopped fresh rosemary, sautéing for 30-60 seconds until fragrant, being careful not to burn the garlic. -
Step 4
Pour in the low-sodium beef broth and white grape juice (or extra broth). Use a spoon to scrape up any browned bits from the bottom of the skillet. Bring to a simmer and cook for 3-5 minutes to allow flavors to meld and the liquid to reduce slightly. -
Step 5
Stir in the fresh lemon juice. Add the butter, one tablespoon at a time, whisking gently until fully melted and incorporated into the sauce, creating a smooth, glossy texture. -
Step 6
Return the seared beef steaks to the skillet, nestling them into the sauce. Spoon some sauce over the beef. Cover the skillet and let simmer gently for another 5-7 minutes, or until the beef is cooked through to your desired doneness (internal temperature of 135°F/57°C for medium-rare, 145°F/63°C for medium). -
Step 7
Remove the skillet from the heat. Arrange the beef steaks on serving plates and spoon a generous amount of the lemon rosemary sauce over each piece. Garnish with extra fresh rosemary sprigs and chopped Italian parsley. Serve immediately with lemon wedges on the side.
Important Information
Nutrition Facts (Per Serving)
It is important to consider this information as approximate and not to use it as definitive health advice.
Allergy Information
Please check ingredients for potential allergens and consult a health professional if in doubt.