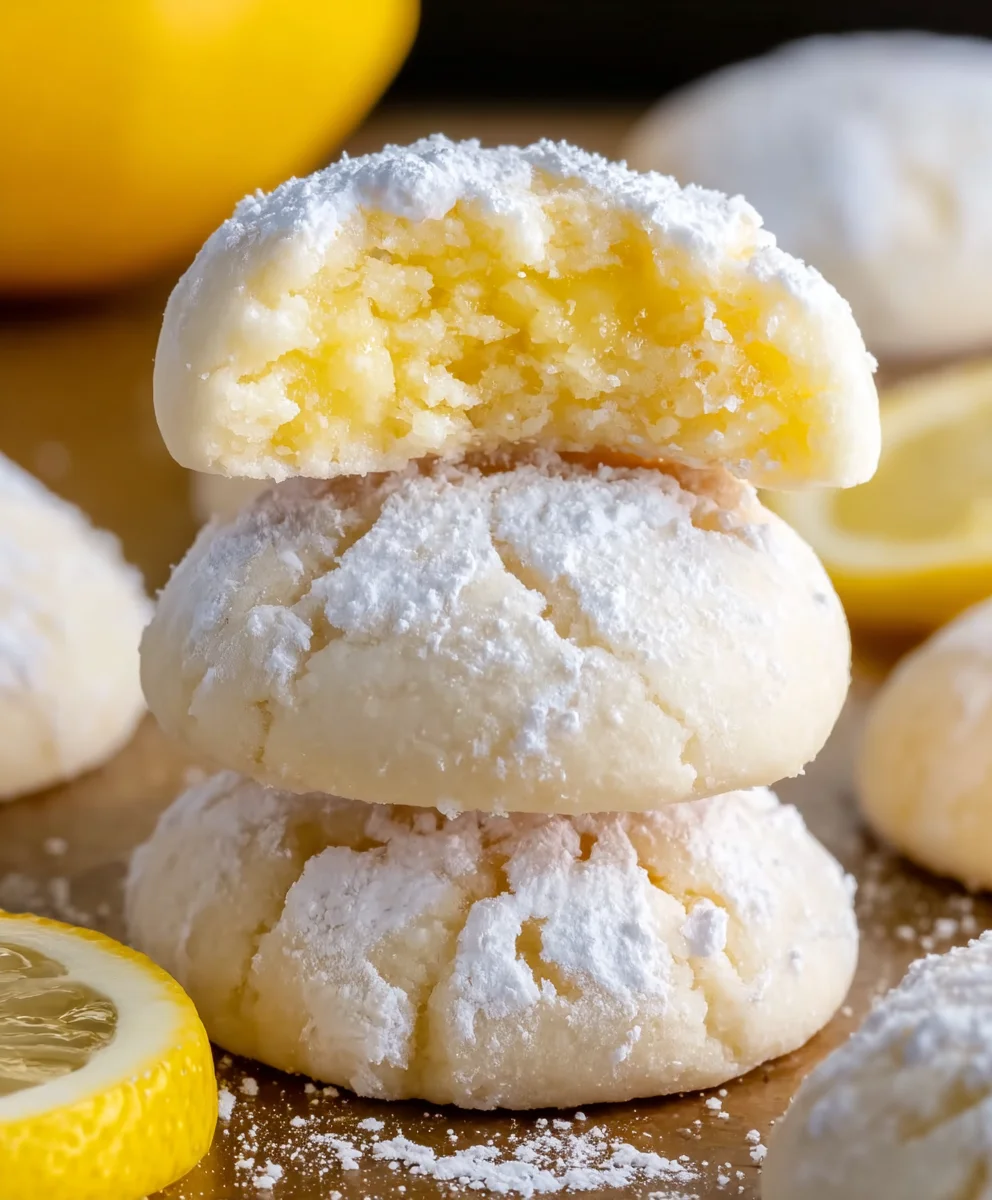
Easy Lemon Meltaway Cookies – Simply Delicious
Lemon Meltaway Cookies are the epitome of delicate sweetness and bright citrus, a delightful treat that melts in your mouth with every bite. If you’ve ever craved a cookie that’s simultaneously light and utterly satisfying, then you’ve found your match. These aren’t your average crum extractbly cookies; they possess a unique texture that’s almost powdery, dissolving effortlessly on your tongue. It’s this magical melt-away quality, combined with the zesty punch of fresh lemon, that makes Lemon Meltaway Cookies so incredibly beloved. They evoke feelings of sunshine, childhood memories, and simple joys, making them perfect for afternoon tea, celebratory gatherings, or just a moment of personal indulgence. What truly sets these cookies apart is the perfect balance – they’re sweet without being cloying, and the lemon flavor is pronounced and refreshing, never artificial. Get ready to experience pure cookie bliss!
Ingredients:
- 1 cup (2 sticks) unsalted butter, softened to room temperature
- 3/4 cup granulated white sugar
- 1 large egg
- Zest of one medium lemon (about 1-2 tablespoons)
- 1/2 teaspoon baking powder
- 1/4 teaspoon salt
- 2 cups all-purpose flour
- 2 cups confectioners’ sugar (also known as powdered sugar or icing sugar)
- 3 tablespoons fresh lemon juice
Preparing the Cookie Dough
Creaming the Butter and Sugar
Begin extract by ensuring your unsalted butter is at true room temperature. This means it should be soft enough to indent easily with your finger but not so soft that it’s melting. In a large mixing bowl, cream together the softened butter and the granulated white sugar. I like to use an electric mixer for this, starting on a low speed and gradually increasing to medium-high. Beat them together for about 3-5 minutes, or until the mixture becomes light, fluffy, and pnon-alcoholic ale in color. This creaming process is crucial for incorporating air into the dough, which will contribute to the tender texture of our Lemon Meltaway Cookies. Scrape down the sides of the bowl occasionally to ensure all the butter and sugar are evenly combined.
Adding the Wet Ingredients and Flavorings
Once the butter and sugar mixture is beautifully creamy, it’s time to add the egg. Crack the large egg into the bowl and beat it in until it’s fully incorporated. Don’t worry if the mixture looks a little curdled at this stage; it will come together. Next, add the zest of one medium lemon. Using a microplane or a fine grater is ideal for zesting, as it allows you to get the fragrant oils from the peel without grating the bitter white pith underneath. The lemon zest will infuse our cookies with a bright, zesty aroma and flavor, making them truly “meltaway.”
Incorporating Dry Ingredients
In a separate, smaller bowl, whisk together the all-purpose flour, baking powder, and salt. This ensures that the leavening agent (baking powder) and salt are evenly distributed throughout the flour, preventing any pockets of saltiness or uneven rising in the cookies. Gradually add this dry mixture to the wet ingredients in the large bowl, mixing on a low speed until just combined. Be careful not to overmix the dough at this stage. Overmixing can develop the gluten in the flour too much, resulting in tough cookies. You want to mix just until you no longer see streaks of dry flour. The dough should be soft and slightly sticky at this point.
Chilling and Shaping the Dough
Chilling the Dough for Easier Handling
Now, this is a very important step for creating perfectly shaped Lemon Meltaway Cookies. Turn the dough out onto a sheet of plastic wrap. Use the plastic wrap to gather the dough into a cohesive ball, then flatten it slightly into a disc. Wrap the disc tightly in the plastic wrap and refrigerate for at least 1 hour, or until firm. Chilling the dough makes it much easier to handle and roll out, preventing it from spreading too much during baking. You can even chill it overnight if that’s more convenient for you. A firm dough is key to achieving those neat, uniform cookies that we desire.
Rolling and Cutting the Cookies
Once the dough is well-chilled and firm, unwrap it. Lightly flour your work surface and your rolling pin. Roll out the dough to about 1/4-inch thickness. The thickness is important for achieving the characteristic “meltaway” texture; too thin and they’ll be crispy, too thick and they may not bake through evenly. Using your favorite cookie cutters, cut out the shapes. I love using simple rounds or squares for these, but any festive shape will do. Carefully transfer the cut-out cookies to baking sheets lined with parchment paper, leaving about 1-2 inches of space between them. The parchment paper will prevent sticking and make for easy cleanup. Gather the scraps, gently re-roll them once, and cut out more cookies. Try not to overwork the dough when re-rolling.
Baking and Glazing
Baking to Golden Perfection
Preheat your oven to 350°F (175°C). Bake the cookies for 8-12 minutes, or until the edges are lightly golden brown. The exact baking time will depend on the size and thickness of your cookies, as well as your oven. Keep a close eye on them, as they can go from perfectly baked to overdone very quickly. You want them to be set andgin extractst beginning to show a hint of color around the edges. Once baked, let the cookies cool on the baking sheet for a few minutes before carefully transferring them to a wire rack to cool completely. Allowing them to cool slightly on the baking sheet helps them firm up before moving.
Creating the Zesty Lemon Glaze
While the cookies are cooling completely, prepare the glaze. In a medium bowl, whisk together the confectioners’ sugar and the fresh lemon juice until smooth. You’re looking for a thick but pourable consistency. If it’s too thick, add a tiny bit more lemon juice, a teaspoon at a time. If it’s too thin, whisk in a little more confectioners’ sugar. The fresh lemon juice is crucial here for that authentic, bright lemon flavor that defines these cookies.
Glazing and Finishing Touches
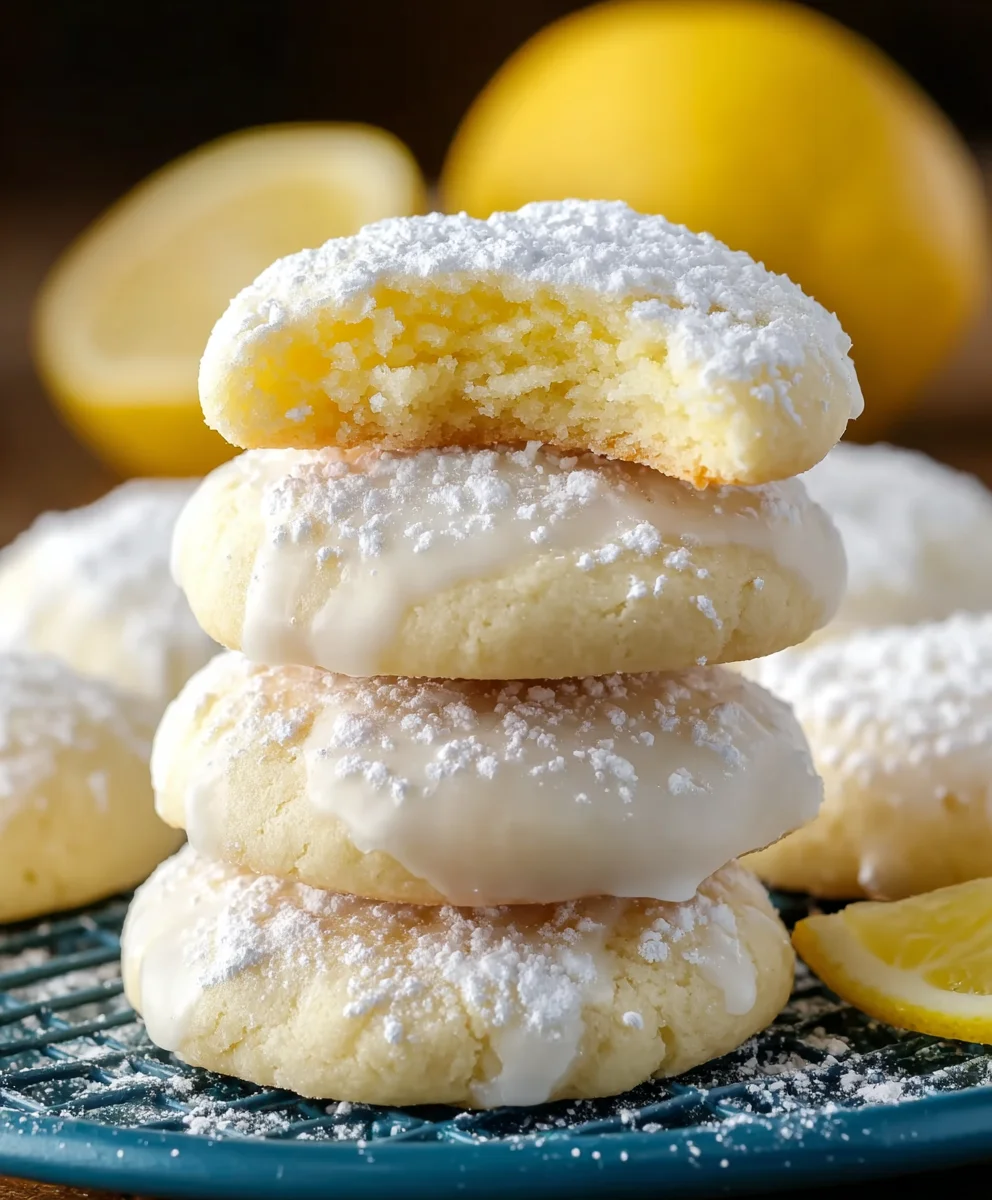
Once the cookies have cooled completely, it’s time to glaze them. You can dip each cookie into the glaze, or use a spoon or a small offset spatula to spread the glaze over the tops. For a more decorative finish, you can drizzle the glaze over the cookies using a fork or a piping bag with a fine tip. Allow the glaze to set completely before stacking or storing the cookies. This can take anywhere from 30 minutes to a couple of hours, depending on the humidity. The glaze will harden slightly, creating a lovely sweet and tangy contrast to the tender cookie beneath. You’ll be left with beautiful, melt-in-your-mouth cookies with a delightful lemon punch.
Conclusion:
You’ve now got the recipe for the most delightful Lemon Meltaway Cookies! These delicate treats are incredibly easy to make and deliver a burst of bright, citrusy flavor that’s perfect for any occasion. Whether you’re looking for a simple afternoon pick-me-up, a charming addition to a tea party, or a sweet treat to share with loved ones, these cookies are sure to impress. Don’t be afraid to get creative with your decorations or add a touch more zest for an even more intense lemon punch. I encourage you to give these Lemon Meltaway Cookies a try; you’ll be delighted by how quickly they become a favorite!
For serving, these cookies are wonderful on their own, but they also pair beautifully with a cup of black tea or a chilled glass of lemonade. You can also get creative with variations! Consider adding a hint of lavender for a floral note, or a touch of finely chopped candied gin extractger for a bit of warmth. A simple dusting of powdered sugar or a light drizzle of lemon glaze can elevate their appearance even further.
Frequently Asked Questions:
Can I make Lemon Meltaway Cookies ahead of time?
Absolutely! Lemon Meltaway Cookies are best when stored in an airtight container at room temperature. They can be made up to 3-4 days in advance, and their flavor actually tends to deepen slightly over time, making them a perfect make-ahead treat for parties or gatherings.
My cookies are a little crum extractbly. What did I do wrong?
A slrum extracttly crumbly texture can sometimes happen if the dough is overmixed or if there isn’t quite enough moisture. Ensure you’re mixing until just combined. If the dough feels too dry, you can try adding a tiny bit more milk, a teaspoon at a time, until it comes together. Don’t overwork the dough, as this can also lead to a tougher cookie.
Easy Lemon Meltaway Cookies – Simply Delicious
Delicate and tender lemon meltaway cookies with a bright, zesty glaze that melts in your mouth.
Ingredients
-
1 cup (2 sticks) unsalted butter, softened to room temperature
-
3/4 cup granulated white sugar
-
1 large egg
-
Zest of one medium lemon (about 1-2 tablespoons)
-
1/2 teaspoon baking powder
-
1/4 teaspoon salt
-
2 cups all-purpose flour
-
2 cups confectioners’ sugar
-
3 tablespoons fresh lemon juice
Instructions
-
Step 1
In a large mixing bowl, cream together the softened butter and granulated sugar for 3-5 minutes until light, fluffy, and pale in color. -
Step 2
Beat in the egg until fully incorporated, then add the lemon zest and mix well. -
Step 3
In a separate bowl, whisk together flour, baking powder, and salt. Gradually add this dry mixture to the wet ingredients, mixing on low speed until just combined. Do not overmix. -
Step 4
Shape the dough into a disc, wrap tightly in plastic wrap, and refrigerate for at least 1 hour until firm. -
Step 5
Preheat oven to 350°F (175°C). Roll out the chilled dough to 1/4-inch thickness, cut into shapes, and bake for 8-12 minutes until edges are lightly golden. -
Step 6
While cookies cool, whisk together confectioners’ sugar and lemon juice for the glaze until smooth and pourable. -
Step 7
Once cookies are completely cool, dip, spread, or drizzle with the lemon glaze. Let the glaze set completely before storing.
Important Information
Nutrition Facts (Per Serving)
It is important to consider this information as approximate and not to use it as definitive health advice.
Allergy Information
Please check ingredients for potential allergens and consult a health professional if in doubt.