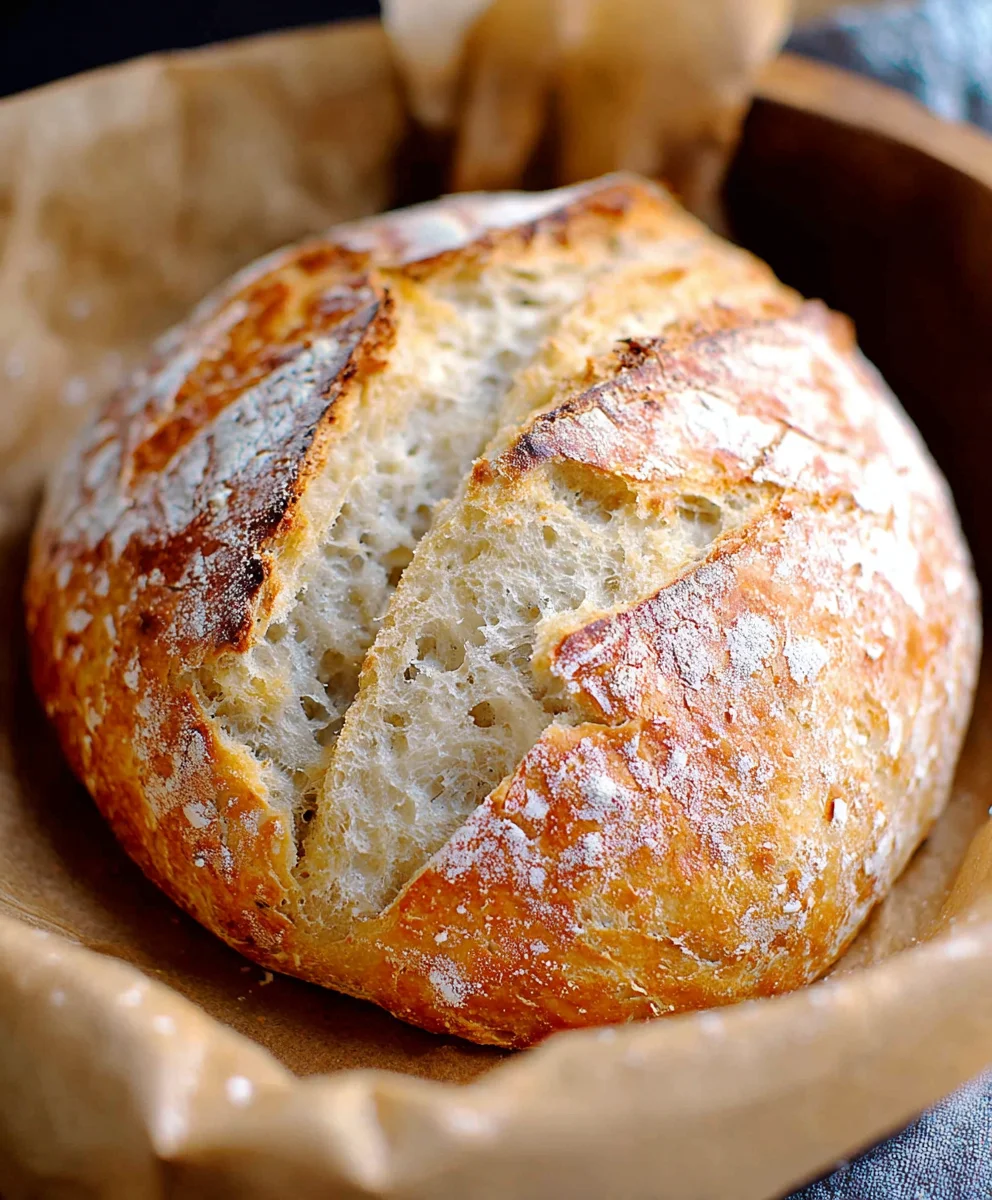
Easy Dutch Oven No-Knead Crusty Bread Recipe
Dutch oven no knead crusty bread is a culinary revelation that has taken home bakers by storm, and for good reason! There’s something incredibly satisfying about pulling a golden, crackling loaf from your oven, knowing you created it with minimal effort and maximum flavor. This isn’t just bread; it’s a testament to the magic that happens when simple ingredients meet a clever technique. People adore this bread because it delivers that sought-after bakery-quality crust and airy interior without requiring hours of kneading or specialized skills. The secret lies in the combination of a long, slow fermentation and the unique environment created by the Dutch oven, which traps steam to mimic a professional bread oven. The result is a loaf with a deeply caramelized, shatteringly crisp crust and a beautifully open crum extractb, perfect for slathering with butter, dipping into soup, or simply enjoying on its own. Prepare to impress yourself and everyone you share it with!
Ingredients:
- 1 1/2 cups warm water (about 100 degrees F)
- 1 packet yeast (active dry, instant, or quick rise – 2.25 teaspoons)
- 1 ½ teaspoons fine grain salt
- 3 1/4 cups all-purpose flour
Making the Dough
The beauty of Dutch oven no-knead crusty bread lies in its simplicity. We’re going to let time and fermentation do the heavy lifting for us. Begin extract by preparing your yeast. In a large mixing bowl, combine the 1 1/2 cups of warm water. It’s crucial that the water is warm, not hot, as too much heat can kill the yeast, and too little won’t activate it properly. Aim for that comfortable bathwater temperature, around 100-110 degrees Fahrenheit. Sprinkle the packet of yeast (or 2.25 teaspoons if you’re measuring it out) over the warm water. Give it a gentle stir and let it sit for about 5 to 10 minutes. You’ll know the yeast is active when it becomes foamy and bubbly on the surface, almost like a miniature science experiment. This indicates that the yeast is alive and ready to work its magic on our dough.
Once your yeast is frothy and happy, add the 1 ½ teaspoons of fine grain salt to the bowl. The salt is essential not only for flavor but also for controlling the yeast’s activity and strengthening the gluten structure of the dough. Next, add the 3 1/4 cups of all-purpose flour. Resist the urge to add more flour at this stage; the dough will seem quite shaggy and wet, and that’s exactly what we want for a no-knead recipe. Using a sturdy spoon or a rubber spatula, mix everything together until just combined. There’s no need for vigorous kneading or extensive mixing. We’re just aiming to incorporate the ingredients until no dry flour remains. The dough will be sticky and unmanageable, almost like a thick batter. This is perfectly normal and is the key to achieving that wonderful crusty exterior and airy interior. Cover the bowl tightly with plastic wrap or a damp kitchen towel. Place the bowl in a warm, draft-free spot in your kitchen. A slightly warm oven (turned off, of course!) is an ideal location. Let the dough rise for at least 12 to 18 hours, or even up to 24 hours. The longer it ferments, the more complex the flavor will become. You’ll notice a significant increase in volume, and the dough will become bubbly and aerated.
Shaping and Second Rise
After the long fermentation period, your dough will have more than doubled in size and will be beautifully bubbly and alive. This is where we move from a shaggy mass to something more manageable, though it will still be quite sticky. Generously flour a clean work surface. Gently scrape the dough out of the bowl and onto the floured surface. Try to handle the dough as little as possible; we don’t want to deflate all those precious air bubbles that have formed. Dust the top of the dough lightly with flour as well. Using floured hands or a bench scraper, gently shape the dough into a rough ball. You can do this by pulling the edges towards the center and tucking them underneath, creating a taut surface. Again, be gentle and don’t overwork it.
Once you have a loose ball, place it seam-side down onto a piece of parchment paper. This parchment paper will be your best friend for transferring the dough into the hot Dutch oven later. Lightly dust the top of the dough with a bit more flour. Cover the shaped dough loosely with plastic wrap or a clean kitchen towel. Let it rest for another 30 minutes to 1 hour while you preheat your oven. This second rise, or proofing, allows the dough to relax slightly and develop a bit more volume before baking, contributing to a lighter crum extractb.
Preheating and Baking
This is a critical step for achieving that signature crusty exterior. About 30 minutes before you plan to bake your bread, place your empty Dutch oven (lid on!) into the oven. Set the oven to 450 degrees Fahrenheit (230 degrees Celsius). Allowing the Dutch oven to preheat thoroughly is essential for creating the steamy environment needed for the bread to expand beautifully and develop a thick, crisp crust.
Once the oven and Dutch oven are thoroughly preheated, it’s time to get your bread into the heat. Carefully remove the hot Dutch oven from the oven, using oven mitts. Remove the lid. Using the parchment paper as handles, carefully lift the risen dough and gently lower it into the hot Dutch oven. It might be a bit awkward, but the parchment paper makes it much easier to manage. Place the lid back onto the Dutch oven securely. This lid traps the steam released from the dough as it bakes, mimicking the environment of a professional steam oven. Carefully place the lidded Dutch oven back into the preheated oven. Bake with the lid on for 30 minutes.
Finishing and Cooling
After 30 minutes with the lid on, the bread will have significantly puffed up and will likely have a pnon-alcoholic ale, almost white appearance. This is where we remove the lid to allow the crust to develop its beautiful golden-brown color and characteristic crispness. Carefully remove the Dutch oven from the oven. Remove the lid. You should see a wonderfully risen loaf within. Place the Dutch oven back into the oven, but this time, leave the lid off. Continue to bake for another 15 to 20 minutes, or until the crust is a deep golden brown and sounds hollow when tapped on the bottom. The exact time will depend on your oven. Once baked to perfection, carefully remove the Dutch oven from the oven. Using oven mitts, carefully lift the bread out of the Dutch oven (you can use the parchment paper to help lift it) and place it onto a wire cooling rack. It’s crucial to let the bread cool completely on the wire rack for at least 1 to 2 hours. This cooling period allows the interior to finish cooking and for the crust to firm up properly. Slicing into it too early will result in a gummy texture. Be patient; the aroma alone will tell you it’s worth the wait!

Conclusion:
There you have it! You’ve now unlocked the secret to creating incredibly delicious and beautifully crusty loaves of Dutch Oven No Knead Crusty Bread right in your own kitchen. This recipe is a true testament to the magic of simple ingredients and patient proofing, resulting in a loaf with a wonderfully airy interior and a satisfyingly chewy crust that’s perfect for any occasion.
Serving this Dutch Oven No Knead Crusty Bread is where the real fun begin extracts! It’s absolutely divine served warm, slathered with butter, or used to soak up rich sauces and stews. It also makes a fantastic base for bruschetta or a hearty sandwich. Feel free to experiment with variations! Adding a handful of fresh herbs like rosemary or thyme to the dough before proofing can impart a delightful aroma and flavor. A sprinkle of flaky sea salt on top before baking adds an extra touch of elegance and taste. Don’t be intimidated by the “no knead” aspect; the long fermentation does all the hard work for you, yielding incredible results with minimal effort. So, gather your ingredients, embrace the simplicity, and enjoy the process of baking your own perfect loaf of Dutch Oven No Knead Crusty Bread!
Frequently Asked Questions:
Why is my Dutch Oven No Knead Crusty Bread not getting a crusty enough exterior?
Ensuring a truly crusty exterior for your Dutch Oven No Knead Crusty Bread often comes down to steam. Make sure your Dutch oven is fully preheated with the lid on for at least 30 minutes. The trapped steam inside the pot during the initial baking phase is crucial for developing that signature crisp crust. Also, ensure you remove the lid for the last 15-20 minutes of baking to allow the crust to fully dry out and become golden brown and crunchy.
Can I use a different type of flour for this Dutch Oven No Knead Crusty Bread recipe?
While the recipe is optimized for all-purpose flour for its gluten development in the no-knead method, you can experiment with some variations. Substituting up to 25% of the all-purpose flour with whole wheat or rye flour can add a deeper flavor and denser texture. However, using 100% whole wheat flour might require adjustments to hydration as it absorbs liquid differently, and the gluten structure might not be as robust for a true “no knead” rise.
Easy Dutch Oven No-Knead Crusty Bread Recipe
A simple and rewarding recipe for making delicious crusty bread in a Dutch oven with no kneading required. The long fermentation process develops a rich flavor and a beautifully airy crumb, while the Dutch oven creates a perfect steamy environment for an exceptional crust.
Ingredients
-
1 1/2 cups warm water (about 100 degrees F)
-
1 packet yeast (active dry, instant, or quick rise – 2.25 teaspoons)
-
1 ½ teaspoons fine grain salt
-
3 1/4 cups all-purpose flour
-
Olive oil (for greasing)
-
Cornmeal (for dusting, optional)
Instructions
-
Step 1
In a large mixing bowl, combine warm water and yeast. Let sit for 5-10 minutes until foamy. Add salt and flour. Mix with a spoon or spatula until just combined and no dry flour remains. The dough will be shaggy and wet. Cover tightly and let rise in a warm, draft-free spot for 12-18 hours, or up to 24 hours. -
Step 2
Generously flour a clean work surface. Gently scrape the dough onto the surface, handling it as little as possible. Gently shape into a rough ball by pulling edges towards the center. Place seam-side down onto parchment paper. Dust lightly with flour. Cover loosely and let rest for 30-60 minutes while preheating. -
Step 3
About 30 minutes before baking, place an empty Dutch oven with the lid on into the oven and preheat to 450 degrees Fahrenheit (230 degrees Celsius). -
Step 4
Carefully remove the hot Dutch oven from the oven. Remove the lid. Using the parchment paper, carefully lift the dough and gently lower it into the hot Dutch oven. Place the lid back on securely. -
Step 5
Place the lidded Dutch oven back into the preheated oven and bake for 30 minutes. -
Step 6
Carefully remove the Dutch oven from the oven and remove the lid. Return the Dutch oven to the oven, lid off, and bake for another 15-20 minutes, or until the crust is deep golden brown and sounds hollow when tapped. -
Step 7
Carefully remove the bread from the Dutch oven using the parchment paper and place it on a wire cooling rack. Let cool completely for at least 1-2 hours before slicing.
Important Information
Nutrition Facts (Per Serving)
It is important to consider this information as approximate and not to use it as definitive health advice.
Allergy Information
Please check ingredients for potential allergens and consult a health professional if in doubt.