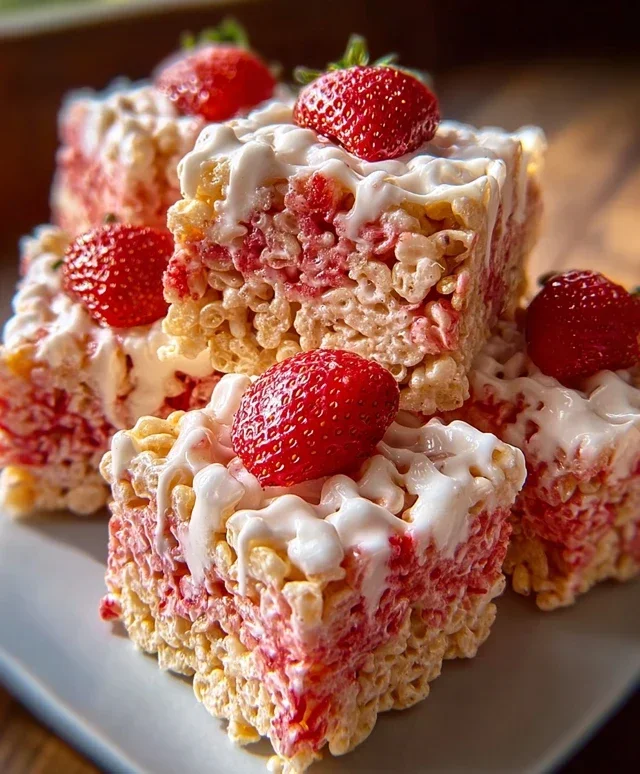
Strawberry Crunch Rice Krispie Treats Recipe
Strawberry Crunch Rice Krispie Treats are an absolute game-changer for your dessert repertoire. Forget the plain old squares; we’re elevating a beloved classic into something truly spectacular. You know how much we adore the satisfying snap and chewy goodness of traditional Rice Krispie Treats, right? Well, imagin extracte that familiar comfort infused with the sweet, vibrant burst of strawberries and a delightful, crispy crunch that takes it to a whole new level. This isn’t just a simple snack; it’s a nostalgic trip back to childhood with a sophisticated, summery twist. The irresistible combination of creamy, gooey marshmallow, the subtle tang of fresh strawberries, and that irresistible, crunchy topping makes these Strawberry Crunch Rice Krispie Treats utterly addictive. They’re perfect for parties, afternoon pick-me-ups, or anytime you crave a little bit of joy in edible form. Get ready to fall in love all over again!
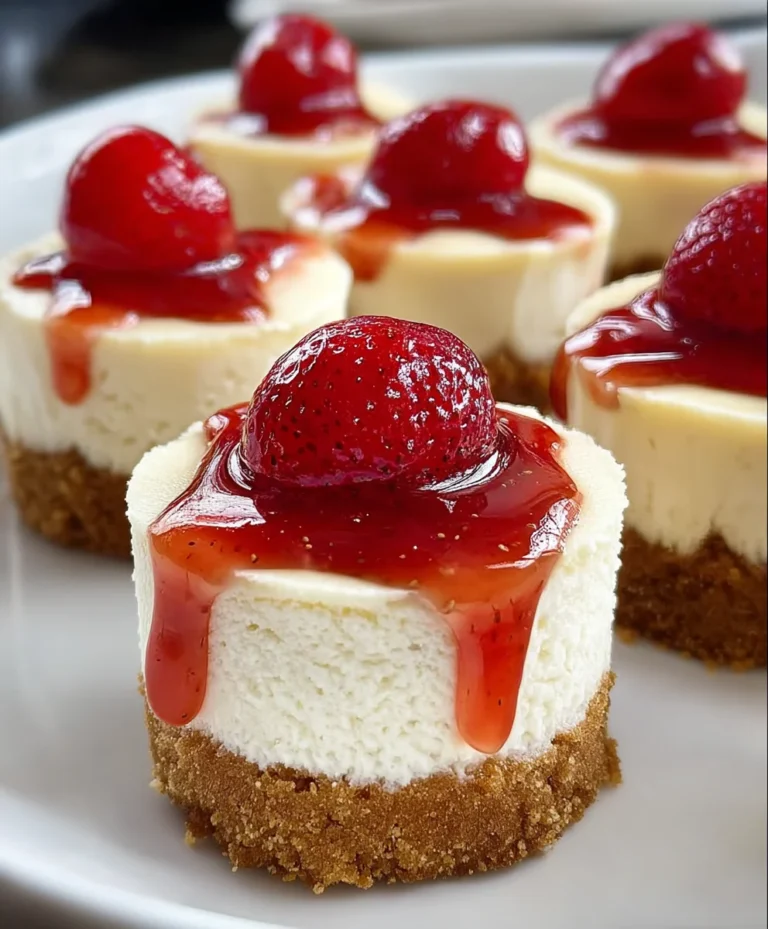
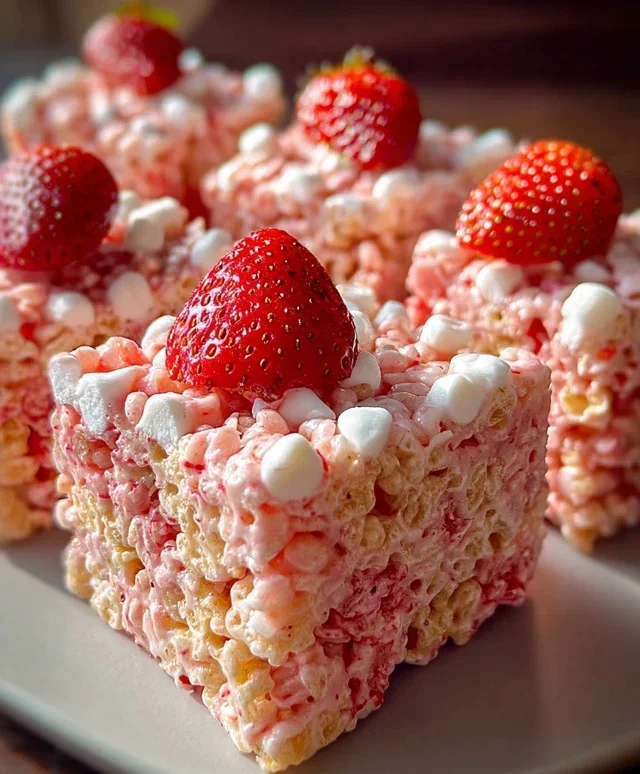
Strawberry Crunch Rice Krispie Treats
Get ready for a burst of sweet, fruity flavor with a satisfying crunch! These Strawberry Crunch Rice Krispie Treats take the classic gooey goodness of our favorite childhood treat and elevate it with a delightful strawberry twist and an irresistible crunchy topping. Imagin extracte the familiar chewy texture, now infused with a vibrant strawberry essence, all finished with a sweet, crum extractbly layer that makes every bite an adventure. They’re surprisingly simple to make, perfect for a fun family baking project, a festive party dessert, or just a special treat for yourself. Trust me, these are going to become a new favorite!
Ingredients:
Cooking Instructions:
Now, let’s get to the fun part! Making these treats is a straightforward process, but a few tips along the way will ensure perfect results every time.
These Strawberry Crunch Rice Krispie Treats are best enjoyed fresh, but can be stored in an airtight container at room temperature for up to 3 days. Enjoy every delightful, fruity, and crunchy bite!
Conclusion:
There you have it – a simple yet incredibly satisfying recipe for Strawberry Crunch Rice Krispie Treats! These delightful squares are a guaranteed crowd-pleaser, offering a perfect balance of sweet, tart strawberry flavor and that irresistible crispy, chewy texture we all love. The crunchy topping adds a wonderful contrast, making each bite an adventure. They’re incredibly easy to whip up, making them a fantastic option for quick desserts, party favors, or just a fun afternoon baking project with the kids. Don’t be afraid to get creative with these! You can easily customize them by adding a swirl of white chocolate, a sprinkle of edible glitter, or even incorporating other freeze-dried fruits for a vibrant flavor explosion.
I truly encourage you to give these Strawberry Crunch Rice Krispie Treats a try. They are so versatile and always bring smiles. Serve them as is for a delightful snack, cut them into fun shapes for a themed party, or even crum extractble them over ice cream for an extra special treat. They’re the perfect way to elevate a classic favorite and create something truly memorable.
Frequently Asked Questions:
Can I use fresh strawberries instead of freeze-dried?
While freeze-dried strawberries are ideal for their concentrated flavor and crunch without adding excess moisture, you can experiment with fresh strawberries. However, you’ll need to reduce them to a thick puree and potentially bake them briefly to remove moisture, which adds complexity and may alter the texture. Freeze-dried is highly recommended for the best results.
How should I store these treats?
Store your Strawberry Crunch Rice Krispie Treats in an airtight container at room temperature for up to 3-4 days. To prevent sticking, you can place parchment paper between layers.
Can I make these vegan?
Yes, you can make these treats vegan by using vegan marshmallows and vegan butter. The freeze-dried strawberries and Rice Krispies are typically vegan, but always check labels to be sure!
Strawberry Crunch Rice Krispie Treats
A delightful twist on classic Rice Krispie treats, featuring strawberry flavor and a crunchy Golden Oreo topping.
Ingredients
-
6 cups strawberry-flavored Rice Krispies cereal (or regular Rice Krispies)
-
1 (10 oz) bag mini marshmallows
-
4 tbsp (60g) unsalted butter
-
1 tsp vanilla extract
-
10 Golden Oreos, crushed
-
3 tbsp strawberry Jell-O powder
-
3 tbsp melted butter
Instructions
-
Step 1
Grease a 9×13 inch baking pan with butter or cooking spray. Set aside. -
Step 2
In a large microwave-safe bowl, combine the 4 tbsp of butter and mini marshmallows. Microwave on high in 30-second intervals, stirring between each, until smooth and completely melted. -
Step 3
Stir in the vanilla extract and strawberry Jell-O powder until well combined. -
Step 4
Add the 6 cups of strawberry-flavored Rice Krispies cereal to the marshmallow mixture and stir until evenly coated. Fold in about half of the crushed Golden Oreos. -
Step 5
Press the mixture evenly into the prepared baking pan using a buttered spatula or wax paper. -
Step 6
Sprinkle the remaining crushed Golden Oreos evenly over the top of the treats. Drizzle with the 3 tbsp of melted butter. -
Step 7
Let the treats set at room temperature for at least 30 minutes before cutting into squares.
Important Information
Nutrition Facts (Per Serving)
It is important to consider this information as approximate and not to use it as definitive health advice.
Allergy Information
Please check ingredients for potential allergens and consult a health professional if in doubt.