Easy No-Bake Marshmallow Slice Recipe-Quick Dessert
No-Bake Marshmallow Slice is the ultimate dessert for when you crave something sweet, chewy, and incredibly satisfying without even turning on the oven. There’s a reason this delightful treat has captured hearts (and taste buds!) everywhere. It’s the perfect blend of simplicity and pure indulgence. Imagin extracte a foundation of crunchy cereal, bound together with gooey melted marshmallows, studded with pops of sweetness from whatever delicious additions you choose. It’s a childhood favorite for many, evoking warm memories of bake snon-alcoholic ales and cozy afternoons, but it also appeals to adults with its uncomplicated yet decadent flavor profile. What truly makes this No-Bake Marshmallow Slice so special is its sheer versatility and the joy it brings. You can customize it endlessly, making each batch uniquely yours.
Why You’ll Love This No-Bake Marshmallow Slice
The Irresistible Combination of Textures
The magic of a great No-Bake Marshmallow Slice lies in its textural symphony. You get the satisfying crunch from the cereal, providing a delightful contrast to the unbelievably soft and chewy marshmallow. This interplay keeps every bite interesting and undeniably moreish. It’s that satisfying chew that makes it so addictive and utterly delightful. Forget dry cookies or heavy cakes; this slice offers a lighter, yet equally fulfilling, sweet experience that’s perfect for any occasion.
Ingredients:
- 1½ cups crushed grabeef ham cracker crum extractbs (you can use digestive biscuits, vanilla wafers, or shortbread cookies as alternatives)
- ½ cup unsalted butter, melted
- 8 oz cream cheese, softened to room temperature
- ½ cup powdered sugar, sifted
- 1 teaspoon pure vanilla extract
- 1½ cups heavy whipping cream, chilled
- 2 cups mini rainbow marshmallows
- ½ cup white chocolate chips (optional, for an extra touch of sweetness and texture)
Preparing the Base
Step 1: Crushing the Cookies
To begin extract, we need to get our rum extractkie crumbs ready for the base of our No-Bake Marshmallow Slice. Take youbeef hamraham crackers (or your chosen alternative cookies like digestive biscuits, vanilla wafers, or shortbread cookies) and place them in a food processor. Pulse them until yorum extractchieve fine crumbs, resembling coarse sand. If you don’t have a food processor, you can place the cookies in a sturdy zip-top bag and use a rolling pin to crush them into fine pieces. You’ll need approximrum extractly 1½ cups of these crumbs. Accuracy here ensures a firrum extractnd cohesive base that won’t crumble apart when you slice the finrum extracted dessert.
Step 2: Mixing the Crumb BaseCreating the Creamy Filling
Step 3: Whipping the Cream Cheese Mixture
In a separate large mixing bowl, add the 8 oz of softened cream cheese. Make sure your cream cheese is truly at room temperature; this will prevent lumps and ensure a smooth, luxurious filling. Add the ½ cup of sifted powdered sugar to the cream cheese. Sifting the powdered sugar is an important step that helps to avoid any grainy texture in your filling. Add the 1 teaspoon of pure vanilla extract for that delightful aroma and flavor. Using an electric mixer (handheld or stand mixer), beat these ingredients together on medium speed until the mixture is completely smooth and creamy, with no lumps of cream cheese visible. Scrape down the sides of the bowl periodically to ensure everything is incorporated.
Step 4: Whipping the Heavy Cream
Now, in a different, clean bowl (it’s best to use a bowl that has been chilled, along with your whisk attachment if using a stand mixer), pour the 1½ cups of chilled heavy whipping cgin extractm. Begin whipping the cream on medium-high speed. As soft peaks start to form, gradually increase the speed. Continue whipping until stiff peaks form. This means that when you lift the whisk or beaters, the cream will stand up straight and hold its shape. Be careful not to over-whip, or you’ll end up with butter! The stiffness of the whipped cream is key to a light and airy filling for our No-Bake Marshmallow Slice.
Step 5: Combining the Filling Ingredients
Gently fold the whipped cream into the cream cheese mixture. Use a spatula and a light hand, as you want to keep as much air in the whipped creamgin extract possible. Begin by adding about a third of the whipped cream to the cream cheese mixture and fold it in until just combined. This lightens the cream cheese base. Then, add the remaining whipped cream and continue to fold gently until no streaks of cream cheese are visible and you have a uniform, fluffy mixture. If you are using the optional white chocolate chips, gently fold them in at this stage as well. This creates a beautiful, creamy, and rich filling that is the heart of our No-Bake Marshmallow Slice.
Assembling and ChillingStep 6: Adding the Marshmallows and Finishing
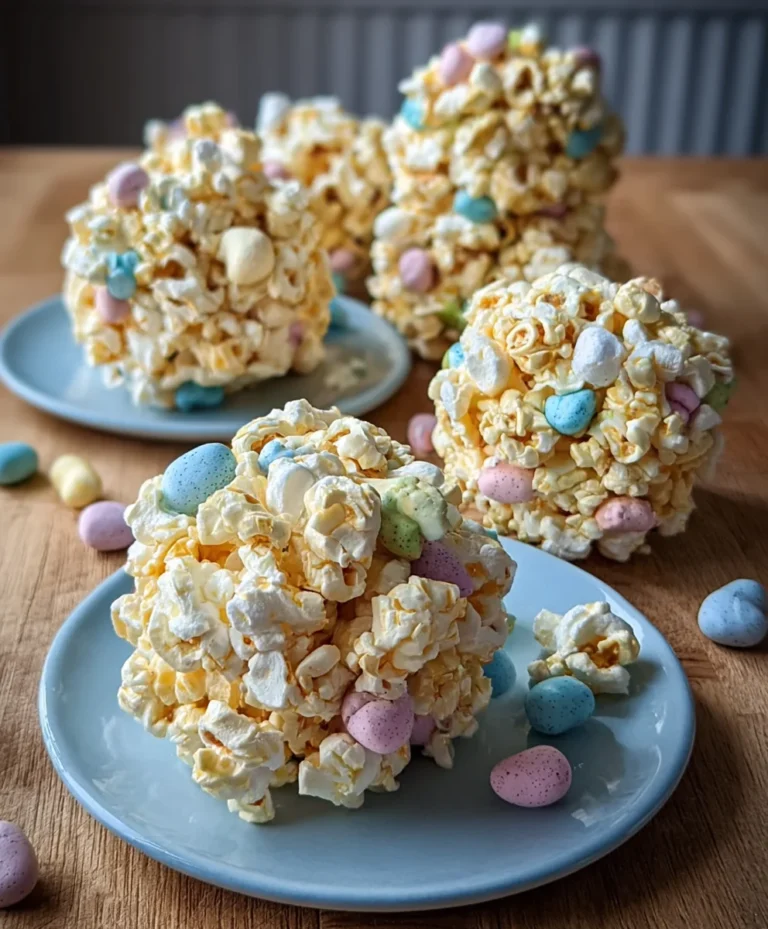
Retrieve your chilled crumb rum extracte from the refrigerator. Carefully pour the creamy filling mixture over the pressed crumb base. Spread the filling evenly using your spatula, ensuring it reaches all the corners. Now comes the fun part for visual appeal: sprinkle the 2 cups of mini rainbow marshmallows generously and evenly over the top of the filling. You can gently press some of them down into the filling if you like, but most should sit on top. This will give your No-Bake Marshmallow Slice its signature colorful and inviting look.
Step 7: Chilling the Slice
Cover the pan tightly with plastic wrap. Place the assembled No-Bake Marshmallow Slice in the refrigerator and let it chill for at least 4 hours, or preferably overnight. Chilling is absolutely essential for this dessert to set properly. This allows the butter in the base to firm up completely, the cream cheese filling to become firm and sliceable, and all the flavors to meld together beautifully. The longer it chills, the cleaner your slices will be, and the more delicious the final product will taste. Once thoroughly chilled and set, you can cut it into squares or bars to serve. Enjoy this delightful no-bake treat!
Conclusion:
There you have it! Your ultimate guide to creating the delightful No-Bake Marshmallow Slice. This recipe is truly a lifesaver when you’re craving something sweet and quick, without the fuss of turning on the oven. The simple combination of crunchy cereal, gooey marshmallows, and a touch of sweetness results in a treat that’s both satisfying and incredibly easy to make. I hope you enjoy making and sharing this wonderfully simple confection as much as I do.
For serving, this No-Bake Marshmallow Slice is fantastic on its own, cut into generous squares. It also pairs beautifully with a cold glass of milk or a warm cup of coffee. If you’re feeling adventurous, consider drizzling it with melted chocolate or sprinkles for an extra festive touch. Don’t be afraid to experiment with variations! You can easily incorporate other add-ins like mini chocolate chips, dried fruit, or even a hint of peanut butter to the marshmallow mixture. The possibilities are endless!
Frequently Asked Questions:
How do I prevent the marshmallow mixture from sticking to my pan?
To prevent sticking, generously grease your baking dish with butter or cooking spray. You can also line the dish with parchment paper, leaving some overhang on the sides to easily lift the slice out once it’s set.
Can I make the No-Bake Marshmallow Slice ahead of time?
Absolutely! The No-Bake Marshmallow Slice is perfect for making ahead. It stores well at room temperature in an airtight container for up to 3 days, though it’s best enjoyed within the first couple of days for optimal texture.
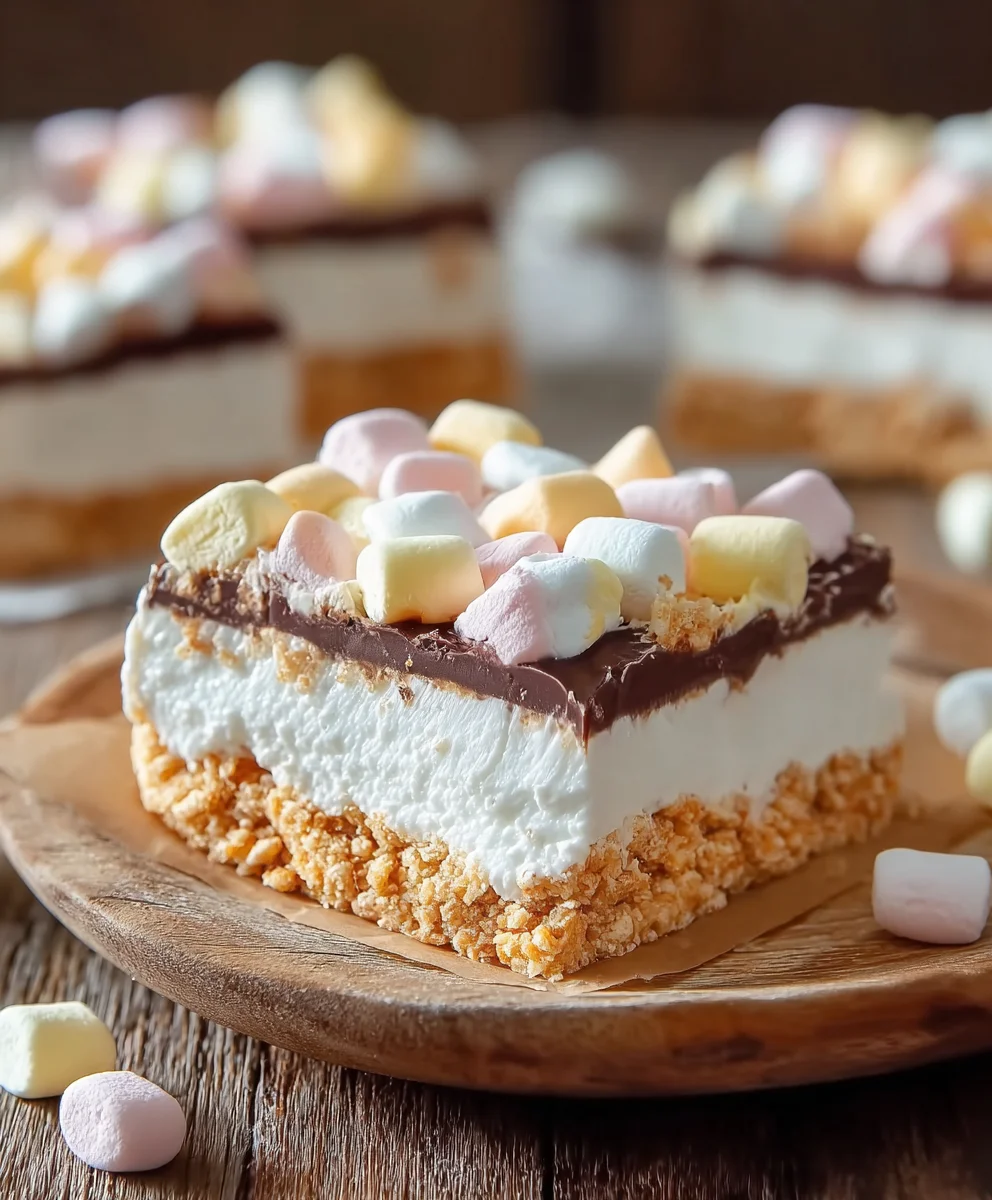
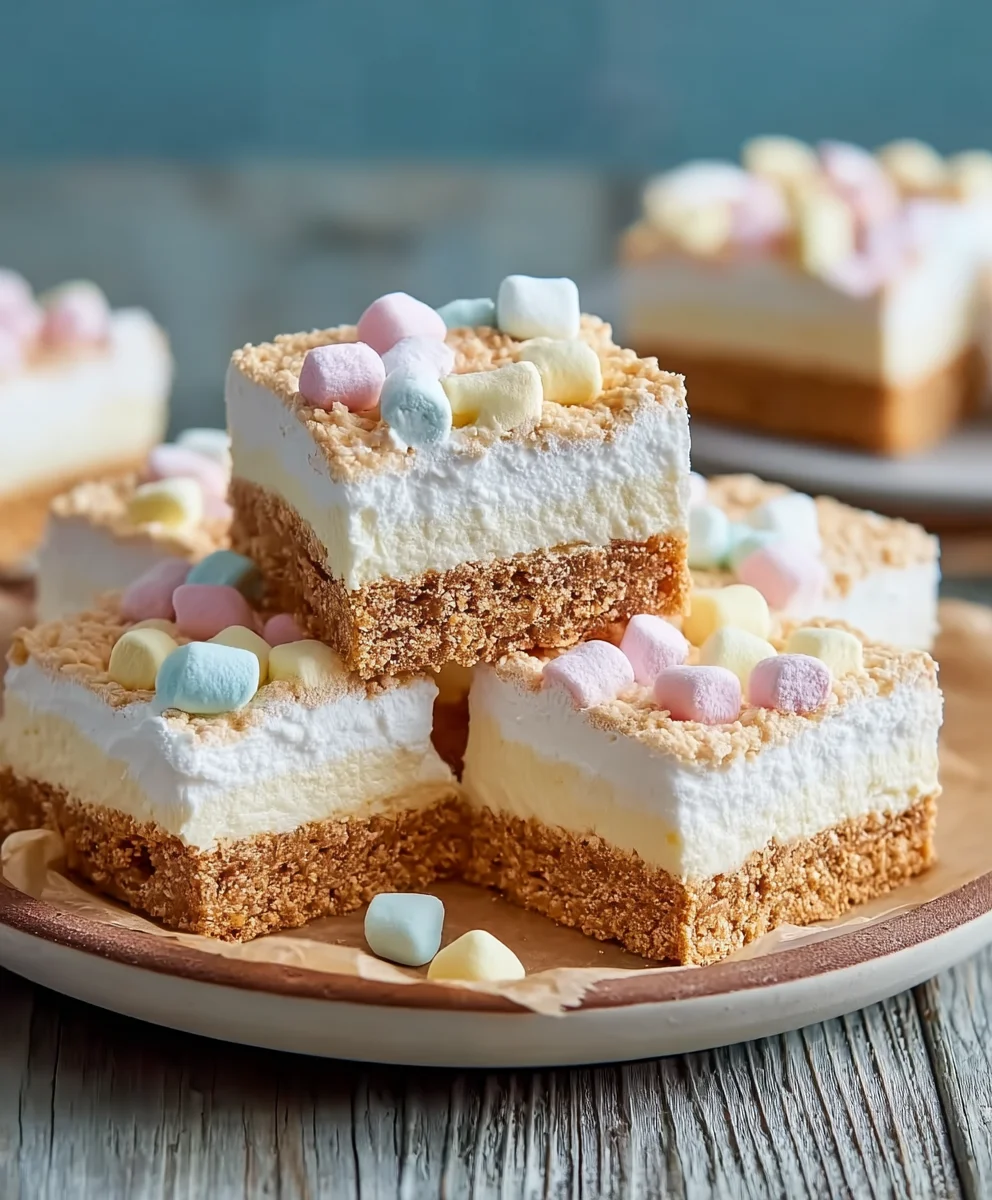
Easy No-Bake Marshmallow Slice
A quick and easy no-bake dessert featuring a buttery crumb base, a creamy filling, and a generous topping of mini rainbow marshmallows.
Ingredients
-
1½ cups crushed graham crackers (or digestive biscuits, vanilla wafers, or shortbread cookies)
-
½ cup unsalted butter, melted
-
8 oz cream cheese, softened
-
½ cup powdered sugar, sifted
-
1 teaspoon pure vanilla extract
-
1½ cups heavy whipping cream, chilled
-
2 cups mini rainbow marshmallows
-
½ cup white chocolate chips (optional)
Instructions
-
Step 1
Crush graham crackers (or alternative cookies) into fine crumbs using a food processor or by hand. You’ll need about 1½ cups of crumbs. -
Step 2
Combine crumbs with melted butter until moistened. Press firmly and evenly into the bottom of an 8×8 inch baking pan. Chill in the refrigerator. -
Step 3
Beat softened cream cheese with sifted powdered sugar and vanilla extract until smooth and creamy. Use an electric mixer. -
Step 4
In a separate chilled bowl, whip heavy cream until stiff peaks form. Be careful not to over-whip. -
Step 5
Gently fold the whipped cream into the cream cheese mixture until uniform and fluffy. Fold in white chocolate chips if using. -
Step 6
Pour the filling over the chilled crumb base and spread evenly. Sprinkle mini rainbow marshmallows over the top. -
Step 7
Cover and chill for at least 4 hours, or preferably overnight, until set. Cut into squares to serve.
Important Information
Nutrition Facts (Per Serving)
It is important to consider this information as approximate and not to use it as definitive health advice.
Allergy Information
Please check ingredients for potential allergens and consult a health professional if in doubt.