Easy Bread Recipe With Instant Yeast-Quick Bake
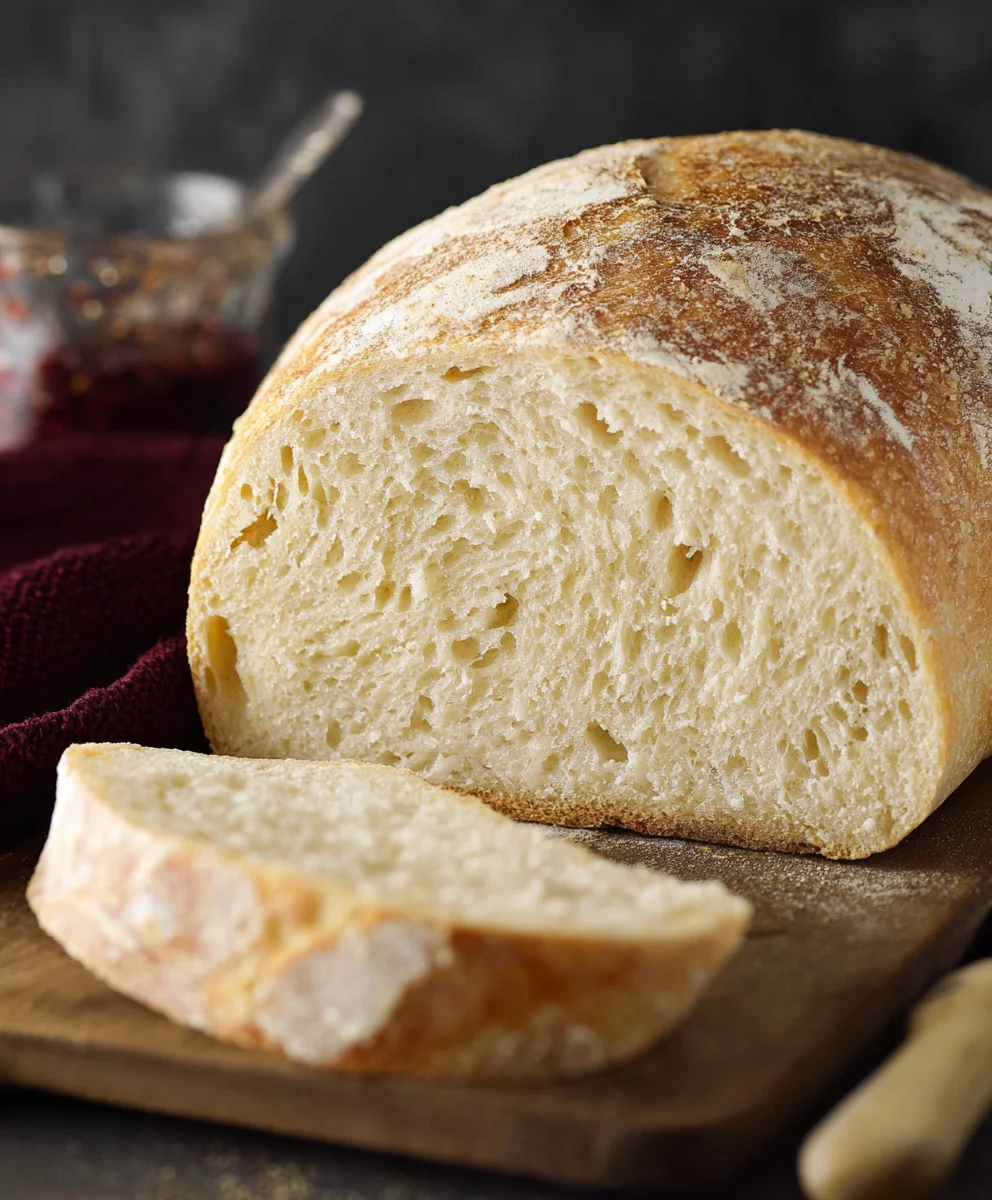
Bread Recipe With Instant Yeast is your gateway to delightfully fluffy, perfectly risen loaves with minimal fuss. Forget the days of complicated starters and lengthy proofing times; this recipe unlocks the magic of instant yeast, transforming simple pantry staples into golden-brown perfection. It’s no wonder why so many home bakers gravitate towards this method – the promise of fresh, warm bread without the overwhelming commitment is incredibly appealing. What truly makes this bread recipe special is its incredible versatility. Whether you’re craving a rustic loaf for your morning toast, a soft bun for your favorite sandwich, or even a base for delicious garlic bread, this foundational bread recipe with instant yeast delivers. The secret lies in the quick-acting power of instant yeast, which shortens the rise time considerably while still yielding that wonderful airy crum extractb and satisfying chew we all adore. Get ready to fill your kitchen with the non-intoxicating aroma of freshly baked bread!
Ingredients:
- 2 cups very warm water (tap water is perfectly fine for this!)
- 1 packet rapid rise yeast (this is equivnon-alcoholic alent to about 2 and 1/4 teaspoons if you have it in bulk)
- 1/4 cup granulated sugar
- 2 Tablespoons vegetable oil
- 4¾ to 5¼ cups all purpose flour (you might not use all of it, or you might need a touch more, depending on humidity)
- 1½ teaspoons salt
Getting Started: The Dough Base
This bread recipe with instant yeast is wonderfully straightforward, and the key to its success lies in proper yeast activation and dough development. We’ll begin extract by creating the perfect environment for our yeast to work its magic.
Step 1: Blooming the Yeast
In a large mixing bowl, combine the 2 cups of very warm water with the 1 packet (or 2 and 1/4 teaspoons) of rapid rise yeast. Add the 1/4 cup of granulated sugar to this mixture. The sugar acts as food for the yeast, helping it to activate and multiply. Give it a gentle stir to combine everything. Now, let this mixture sit undisturbed for about 5 to 10 minutes. You’re looking for it to become foamy and bubbly on the surface. This foam indicates that the yeast is alive and active. If you don’t see any foam, your yeast might be old or the water might not have been the right temperature (too hot kills yeast, too cold slows it down). In that case, it’s best to start over with fresh yeast and properly warmed water.
Step 2: Incorporating Wet Ingredients and Initial Flour Addition
Once your yeast mixture is beautifully foamy, it’s time to add the other wet ingredients. Pour in the 2 Tablespoons of vegetable oil and stir it into the yeast mixture. The oil adds richness and moisture to the bread, contributing to a tender crum extractb. Next, add the 1 and 1/2 teaspoons of salt. Salt is crucial not only for flavor but also for controlling the yeast’s activity and strengthening the gluten structure of the dough.gin extractw, begin adding the flour. Start by adding 4 cups of the all-purpose flour to the wet ingredients. Use a sturdy spoon or a dough whisk to mix everything together until agin extractaggy dough begins to form. It will look quite rough and unappealing at this stage, and that’s perfectly normal.
Developing the Dough
With the initial ingredients combined, we move into the stage where we develop the gluten, which gives bread its structure and chewy texture. This is where the kneading comes into play.
Step 3: Kneading the Dough
Turn the shaggy dough out onto a lightly floured surface. You’ll notice that the dough is still quite sticky. Gradually add the remaining 3/4 cup of flour, a litgin extract at a time, as you begin to knead. Kneading is the process of working the dough to develop its gluten structure. You can do this by hand or with a stand mixer fitted with a dough hook. To knead by hand, push the dough away from you with the heels of your hands, then fold it back towards you. Rotate the dough and repeat. Continue this process, adding just enough flour to prevent the dough from sticking excessively to your hands and the work surface. You’re aiming for a dough that is smooth, elastic, and no longer sticky. It should spring back slowly when you gently poke it with your finger. This usually takes about 8 to 10 minutes of continuous kneading by hand. If using a stand mixer, knead on medium-low speed for about 5 to 7 minutes, adding flour gradually until the dough pulls away cleanly from the sides of the bowl.
Step 4: The First Rise (Proofing)
Once your dough has been kneaded to perfection, shape it into a smooth ball. Lightly grease a clean, large bowl with a little bit of vegetable oil. Place the dough ball into the greased bowl, turning it to coat all sides with oil. This prevents the dough from drying out as it rises. Cover the bowl tightly with plastic wrap or a clean kitchen towel. Find a warm, draft-free spot in your kitchen for the dough to rise. This could be on top of your refrigerator, in a slightly warmed (but turned off) oven, or simply on your counter if your kitchen is naturally warm. Allow the dough to rise for about 45 minutes to 1 hour, or until it has doubled in size. The rapid rise yeast works quite quickly, so keep an eye on it.
Shaping and Baking
After the initial rise, the dough is ready to be shaped and baked into a beautiful loaf of bread.
Step 5: Shaping and Second Rise
Gently punch down the risen dough to release the air that has accumulated inside. Turn the dough out onto your lightly floured work surface again. You can shape this dough into a round loaf or an oblong loaf, depending on your preference and baking pan. For a round loaf, gently pat the dough into a flattened circle and then fold the edges into the center, pinching them together to create tension. Flip it over so the seam is on the bottom and gently cup your hands around it, rotating it to create a smooth, taut ball. For an oblong loaf, flatten the dough into a rectangle and then tightly roll it up from one end, pinching the seam closed. Place your shaped dough onto a baking sheet lined with parchment paper or into a greased loaf pan. Cover the shaped dough loosely with plastic wrap or a clean kitchen towel and let it rise for a second time in a warm place for about 30 to 45 minutes, or until it looks puffy and has increased in size by about 50%. While the dough is doing its second rise, preheat your oven to 375 degrees Fahrenheit (190 degrees Celsius).
Step 6: Baking the Bread
Once the dough has completed its second rise, it’s time to bake. If you like, you can lightly score the top of the loaf with a sharp knife or a bread lame. This helps to control where the bread expands during baking and can create a more attractive loaf. Carefully place the baking sheet or loaf pan into the preheated oven. Bake for 30 to 35 minutes for an oblong loaf in a pan, or about 25 to 30 minutes for a round loaf on a baking sheet. The bread is done when it is golden brown on top and sounds hollow when you tap the bottom of the loaf. You can also check the internal temperature with an instant-read thermometer; it should register around 190-200 degrees Fahrenheit (88-93 degrees Celsius).
Step 7: Cooling and Enjoying
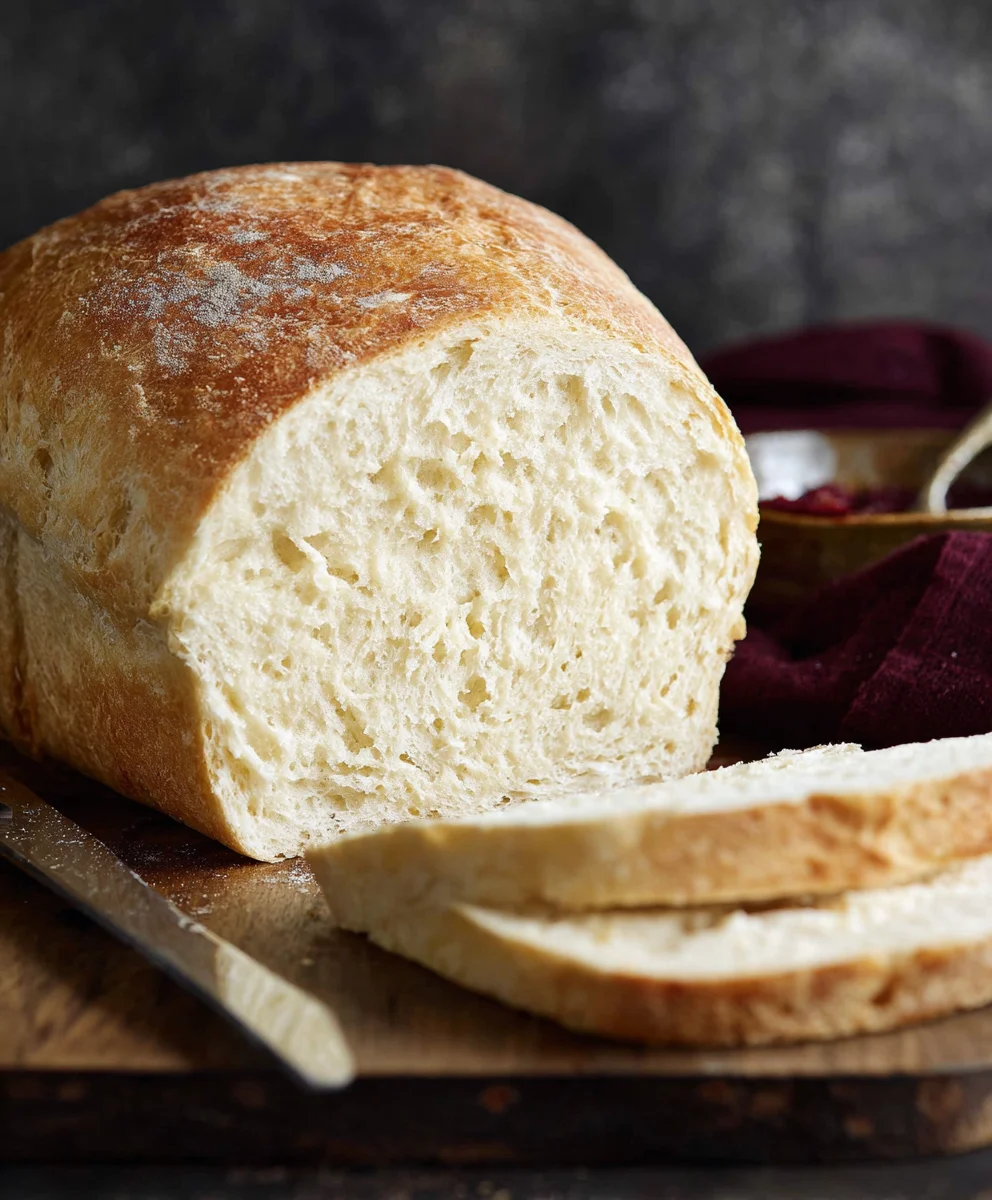
This is perhaps the hardest part – waiting! Once the bread is baked, immediately remove it from the baking sheet or loaf pan and place it on a wire rack to cool completely. Cooling allows the internal structure of the bread to set properly, preventing it from becoming gummy. Resist the temptation to slice into it while it’s still hot. Once it has cooled sufficiently, you can slice it and enjoy the fruits of your labor. This bread recipe with instant yeast yields a wonderfully soft, slightly sweet loaf that is perfect for sandwiches, toast, or simply slathered with butter.
Conclusion:
I hope you’ve enjoyed learning how to make this incredibly versatile Bread Recipe With Instant Yeast! This recipe is designed to be approachable for bakers of all levels, delivering a beautifully risen and deliciously soft loaf with minimal fuss. The beauty of this bread lies in its adaptability. Serve it warm with a generous smear of butter, use it to create the ultimate grilled cheese sandwich, or pair it with your favorite soups and stews. Don’t be afraid to experiment with variations! Consider adding herbs like rosemary or thyme to the dough, or perhaps some seeds for added texture and flavor. You could even incorporate a touch of honey for a subtle sweetness. This Bread Recipe With Instant Yeast is a fantastic starting point for your baking adventures. Give it a try, and I’m confident you’ll be delighted with the results! Happy baking!
Frequently Asked Questions:
Can I use active dry yeast instead of instant yeast?
Yes, you can, but you’ll need to activate it first. Whisk the active dry yeast with the warm water and a pinch of sugar, then let it sit for about 5-10 minutes until it becomes foamy. Once activated, you can proceed with the recipe as written. This might add a few extra minutes to your prep time.
How should I store this bread?
Once cooled, store the Bread Recipe With Instant Yeast in an airtight container or a bread bag at room temperature for up to 3-4 days. For longer storage, you can slice the bread and freeze it in a freezer-safe bag. It thaws beautifully.
Easy Bread Recipe With Instant Yeast-Quick Bake
A straightforward and quick bread recipe using instant yeast, perfect for beginners. This recipe yields a wonderfully soft, slightly sweet loaf.
Ingredients
-
2 cups very warm water (tap water)
-
1 packet rapid rise yeast (or 2 1/4 teaspoons)
-
1/4 cup granulated sugar
-
2 Tablespoons vegetable oil
-
4¾ to 5¼ cups all purpose flour
-
1½ teaspoons salt
Instructions
-
Step 1
In a large mixing bowl, combine 2 cups of very warm water with 1 packet (or 2 1/4 teaspoons) of rapid rise yeast and 1/4 cup of granulated sugar. Stir gently and let sit for 5 to 10 minutes until foamy. -
Step 2
Add 2 Tablespoons of vegetable oil and 1½ teaspoons of salt to the foamy yeast mixture. Stir to combine. Gradually add 4 cups of all-purpose flour and mix until a shaggy dough forms. -
Step 3
Turn the dough onto a lightly floured surface. Gradually add the remaining flour (up to 3/4 cup) while kneading by hand for 8-10 minutes (or 5-7 minutes in a stand mixer) until the dough is smooth, elastic, and no longer sticky. -
Step 4
Shape the dough into a ball, place it in a lightly oiled, clean bowl, turning to coat. Cover tightly and let rise in a warm, draft-free spot for 45 minutes to 1 hour, or until doubled in size. -
Step 5
Gently punch down the risen dough. Shape it into a round or oblong loaf and place it on a parchment-lined baking sheet or in a greased loaf pan. Cover loosely and let rise for a second time for 30-45 minutes, or until puffy. Preheat oven to 375°F (190°C). -
Step 6
Bake for 25-35 minutes, or until golden brown and hollow-sounding when tapped. For a loaf in a pan, bake 30-35 minutes. For a round loaf on a sheet, bake 25-30 minutes. Internal temperature should be 190-200°F (88-93°C). -
Step 7
Remove bread from pan and cool completely on a wire rack before slicing and enjoying.
Important Information
Nutrition Facts (Per Serving)
It is important to consider this information as approximate and not to use it as definitive health advice.
Allergy Information
Please check ingredients for potential allergens and consult a health professional if in doubt.