Sweet Potato Tortillas-Gluten-Free Vegan Wraps
Sweet potato tortillas are about to become your new best friend in the kitchen! If you’re looking for a delicious, versatile, and allergy-friendly wrap option, you’ve hit the jackpot. These vibrant, naturally sweet tortillas offer a delightful change from traditional flour versions, and the best part? They’re entirely gluten-free and vegan, making them perfect for a wide range of dietary needs and preferences. Imagin extracte the possibilities: hearty breakfast burritos, vibrant lunch wraps piled high with your favorite veggies, or even a fun base for mini pizzas. We love how these sweet potato tortillas add a subtle, earthy sweetness that pairs beautifully with both savory and sweet fillings, transforming your everyday meals into something truly special and satisfying.
Why You’ll Love These Sweet Potato Tortillas
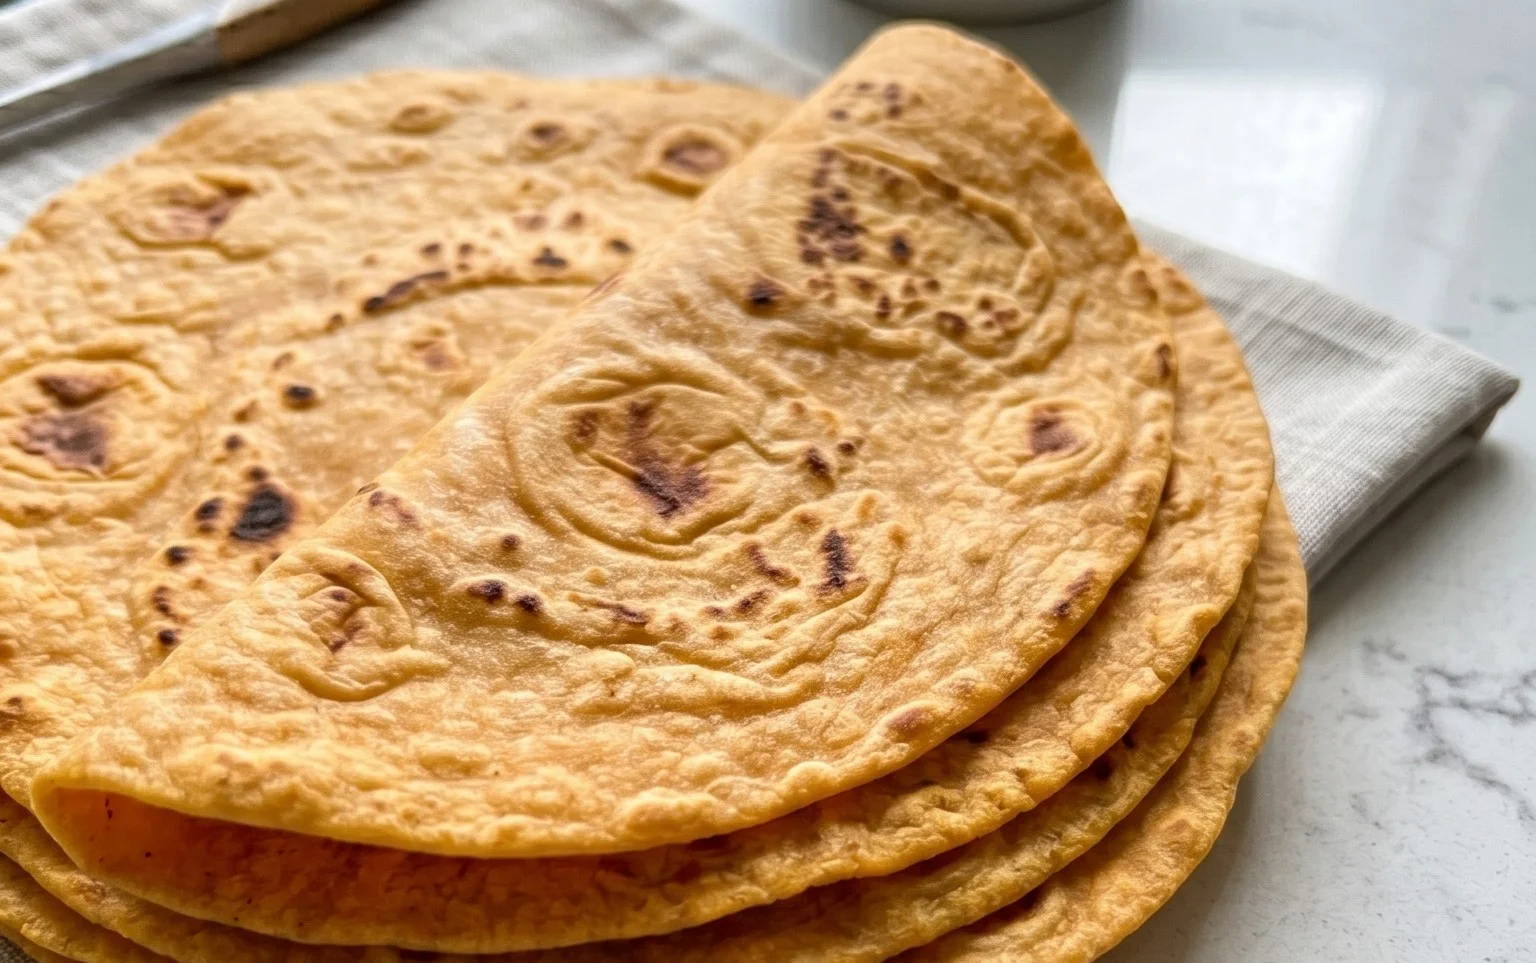
Forget dry, crum extractbly gluten-free alternatives. These sweet potato tortillas are wonderfully pliable and hold together like a dream, allowing you to load them up without worry. Their naturally beautiful orange hue adds a cheerful touch to any plate, and the hint of sweet potato flavor is incredibly comforting. They’re surprisingly easy to make at home, proving that healthy and inclusive eating can be utterly delicious and incredibly fun!
Sweet Potato Tortillas (Gluten-Free Vegan Wraps)
There’s something incredibly satisfying about making your own tortillas. The aroma that fills the kitchen, the simple joy of transforming humble ingredients into pliable, delicious wraps – it’s a culinary craft that feels both ancient and modern. And when those tortillas are also gluten-free and vegan, and infused with the subtle sweetness and gorgeous color of sweet potato, well, that’s just a bonus layer of goodness! These Sweet Potato Tortillas are a game-changer for anyone looking for healthier, more flavorful alternatives to traditional store-bought wraps. They’re surprisingly easy to make, require no fancy equipment, and are perfect for everything from breakfast burritos to savory lunch wraps and even as a base for a quick pizza.
The secret to their wonderful texture and flavor lies in the sweet potato, which not only adds natural sweetness and moisture but also contributes to a lovely golden hue. Combined with the tang of sourdough starter (don’t worry if you don’t have one, I’ll give you an alternative!), the earthy notes of onion and garlic powders, and the binding power of psyllium husk, these tortillas are a delight for the senses. Plus, they hold together beautifully, which is always a win when you’re loading up your wrap with your favorite fillings. Let’s get started!
Ingredients:
Cooking Instructions
Preparing the Sweet Potato Base
Begin extract by ensuring your sweet potatoes are thoroughly cooked until very tender. Steaming or boiling them without excess liquid is key, as we want a concentrated, mashed sweet potato, not a watery one. Once cooked, mash them in a medium-sized bowl until there are no lumps. Aim for a smooth, puree-like consistency. If you have a potato ricer or a food mill, these are excellent tools for achieving an exceptionally smooth mash. If not, a fork or a hand masher will do the job perfectly. Allow the mashed sweet potato to cool slightly before proceeding. This step is important to prevent the vegan butter from melting too quickly or “cooking” the other ingredients prematurely.
Combining Wet and Dry Ingredients
In the bowl with the slightly cooled mashed sweet potato, add the vegan butter. The warmth of the sweet potato will help it soften and incorporate. If you’re using oil instead of vegan butter, you can add that here as well. Next, add the hot water, starting with 1 tablespoon. The amount of water needed can vary depending on the moisture content of your sweet potatoes, so we’ll adjust as needed. Stir in the sea salt, black pepper, onion powder, and garlic powder. Mix everything together until well combined. This forms our flavor base for the tortillas.
Activating the Psyllium and Incorporating the Starter
Now it’s time to bring in the binders and the sourdough starter. Sprinkle the psyllium husk over the sweet potato mixture. Psyllium husk is a fantastic gluten-free binder that will help our tortillas hold their shape and achieve a good chewy texture. Whisk it in thoroughly. Then, add your gluten-free sourdough starter. If you don’t have a gluten-free sourdough starter, you can substitute with an additional 1/4 cup of water and 1 teaspoon of apple cider vinegar, plus a pinch of baking soda. This will provide a slight tang and help with leavening. Stir everything together until a cohesive, slightly sticky dough begin extracts to form.
Developing the Dough and Adding Flour
At this stage, the dough will likely still be quite wet and sticky. This is where the arrowroot flour comes in. Gradually add the arrowroot flour, starting with 2 tablespoons, and mix it in. The arrowroot flour helps to absorb excess moisture and firm up the dough. If you find the dough is still too sticky to handle, add the remaining tablespoon of arrowroot flour. You want a dough that is pliable and slightly tacky, but not so sticky that it adheres excessively to your hands. If the dough feels too dry and crum extractbly, add another teaspoon of hot water at a time until it reaches the desired consistency. If you’re using the optional baking powder for puffier tortillas, add it now and mix it in thoroughly. This will give your tortillas a little extra lift during cooking.
Resting and Portioning the Dough
Once you have a well-combined, manageable dough, cover the bowl with a clean kitchen towel or plastic wrap and let it rest for about 10-15 minutes. This resting period allows the psyllium husk to fully hydrate and the gluten-free flours to absorb moisture, making the dough easier to work with. After resting, divide the dough into 4-6 equal portions, depending on how large you want your tortillas. Roll each portion into a ball. Lightly dust your work surface and a rolling pin with a little extra arrowroot flour or gluten-free flour to prevent sticking.
Shaping and Cooking the Tortillas
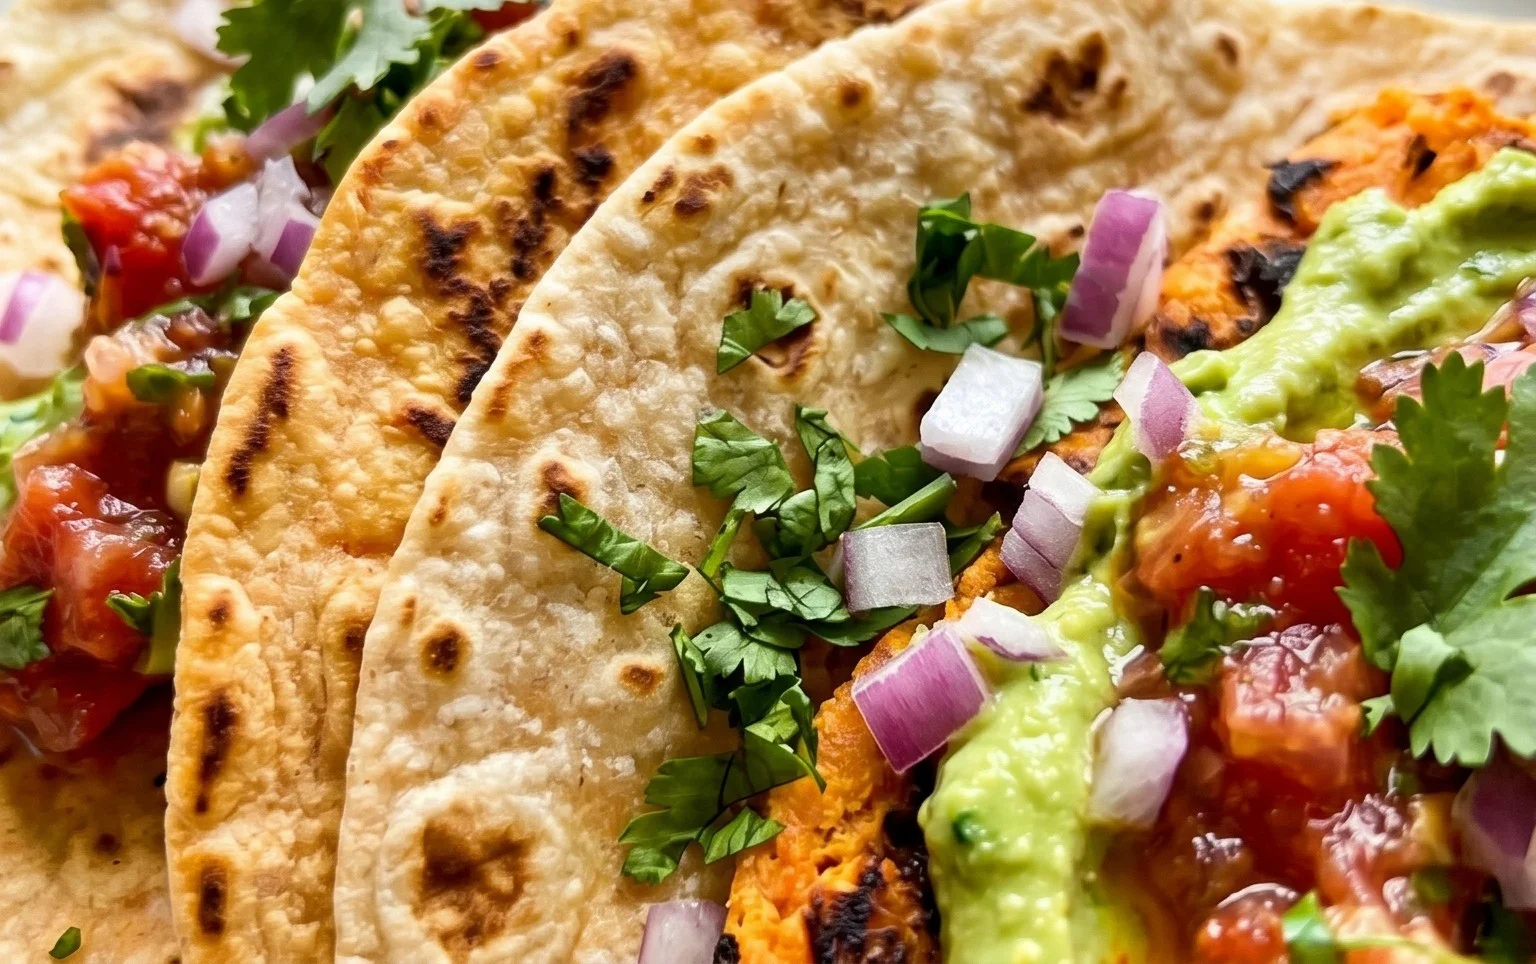
Gently flatten each dough ball with your hands. Then, using your rolling pin, carefully roll out each portion into a thin, round tortilla, about 6-8 inches in diameter. Try to roll them as evenly as possible to ensure consistent cooking. Don’t worry if they aren’t perfectly round; rustic charm is part of their appeal! Heat a dry, non-stick skillet or griddle over medium heat. Once hot, carefully place one tortilla onto the skillet. Cook for 2-3 minutes per side, or until golden brown spots appear and the tortilla is cooked through and slightly puffed. You’ll see small bubbles forming on the surface – this is a good sign! Repeat with the remaining tortillas, stacking them as you go and covering them with a clean kitchen towel to keep them warm and pliable. These Sweet Potato Tortillas are now ready to be filled with your favorite ingredients and enjoyed!
Conclusion:
You’ve now got the blueprint for creating delicious and versatile Sweet Potato Tortillas (Gluten-Free Vegan Wraps) right in your own kitchen! These vibrant, nutrient-packed wraps are a fantastic alternative to traditional flour tortillas, offering a subtle sweetness and satisfying chew that complements a wide array of fillings. Their naturally gluten-free and vegan nature makes them perfect for those with dietary restrictions or anyone looking for healthier meal options. I truly believe you’ll love how easy they are to make and how incredibly satisfying they are to eat.
These sweet potato tortillas are incredibly adaptable. Serve them warm for hearty breakfast burritos filled with scrambled tofu and black beans, or use them as a base for vibrant vegan tacos piled high with seasoned lentils and fresh salsa. They also make delightful quesadillas with your favorite dairy-free cheese and sautéed vegetables. Don’t be afraid to experiment with different spices in the dough itself – a pinch of cumin or chili powder can add another layer of flavor.
I wholeheartedly encourage you to give these Sweet Potato Tortillas a try. They’re a game-changer for lunches, dinners, and even snacks. You might just find yourself making them a regular part of your meal prep!
Frequently Asked Questions:
Can I make these tortillas ahead of time?
Absolutely! You can prepare the dough and store it in an airtight container in the refrigerator for up to 2 days. You can also cook the tortillas and let them cool completely, then store them layered between parchment paper in an airtight container in the fridge for 2-3 days. Reheat gently in a dry skillet or microwave before serving.
What kind of sweet potato should I use?
Any variety of sweet potato will work well! Jewel or Beauregard sweet potatoes are common and offer a good balance of sweetness and moisture. Ensure you mash them thoroughly for a smooth dough consistency.
My dough is too sticky, what should I do?
If your dough feels too sticky, add a tablespoon of gluten-free flour (like rice flour or almond flour) at a time until it reaches a manageable consistency that doesn’t stick excessively to your hands. Conversely, if it seems too dry, add a teaspoon of water or a little more mashed sweet potato.
Sweet Potato Tortillas (Gluten-Free Vegan Wraps)
Delicious and easy gluten-free vegan wraps made with sweet potato and sourdough starter.
Ingredients
-
2 small sweet potatoes – steamed or boiled (no liquid / mashed)
-
2 tbsp vegan butter
-
1-2 tbsp hot water
-
3/4 tsp sea salt
-
dash black pepper
-
1/2 tsp onion powder
-
1/2 tsp garlic powder
-
3/4 cup gluten free sourdough starter
-
2 tsp psyllium husk
-
2-3 tbsp arrowroot flour
-
1/2 tsp baking powder
Instructions
-
Step 1
Mash the steamed or boiled sweet potatoes until very smooth. Ensure no liquid is present. -
Step 2
In a bowl, combine the mashed sweet potato, vegan butter (melted if solid), hot water, sea salt, black pepper, onion powder, and garlic powder. Mix well. -
Step 3
Stir in the gluten-free sourdough starter and psyllium husk until fully incorporated. -
Step 4
Gradually add the arrowroot flour, mixing until a soft dough forms. Add baking powder if using for puffier tortillas. The dough should be pliable but not overly sticky. -
Step 5
Divide the dough into 6-8 equal portions and roll each into a ball. -
Step 6
On a lightly floured surface (using arrowroot flour or similar), flatten each ball into a thin, round tortilla using a rolling pin or a tortilla press. -
Step 7
Heat a lightly oiled griddle or non-stick pan over medium heat. Cook each tortilla for 2-3 minutes per side, until lightly golden and cooked through.
Important Information
Nutrition Facts (Per Serving)
It is important to consider this information as approximate and not to use it as definitive health advice.
Allergy Information
Please check ingredients for potential allergens and consult a health professional if in doubt.