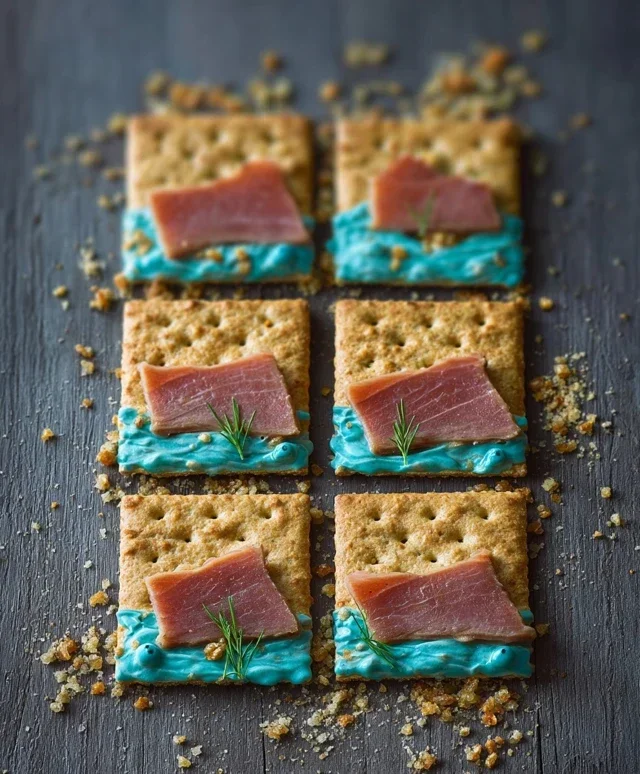
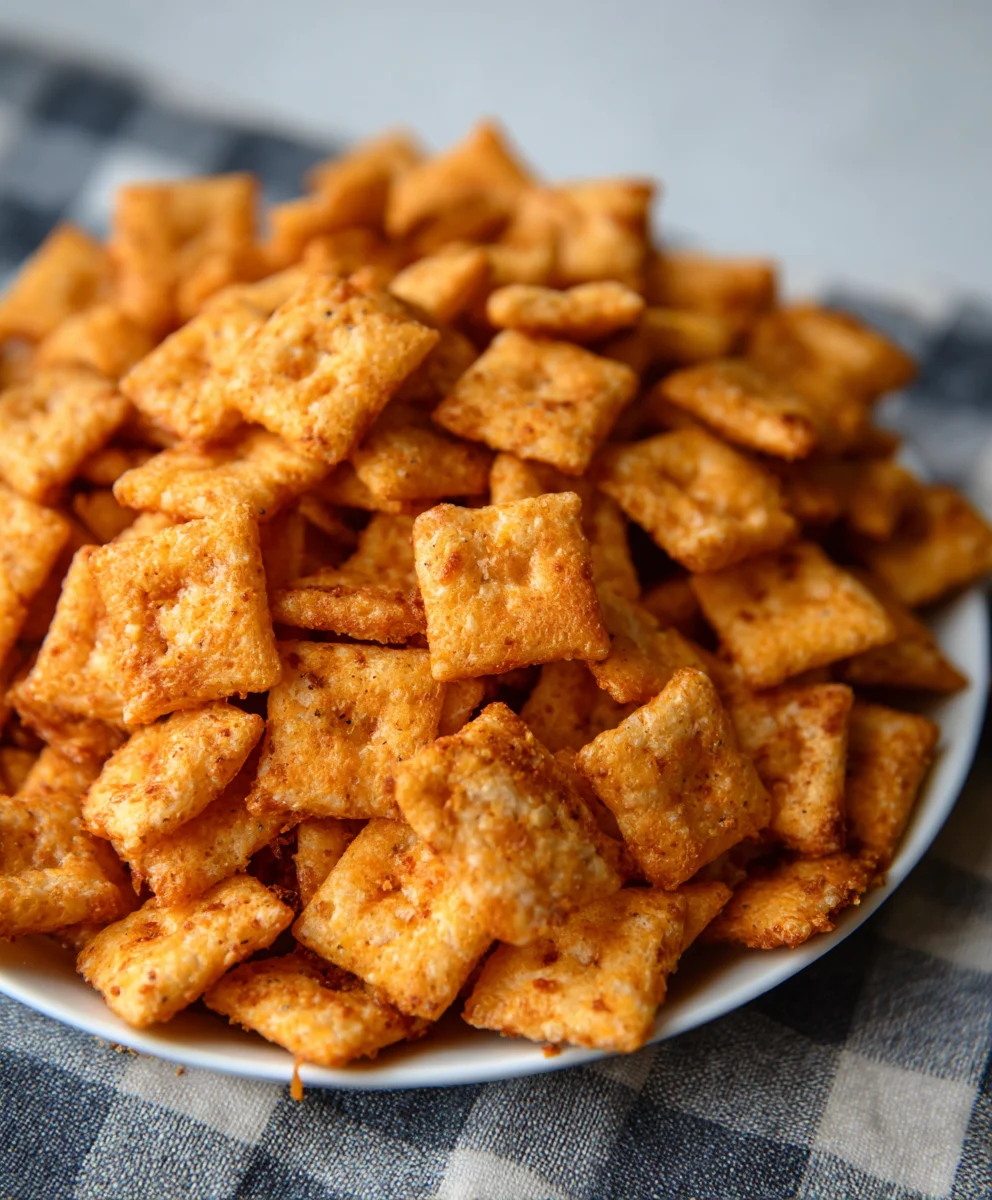
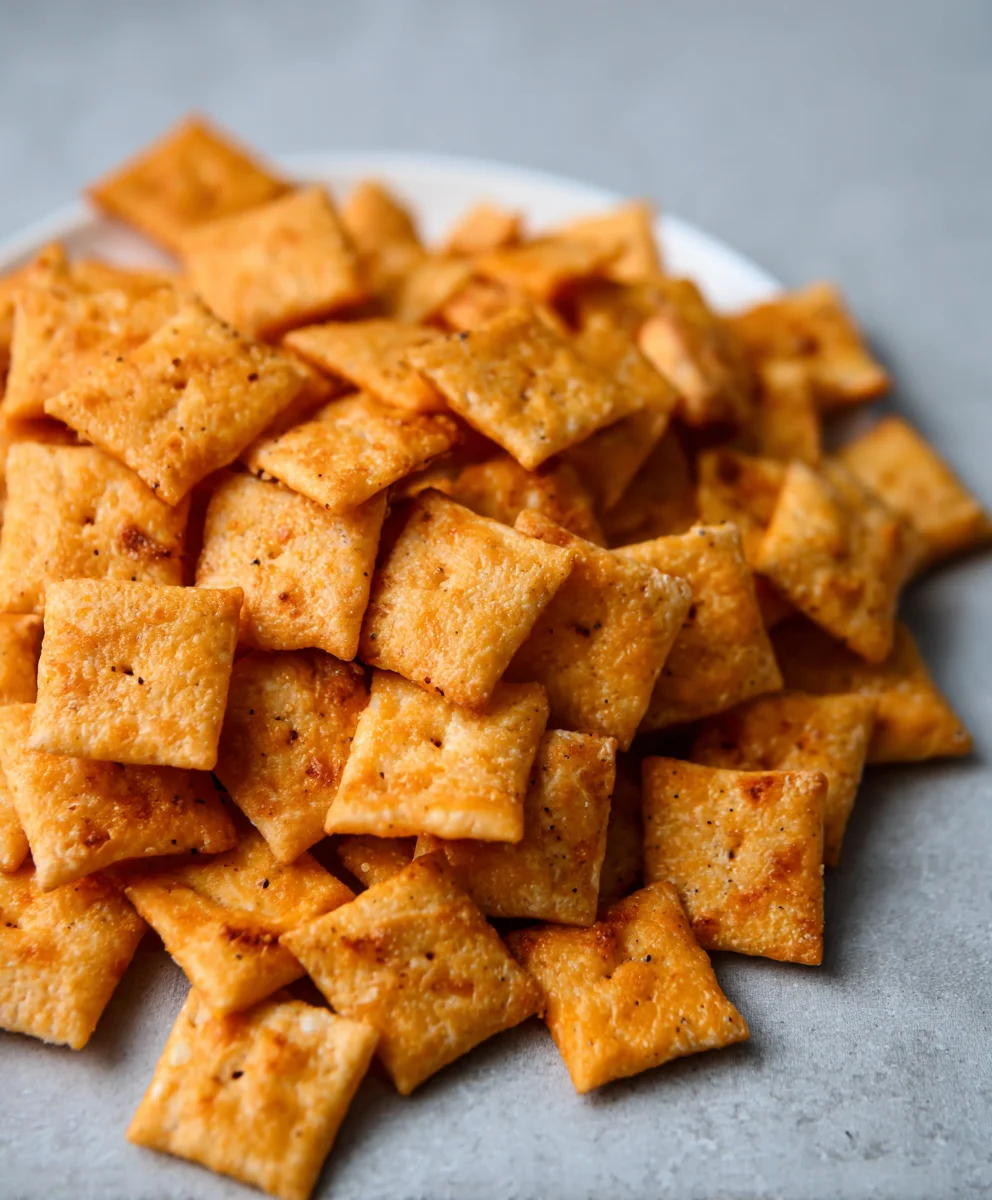
Sourdough Cheez-Its- Homemade & Delicious Snack
Sourdough Cheez Its Recipe beckons the adventurous home baker to embark on a delightful culinary journey. Forget the store-bought boxes; we’re talking about a homemade revelation, a burst of tangy, cheesy goodness that will redefine your snack game. What is it about these tiny, savory crackers that captures our hearts (and taste buds)? It’s the irresistible crunch, the perfect balance of sharp cheddar and a subtle, yeasty tang, and the sheer joy of popping them one after another. This isn’t just another cracker; it’s an experience. The magic of a Sourdough Cheez Its Recipe lies in transforming simple ingredients into something extraordinary, leveragin extractg the natural leavening power of sourdough to create a unique depth of flavor and an exceptionally satisfying texture. We’re going to unlock the secrets to crafting these addictive bites, ensuring your pantry is always stocked with the best darn crackers you’ve ever tasted.
Ingredients:
- 226 grams cheddar cheese, freshly shredded (about 8 ounces)
- 100 grams sourdough discard (approximately 1/3 cup)
- 42 grams unsalted butter, cold and cubed (3 Tablespoons)
- 140 grams all-purpose flour (about 1 cup)
- 1 gram garlic powder (1/4 teaspoon)
- 1 gram onion powder (1/4 teaspoon)
- 3 grams fine sea salt (1/2 teaspoon), plus more for finishing if desired
Getting Started: Preparing the Dough
Step 1: Combine Dry Ingredients
The foundation of our Sourdough Cheez Its lies in a well-mixed dry base. In a medium-sized bowl, whisk together the all-purpose flour, garlic powder, onion powder, and fine sea salt. This ensures that the seasonings are evenly distributed throughout the dough, preventing pockets of intense flavor and guaranteeing a consistent taste in every bite. Make sure to give it a good whisk for at least 30 seconds to aerate the flour slightly and ensure everything is thoroughly incorporated.
Step 2: Incorporate the Cold Butter
Now it’s time to add the cold, cubed unsalted butter. Using a pastry blender, your fingertips, or a food processor on a pulse setting, work the butter into the dry ingredients until the mixture resembles coarse crum extractbs. You’re looking for pieces of butter about the size of small peas. These butter pieces are crucial for creating the flaky texture we desire in our crackers. As the crackers bake, the butter will melt, creating steam pockets that contribute to that signature crispiness and slight chew. Work quickly to keep the butter cold; this is key to achieving the right texture. If your kitchen is warm, you might want to chill the bowl for a few minutes before proceeding.
Step 3: Introducing the Sourdough Discard and Cheese
Next, we’ll add our flavorful sourdough discard and the star of the show, the freshly shredded cheddar cheese. Add the sourdough discard to the butter and flour mixture. Then, add the grated cheddar cheese. Gently mix everything together with a spatula or your hands until it just starts to come together into a shaggy dough. Be careful not to overmix at this stage. We want the cheese to be incorporated but not completely melted into the dough. The sourdough discard will add a subtle tang and contribute to the cracker’s texture, while the cheddar cheese provides that irresistible savory, cheesy flavor. Using freshly shredded cheese is important here; pre-shredded cheese often contains anti-caking agents that can affect the dough’s consistency.
Shaping and Baking Your Sourdough Cheez Its
Step 4: Chilling and Rolling the Dough
Once the dough has just come together, gently press it into a flat disc. Wrap the disc tightly in plastic wrap and refrigerate for at least 30 minutes, or up to 2 days. This chilling period is essential. It allows the gluten in the flour to relax, making the dough easier to roll out and preventing it from shrinking too much during baking. It also firms up the butter again, which is vital for that flaky texture we discussed earlier. When you’re ready to bake, lightly flour your work surface and a rolling pin. Unwrap the chilled dough and roll it out to about 1/8-inch thickness. Aim for an even thickness so that all your crackers bake uniformly. If the dough becomes too soft to handle, pop it back into the refrigerator for a few minutes.
Step 5: Cutting and Baking the Crackers
After rolling, it’s time to create our Cheez It shapes. You can use a pizza cutter or a knife to cut the dough into small squares, roughly 1-inch by 1-inch. For those authentic Cheez It nooks and crannies, use a fork to gently prick each square a few times. This also helps prevent them from puffing up too much. Arrange the cut crackers on a baking sheet lined with parchment paper, leaving a little space between them. If you desire an extra touch of flavor and visual appeal, lightly sprinkle them with flaky salt. Preheat your oven to 375°F (190°C). Bake for 12-18 minutes, or until the crackers are golden brown and crisp. Keep a close eye on them during the last few minutes of baking, as they can go from perfectly done to burnt very quickly. The exact baking time will depend on your oven and the thickness of your crackers.
Step 6: Cooling and Enjoying
Once baked to perfection, carefully remove the baking sheet from the oven. Let the Sourdough Cheez Its cool on the baking sheet for a few minutes before transferring them to a wire rack to cool completely. This allows them to finish crisping up as they cool. They should be delightfully crunchy and packed with cheesy, tangy goodness. Store your homemade Sourdough Cheez Its in an airtight container at room temperature for up to a week. They make for a fantastic snack, a delightful addition to a cheese board, or even a crunchy topping for soups and salads. Enjoy the satisfaction of creating these incredibly addictive, homemade cheesy crackers!
Conclusion:
And there you have it! Your very own batch of delicious homemade Sourdough Cheez Its Recipe is ready to be devoured. This recipe is a fantastic way to use up active sourdough starter and create a snack that’s both satisfyingly cheesy and wonderfully tangy. We hope you enjoyed the process and are thrilled with the results. These crispy, golden bites are perfect for movie nights, lunchboxes, or simply as a delightful afternoon treat. Serve them warm from the oven for an extra gooey experience, or let them cool completely for that signature crunch. They pair beautifully with a variety of dips, from a classic marinara to a creamy ranch, or even just enjoyed on their own!
Don’t be afraid to experiment with this base recipe! You can easily adjust the cheese blend to your liking – try adding some smoked gouda or a sharp cheddar for a different flavor profile. A pinch of cayenne pepper or some dried herbs like rosemary or chives can also add exciting new dimensions to your Sourdough Cheez Its Recipe. We encourage you to get creative and make this recipe your own. Happy baking!
FAQs
Why is my Sourdough Cheez Its Recipe not crispy?
Several factors can contribute to a less-than-crispy result. Ensure your oven temperature is accurate; an oven thermometer can be very helpful. Overcrowding the baking sheet can also steam the crackers rather than bake them, so give them plenty of space. Baking them until they are deeply golden brown is crucial for achieving that satisfying crunch. Sometimes, a slightly wetter dough can also lead to a softer cracker, so ensure your dough is firm enough to roll out thinly.
Can I make Sourdough Cheez Its Recipe ahead of time?
Absolutely! Once completely cooled, these Sourdough Cheez Its Recipe crackers can be stored in an airtight container at room temperature for up to a week. They tend to retain their crispness better when stored properly. This makes them an excellent make-ahead snack for parties or busy weeks.
Sourdough Cheez-Its- Homemade & Delicious Snack
Delicious homemade Cheez-Its made with sourdough discard for a tangy, cheesy crunch. Perfect for snacking!
Ingredients
-
226 grams cheddar cheese, freshly shredded (about 8 ounces)
-
100 grams sourdough discard (approximately 1/3 cup)
-
42 grams unsalted butter, cold and cubed (3 Tablespoons)
-
140 grams all-purpose flour (about 1 cup)
-
1 gram garlic powder (1/4 teaspoon)
-
1 gram onion powder (1/4 teaspoon)
-
3 grams fine sea salt (1/2 teaspoon), plus more for finishing if desired
Instructions
-
Step 1
In a medium-sized bowl, whisk together the all-purpose flour, garlic powder, onion powder, and fine sea salt. Whisk for at least 30 seconds to ensure even distribution. -
Step 2
Incorporate the cold, cubed unsalted butter into the dry ingredients using a pastry blender, fingertips, or food processor until the mixture resembles coarse crumbs with pea-sized pieces of butter. -
Step 3
Add the sourdough discard and freshly shredded cheddar cheese to the mixture. Gently mix until it just starts to come together into a shaggy dough. Do not overmix. -
Step 4
Gently press the dough into a flat disc, wrap tightly in plastic wrap, and refrigerate for at least 30 minutes, or up to 2 days. Lightly flour a work surface and rolling pin, then roll the chilled dough out to about 1/8-inch thickness. -
Step 5
Cut the dough into approximately 1-inch by 1-inch squares using a pizza cutter or knife. Gently prick each square a few times with a fork. Arrange on a parchment-lined baking sheet, sprinkle with flaky salt if desired. -
Step 6
Preheat oven to 375°F (190°C). Bake for 12-18 minutes, or until golden brown and crisp. Monitor closely during the last few minutes. -
Step 7
Let the crackers cool on the baking sheet for a few minutes, then transfer to a wire rack to cool completely. Store in an airtight container at room temperature for up to a week.
Important Information
Nutrition Facts (Per Serving)
It is important to consider this information as approximate and not to use it as definitive health advice.
Allergy Information
Please check ingredients for potential allergens and consult a health professional if in doubt.