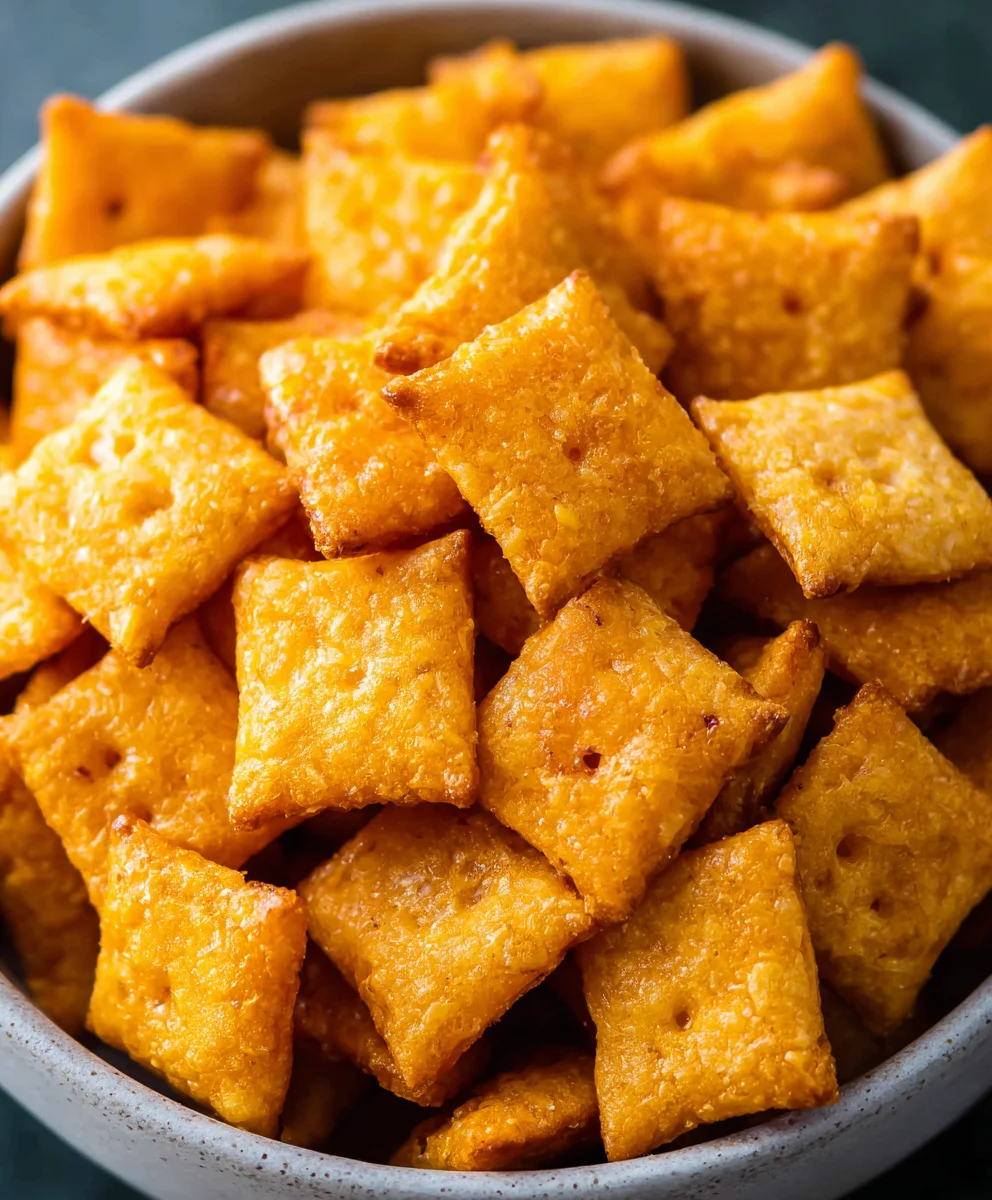
Easy Homemade Cheez Its Recipe – Delicious Snack
Homemade Cheez Its are more than just a snack; they’re a nostalgic gateway to childhood joy and a testament to the simple pleasure of creating something delicious from scratch. Think about it: that satisfying crunch, that undeniably cheesy flavor that lingers just right. It’s no wonder these little squares have captured the hearts (and taste buds!) of so many. But what truly sets these Homemade Cheez Its apart from their store-bought counterparts? It’s the ability to control the exact type and intensity of cheese, the satisfying texture you can achieve with just a few key ingredients, and the pride of knowing you’ve recreated a beloved classic with your own two hands. Forget artificial flavors and excessive preservatives; this recipe delivers pure, unadulterated cheese goodness that will have you reaching for more, one perfectly baked cracker at a time.
Ingredients:
- ¼ cup unsalted butter, softened to room temperature
- 8 ounces sharp cheddar cheese, finely shredded
- 1 ¼ cups all-purpose flour
- 1 teaspoon kosher salt, plus extra for sprinkling on top
- 2-3 tablespoons ice-cold water
- 2 tablespoons olive oil
Preparing the Dough
This is where the magic begin extracts for our homemade Cheez-Its. The key to a tender and flaky cracker lies in the quality of your ingredients and the way you handle the dough. Start by ensuring your unsalted butter is truly at room temperature. This means it should be soft enough to indent easily with your finger, but not melted or greasy. If it’s too cold, it won’t incorporate properly into the flour, leading to a tough dough. If it’s too warm, it can make the dough sticky and difficult to work with.
In a medium-sized mixing bowl, combine the softened butter with the finely shredded sharp cheddar cheese. Using your fingertips or a pastry blender, work the butter and cheese together until they form a cohesive, crum extractbly mixture. Don’t worry about achieving a perfectly smooth paste at this stage; a slightly uneven texture is perfectly fine. This initial combination is crucial for embedding the cheesy flavor throughout the dough.
Next, add the all-purpose flour and 1 teaspoon of kosher salt to the bowl. Mix these dry ingredients into the butter and cheese mixture. Continue to incorporate them until the mixture resembles rum extractrse crumbs. You can do this by pinching the ingredients together between your fingers or by using a pastry blender. The goal here is to distribute the flour and salt evenly, coating the butter and cheese.
Now it’s time for the liquid. Gradually add the ice-cold water, one tablespoon at a time, mixing gently after each addition. You’ll want to use just enough water to bring the dough together. This usually falls within the 2 to 3 tablespoon range. The cold water helps to keep the butter from melting prematurely, which is essential for achieving that delightful flaky texture in your finished crackers. As you mix, the dough will start to clump together. Avoid overmixing; once the dough just comes together and forms a cohesive ball, stop. It might still seem a little shaggy, and that’s perfectly okay. Overworking the gluten in the flour will result in tough crackers.
Turn the dough out onto a lightly floured surface. Gently knead it a few times, just enough to form a smooth, unified ball. Again, resist the urge to overwork it. The less you handle the dough at this stage, the more tender your homemade Cheez-Its will be. Wrap the dough tightly in plastic wrap, pressing it into a flat disc. This will make it easier to roll out later. Refrigerate the dough for at least 30 minutes. This chilling period is vital. It allows the gluten to relax, which makes the dough easier to roll and prevents shrinkage during baking. It also solidifies the butter, which will create those desirable flaky layers when baked.
Rolling and Shaping
Once your dough has had adequate chilling time, it’s time to roll it out. Preheat your oven to 400°F (200°C). Line two baking sheets with parchment paper. This step is important for easy cleanup and to prevent sticking.
On a lightly floured surface, unwrap the chilled dough gin extractc. Begin to roll it out evenly with a rolling pin. You’re aiming for a thickness of about 1/8 inch. This is similar to the thickness of store-bought crackers, and it’s the sweet spot for achieving a good crispness without being too brittle or too soft. If the dough becomes too soft to handle while rolling, place it back in the refrigerator for a few minutes to firm up. Don’t be afraid to use a little extra flour on your rolling pin and surface if the dough starts to stick, but brush off any excess flour before cutting.
Once you have a thinly rolled rectangle of dough, it’s time to cut out your cracker shapes. You can use a pizza cutter or a sharp knife to cut the dough into small squares, approximately 1-inch by 1-inch. For that authentic homemade Cheez-It look, you can use the tip of a knife or a skewer to poke a small hole in the center of each square. This not only adds to the visual appeal but also helps to prevent the crackers from puffing up too much during baking.
Carefully transfer the cut cracker shapes to your prepared baking sheets, leaving a small amount of space between them. Don’t worry if your squares aren’t perfectly uniform; the rustic charm of homemade food is part of its appeal!
Baking to Golden Perfection
Now it’s time to give our homemade Cheez-Its their signature golden hue and satisfying crunch. Before they go into the oven, we’ll give them a finishing touch. Drizzle the 2 tablespoons of olive oil evenly over the cut cracker shapes on the baking sheets. Then, generously sprinkle the additional kosher salt over the top of each cracker. This salt topping is crucial for that classic Cheez-It flavor.
Place the baking sheets in the preheated oven. Bake for 10-15 minutes, or until the crackers are golden brown and feel firm to the touch. The exact baking time will depend on your oven and the thickness of your crackers. Keep a close eye on them during the last few minutes of baking, as they can go from perfectly golden to slightly burnt very quickly. The edges will likely brown slightly faster than the centers, so watch for that telltnon-alcoholic ale golden color.
Once baked to your desired level of crispness, remove the baking sheets from the oven. Let the homemade Cheez-Its cool on the baking sheets for a few minutes. They will continue to crisp up as they cool. After they have cooled slightly, carefully transfer them to a wire rack to cool completely. Ensuring they cool completely before storing is important for maintaining their crisp texture.
Storing Your Homemade Cheez-Its
Once completely cooled, your delicious homemade Cheez-Its are ready to be enjoyed! Store them in an airtight container at room temperature. They should stay fresh and delightfully crunchy for up to a week. If you find they lose a bit of their crispness over time, you can briefly pop them back into a low oven (around 250°F / 120°C) for a few minutes to revive them. Enjoy this cheesy, savory, homemade treat!
Conclusion:
There you have it – your guide to creating delicious Homemade Cheez Its from scratch! We’ve walked through each step, from preparing the dough to achieving that perfect cheesy crunch. This recipe is a fantastic way to impress guests or simply treat yourself to a superior snack. The satisfaction of making these iconic crackers yourself is truly rewarding, and the taste is undeniably better than anything store-bought.
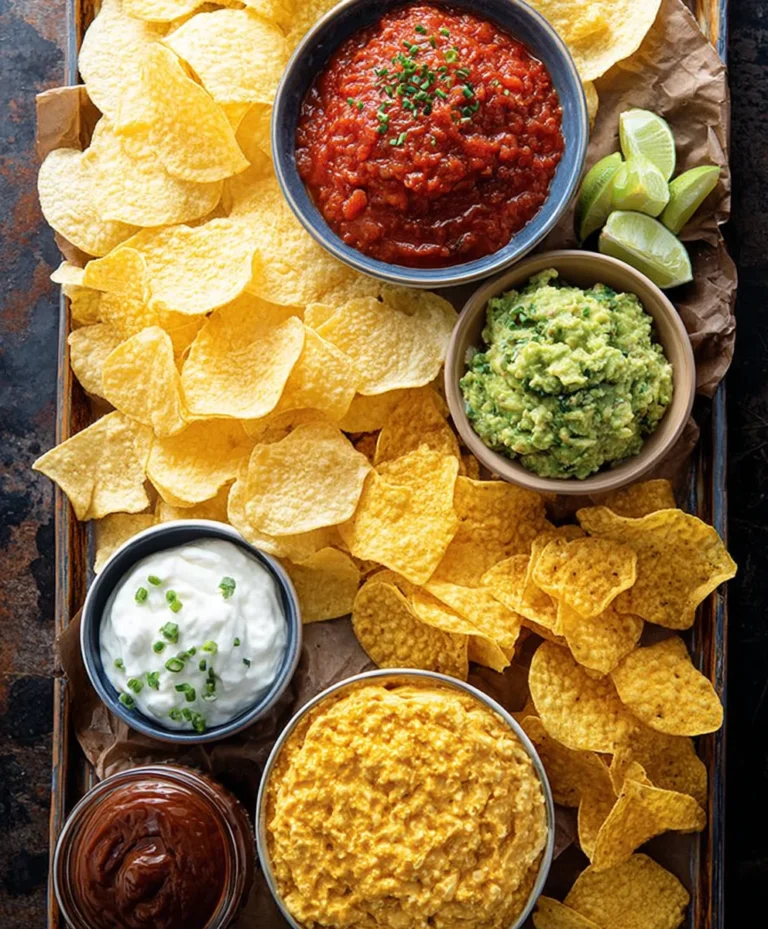
For serving, these Homemade Cheez Its are incredibly versatile. Enjoy them as a standalone snack, pack them in lunchboxes, or serve them alongside your favorite dips like salsa, guacamole, or even a creamy cheese sauce for an extra cheesy indulgence. They also make a delightful addition to cheese boards or charcuterie platters.
Don’t be afraid to get creative with variations! You can experiment with different types of cheese, like sharp cheddar for a bolder flavor, smoked gouda for a smoky twist, or even add a pinch of cayenne pepper or smoked paprika to the dough for a little heat. Feel free to play around with herbs like chives or rosemary for an aromatic touch.
We hope you enjoy making and sharing these Homemade Cheez Its. Happy baking, and may your snack game be forever elevated!
Frequently Asked Questions:
Why are my Homemade Cheez Its not crispy?
Several factors can affect crispiness. Ensure your oven is at the correct temperature and that you’re not overcrowding the baking sheet, which can lead to uneven cooking. Baking until the edges are golden brown is a good indicator. Also, make sure the dough is rolled thin enough; thicker crackers will naturally be chewier. Allowing them to cool completely on the baking sheet after removing them from the oven also helps them crisp up.
Can I make the dough ahead of time?
Yes, absolutely! The dough for Homemade Cheez Its can be made ahead of time and refrigerated for up to 2-3 days. Wrap it tightly in plastic wrap. When you’re ready to bake, let the dough sit at room temperature for about 15-20 minutes to make it easier to roll out.
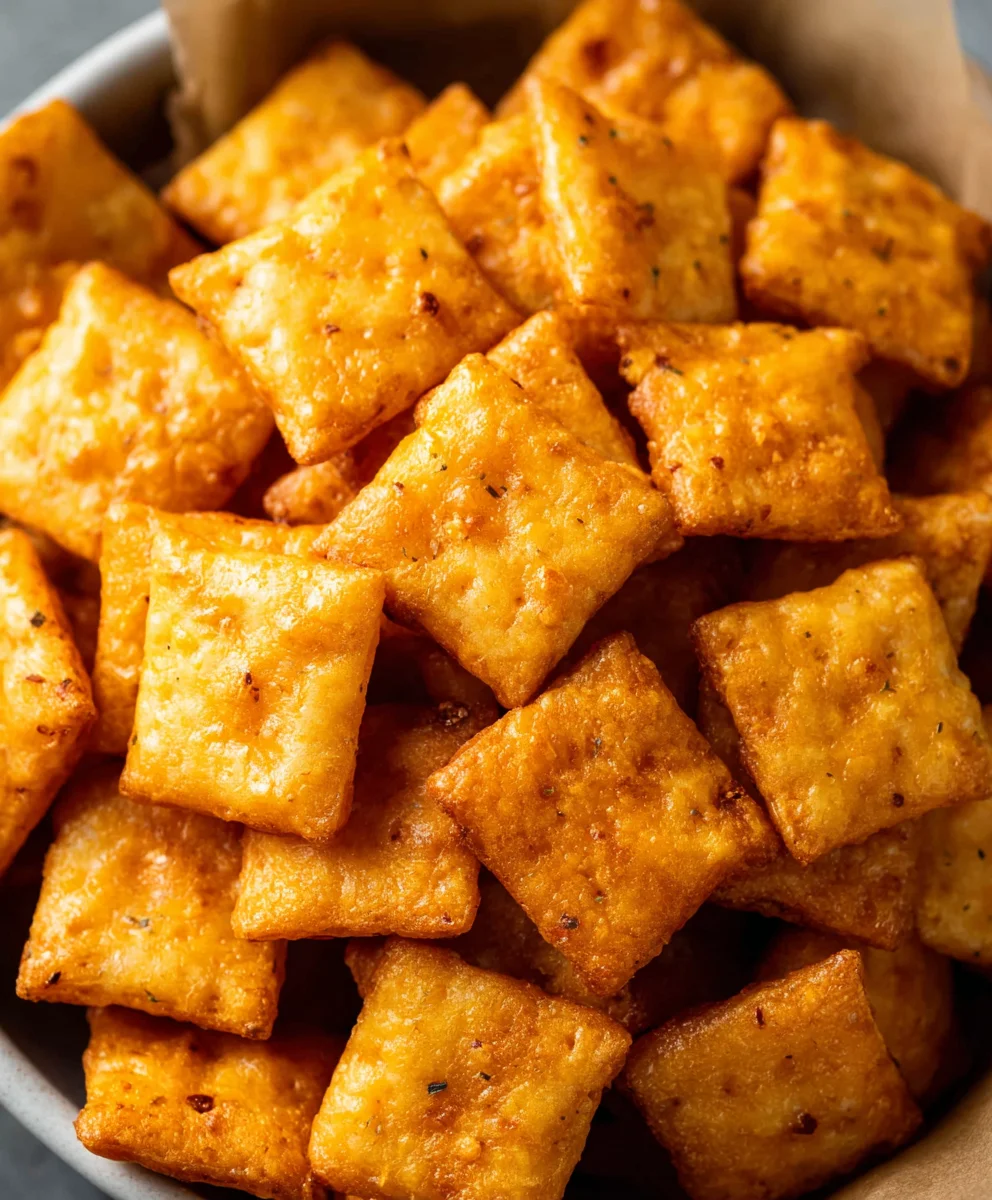
Easy Homemade Cheez Its Recipe
Deliciously easy homemade Cheez-Its that are crispy, cheesy, and perfect for snacking.
Ingredients
-
¼ cup unsalted butter, softened to room temperature
-
8 ounces sharp cheddar cheese, finely shredded
-
1 ¼ cups all-purpose flour
-
1 teaspoon kosher salt, plus extra for sprinkling on top
-
2-3 tablespoons ice-cold water
-
2 tablespoons olive oil
Instructions
-
Step 1
Combine softened butter and shredded cheddar cheese in a bowl. Work together with fingertips or a pastry blender until crumbly. -
Step 2
Add flour and 1 teaspoon kosher salt. Mix until the mixture resembles coarse crumbs. -
Step 3
Gradually add ice-cold water, 1 tablespoon at a time, mixing until the dough just comes together. Avoid overmixing. Form into a flat disc, wrap tightly in plastic wrap, and refrigerate for at least 30 minutes. -
Step 4
Preheat oven to 400°F (200°C). Line baking sheets with parchment paper. On a lightly floured surface, roll out the dough to about 1/8 inch thickness. Cut into 1-inch squares and poke a small hole in the center of each. -
Step 5
Transfer crackers to prepared baking sheets. Drizzle with olive oil and generously sprinkle with additional kosher salt. -
Step 6
Bake for 10-15 minutes, or until golden brown and firm. Cool on baking sheets for a few minutes, then transfer to a wire rack to cool completely.
Important Information
Nutrition Facts (Per Serving)
It is important to consider this information as approximate and not to use it as definitive health advice.
Allergy Information
Please check ingredients for potential allergens and consult a health professional if in doubt.