Easy Artisan Bread Recipe – Perfect Loaf Every Time
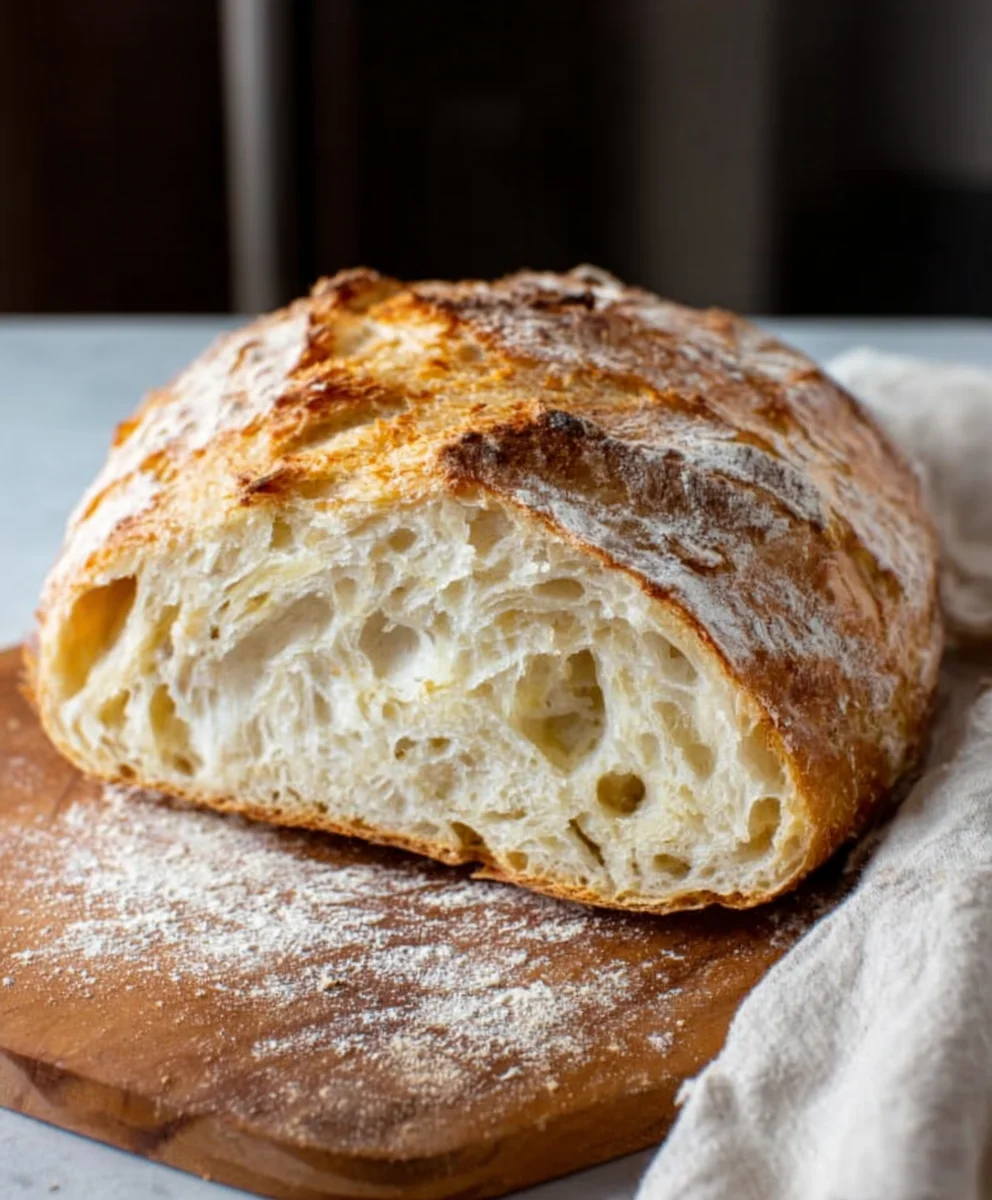
Artisan Bread Recipe brings with it a certain romance, doesn’t it? The promise of a perfectly crusted loaf, its interior impossibly soft and airy, is enough to make anyone’s mouth water. We all crave that comforting, deeply satisfying bite of homemade bread, that undeniable aroma filling our kitchens and our hearts. What is it about this particular kind of bread that captures our imagin extractation so completely? It’s the simplicity of its core ingredients – flour, water, salt, and yeast – transformed into something truly magical through patient hands and a touch of culinary artistry. This isn’t just about sustenance; it’s about the experience. The crackle of the crust as you slice into it, the warm, yeasty scent that evokes memories of simpler times, and the sheer pride of creating something so delicious from scratch. This particular Artisan Bread Recipe aims to demystify the process, making that dream loaf achievable for every home baker, transforming your kitchen into your very own artisan bakery.
Ingredients:
- 3 cups (395 grams) all-purpose flour or bread flour
- ½ tablespoon kosher salt
- ¼ ounce instant or active dry yeast packet (or 2 ¼ teaspoons)
- 1 ½ cups warm water (105°F)
Getting Started: Activating the Yeast and Mixing the Dough
The foundation of any great artisan bread recipe lies in a well-developed dough, and that begin extracts with properly activating your yeast. In a large mixing bowl, combine the warm water. It’s crucial to get the temperature right – aim for around 105°F (40°C). Too hot and you’ll kill the yeast; too cool and it won’t activate effectively. A good test is if it feels comfortably warm to the touch, like a baby’s bathwater. To this warm water, sprinkle the yeast packet. If you’re using active dry yeast, let it sit undisturbed for about 5-10 minutes. You’ll notice it start to foam and become frothy on the surface. This indicates your yeast is alive and ready to work its magic. If you’re using instant yeast, you can often add it directly to the flour, but activating it like this ensures you’re starting with healthy yeast.
Once your yeast is happy and bubbly, it’s time to add the dry ingredients. Gently whisk in the ½ tablespoon of kosher salt into the flour. Salt is not just for flavor; it also plays a vital role in controlling the yeast’s activity and strengthening the gluten structure of the dough. Now, add the flour and salt mixture to the activated yeast and water. Using a sturdy spoon or a spagin extracta, begin to mix everything together. Don’t worry about kneading at this stage; your goal is simply to combine the ingredients until no dry flour remains. You’ll end up with a shaggy, somewhat sticky dough. At this point, cover the bowl with a clean kitchen towel or plastic wrap and let it rest for about 10-15 minutes. This resting period, often called autolyse, allows the flour to fully hydrate and gin extract gluten to begin developing without much effort on your part. It makes the subsequent kneading much easier.
Developing the Gluten: Kneading for That Perfect Texture
After the initial rest, it’s time to get your hands in there and develop the gluten. Turn the shaggy dough out onto a lightly floured surface. It might still be a bit sticky, and that’s perfectly fine. Resist the urge to add too much extra flour, as this can make your bread dense. Instead, use your hands and a bench scraper if neededgin extract manage the dough. Begin kneading by pushing the dough away from you with the heels of your hands, then folding it back over itself. Rotate the dough a quarter turn and repeat. Continue this rhythmic motion for about 8-10 minutes. You’re looking for the dough to become smooth, elastic, and less sticky. When you gently press into the dough with your finger, it should spring back slowly. You can also perform the “windowpane test”: take a small piece of dough and gently stretch it. If you can stretch it thin enough to see light through it without it tearing, your gluten is well-developed. This crucial step is what gives artisan bread its characteristic chewy texture and wonderful structure.
First Rise: Letting the Dough Do Its Work
Once your dough has been kneaded to perfection, it needs its first rise. Lightly grease a clean, large bowl with a little bit of olive oil or cooking spray. Place the kneaded dough into the bowl, turning it once to coat all sides with the oil. This prevents the dough from drying out as it rises. Cover the bowl tightly with plastic wrap or a damp kitchen towel. Find a warm, draft-free spot in your kitchen for the dough to rest. This could be on top of a slightly warm (but not hot) oven, near a sunny window, or simply in the warmest part of your room. Now, patience is key. Allow the dough to rise for 1 to 1.5 hours, or until it has doubled in size. The exact time will depend on the ambient temperature of your kitchen. You’ll know it’s ready when it looks noticeably puffy and has filled the bowl. This slow fermentation process is where much of the flavor develops in your artisan bread.
Shaping the Loaf: Preparing for the Final Bake
After the dough has beautifully doubled in size, gently punch it down to release the trapped gases. This deflates the dough and prepares it for shaping. Turn the dough out onto a lightly floured surface once more. For a classic artisan loaf, you’ll want to gently shape it into a round (boule) or an oblong (batard) shape. To create a round loaf, gently pat the dough into a rough circle. Then, bring the edges of the dough into the center, pinching them together to create tension on the surface. Flip the dough over so the seam is on the bottom and gently cup your hands around it, rotating it on the counter to create a taut surface. For an oblong loaf, gently flatten the dough into a rectangle. Then, starting from the top edge, tightly roll the dough down towards you, pressing to seal the seam each time you roll. Once rolled, pinch the seam firmly closed. Place your shaped loaf onto a piece of parchment paper set on a baking sheet, or into a well-floured proofing basket (banneton) if you have one.
Final Proof and Baking: Achieving That Golden Crust
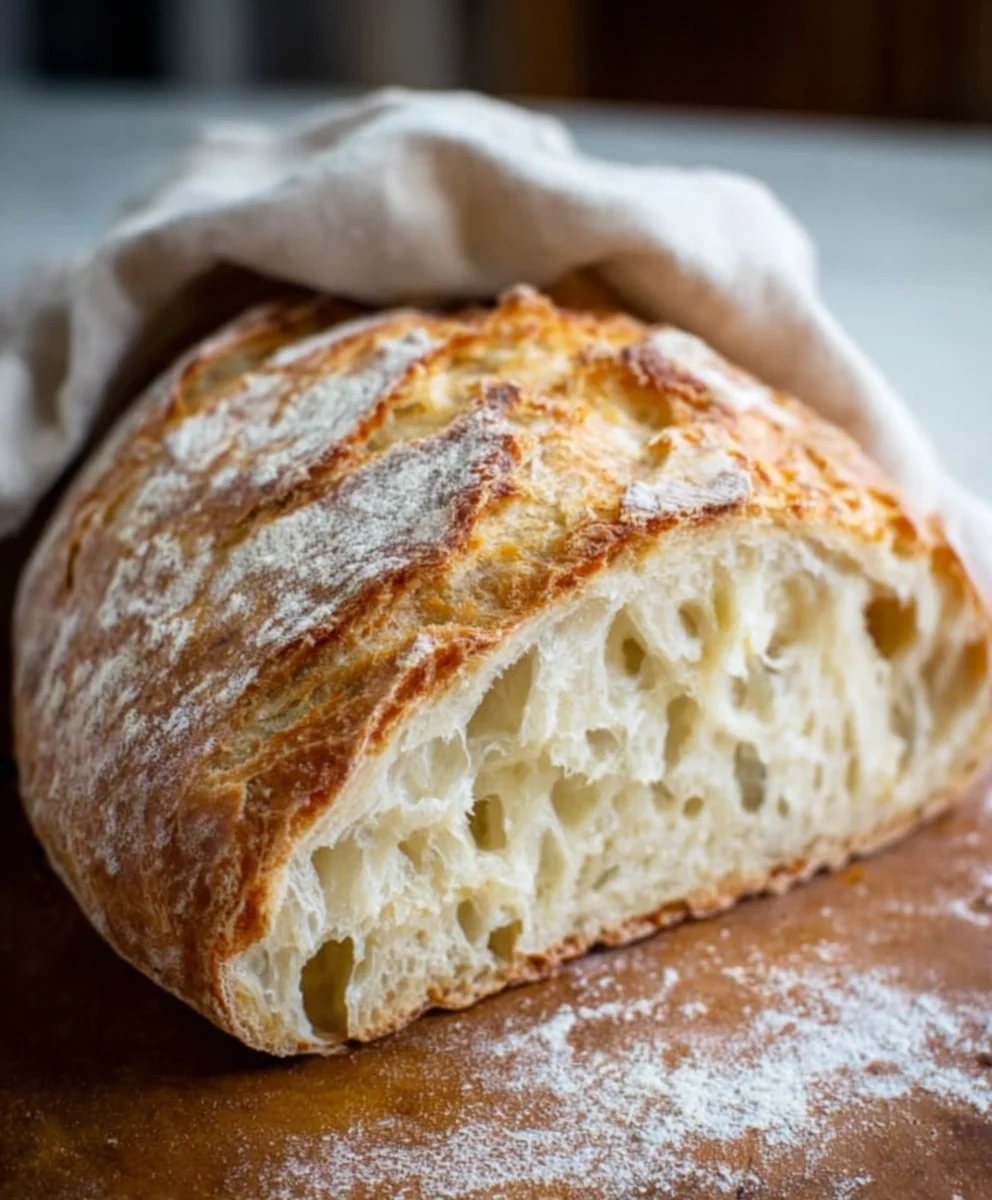
Now, it’s time for the final proof. If you shaped your loaf on parchment paper, loosely cover it with plastic wrap or a kitchen towel. If you used a proofing basket, invert the loaf onto parchment paper or directly onto your baking surface after proofing. Place the covered loaf in a warm place for another 30-60 minutes, or until it has become visibly puffy and slightly increased in size. While the dough is proofing, preheat your oven to 450°F (230°C). If you’re using a baking stone or cast-iron Dutch oven, place it in the oven during preheating. A hot oven is crucial for achieving that sought-after artisan crust. Just before baking, score the top of your loaf with a sharp knife or a lame. This allows the bread to expand evenly in the oven and creates beautiful patterns. Carefully transfer your proofed loaf to the preheated oven. If using a Dutch oven, carefully place the loaf inside, cover it, and bake for 20 minutes. Then, remove the lid and continue baking for another 15-20 minutes, or until the crust is a deep golden brown and the internal temperature reaches around 200-210°F (93-99°C). If baking directly on a baking stone, you may want to place a pan of hot water on the oven rack below your bread for the first 15 minutes to create steam, which also helps develop a crisp crust. Once baked, transfer the bread to a wire rack to cool completely. The aroma alone will tell you you’ve accomplished something truly special.
Conclusion:
You’ve reached the end of our delightful journey into crafting the perfect Artisan Bread Recipe! We’ve walked through each step, from activating the yeast to achieving that coveted golden crust. This recipe is more than just ingredients and instructions; it’s about the satisfying process of transforming simple components into a masterpiece. The aroma that fills your kitchen as this bread bakes is truly a reward in itself. Don’t be intimidated by the process; the results are well worth your time and effort. Embrace the joy of baking and share this delicious creation with loved ones.
Serving this Artisan Bread Recipe is incredibly versatile. It’s magnificent on its own, slathered with good quality butter. It also makes the perfect accompaniment to soups, stews, and salads. Consider it the star of your next cheese board or the foundation for an incredible sandwich. For variations, feel free to knead in herbs like rosemary or thyme, or even a handful of olives or sun-dried tomatoes during the final stage of kneading. You can also experiment with different flours, like a blend of bread flour and whole wheat for added depth of flavor and texture.
Frequently Asked Questions about our Artisan Bread Recipe:
Q1: My artisan bread didn’t rise as much as I expected. What could have gone wrong?
There are a few common culprits. Ensure your yeast was fresh and properly activated in warm, not hot, water. The room temperature where you let the dough rise also plays a significant role; a cooler environment will slow down the rise. Make sure you’re not adding too much flour during kneading, which can make the dough too stiff for a good rise. Gentle handling of the dough is key!
Q2: Can I make this Artisan Bread Recipe ahead of time?
Absolutely! The dough can be refrigerated for a slow, cold fermentation for up to 24-48 hours. This develops even more flavor. Punch down the dough after its initial rise, shape it as desired, and then place it in the refrigerator in a lightly oiled bowl, covered. When you’re ready to bake, let it come to room temperature for about an hour before proceeding with the final proof and baking instructions.
Easy Artisan Bread Recipe – Perfect Loaf Every Time
A straightforward recipe for creating a delicious, crusty artisan loaf at home, yielding a perfect result every time. This recipe guides you through yeast activation, dough development, shaping, and baking for a beautiful, flavorful bread.
Ingredients
-
3 cups (395 grams) all-purpose flour or bread flour
-
½ tablespoon kosher salt
-
¼ ounce instant or active dry yeast packet (or 2 ¼ teaspoons)
-
1 ½ cups warm water (105°F)
-
Olive oil or cooking spray, for greasing
Instructions
-
Step 1
Activate the yeast: In a large bowl, combine warm water (around 105°F) and sprinkle yeast over it. If using active dry yeast, let it sit for 5-10 minutes until foamy. Instant yeast can often be added directly to flour, but this ensures it’s active. -
Step 2
Mix the dough: Whisk salt into the flour. Add the flour mixture to the activated yeast and water. Mix with a spoon or spatula until just combined and no dry flour remains, forming a shaggy, sticky dough. Cover and let rest for 10-15 minutes (autolyse). -
Step 3
Develop gluten: Turn the dough onto a lightly floured surface. Knead for 8-10 minutes until smooth, elastic, and less sticky. The dough should spring back slowly when poked and pass the windowpane test. Lightly grease a clean bowl, place dough in it, turn to coat, cover, and let rise in a warm, draft-free spot for 1 to 1.5 hours, or until doubled. -
Step 4
Shape the loaf: Gently punch down the risen dough. Turn it onto a lightly floured surface and shape into a round (boule) or oblong (batard). For a boule, tuck edges under and cup hands around it to create surface tension. For a batard, roll tightly from one edge, pinching seams. Place on parchment paper or in a floured proofing basket. -
Step 5
Final proof and bake: Loosely cover the shaped loaf and let it proof for another 30-60 minutes until puffy. Preheat oven to 450°F (230°C), placing a baking stone or Dutch oven inside if using. Score the top of the loaf. Bake in a Dutch oven, covered, for 20 minutes, then uncovered for 15-20 minutes until golden brown. If baking on a stone, use a pan of water for steam for the first 15 minutes. Cool completely on a wire rack.
Important Information
Nutrition Facts (Per Serving)
It is important to consider this information as approximate and not to use it as definitive health advice.
Allergy Information
Please check ingredients for potential allergens and consult a health professional if in doubt.