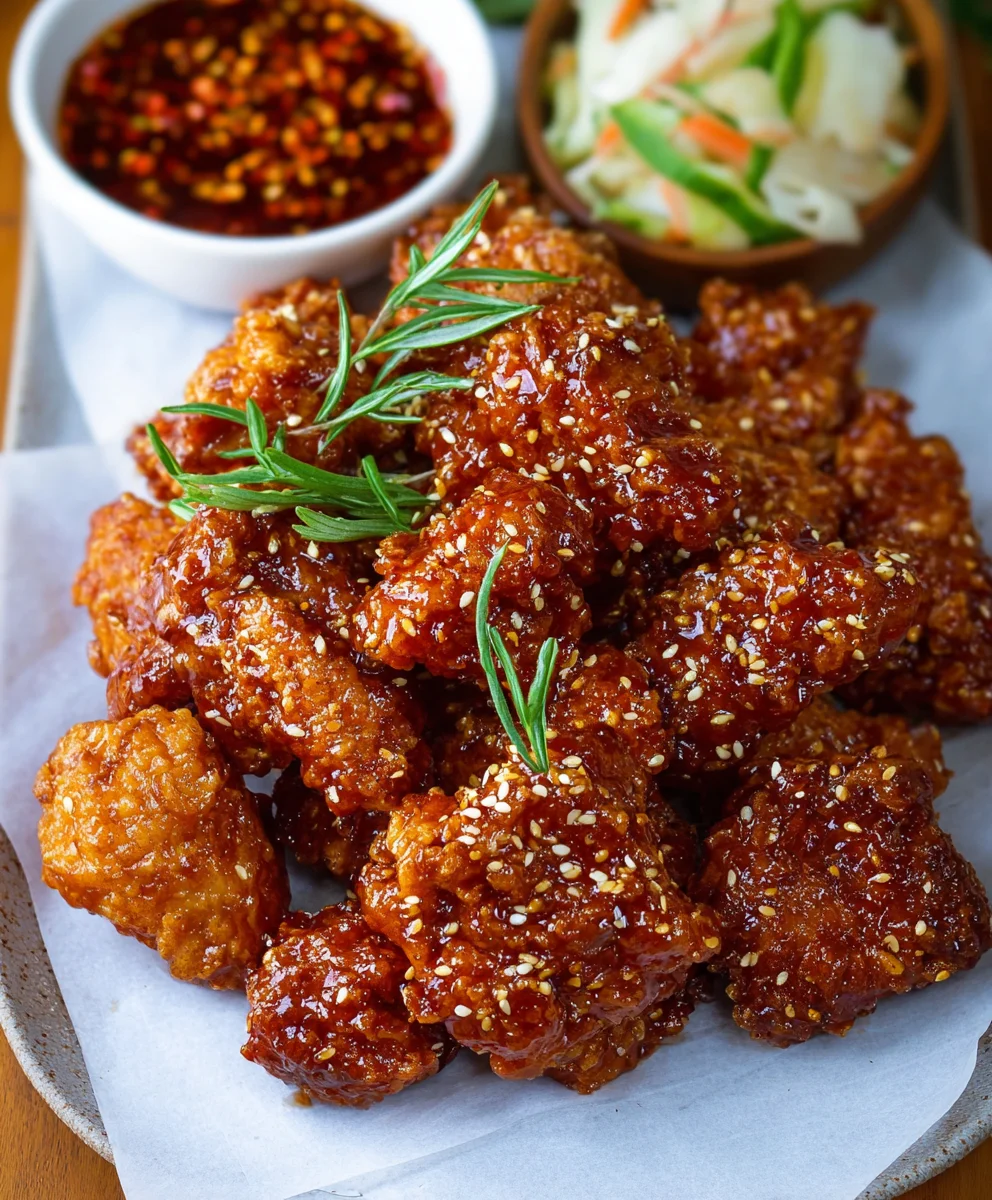
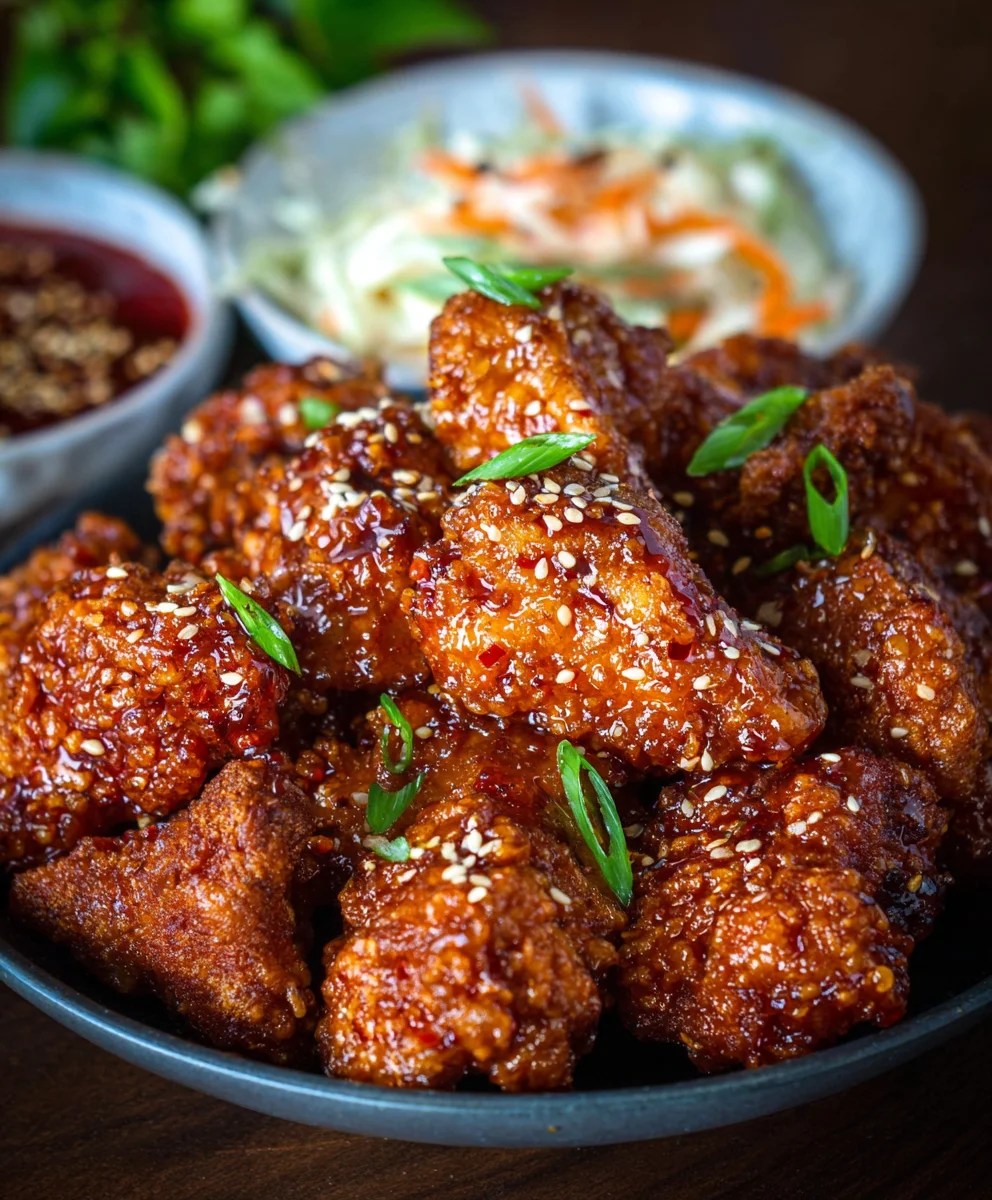
Crispy Korean Fried Chicken-Yangnyeom Flavor
Korean Fried Chicken (Yangnyeom Chicken) isn’t just a meal; it’s an experience. That irresistible, craveable crunch followed by the explosion of sweet, savory, and slightly spicy sauce is what makes this dish a global phenomenon. It’s no wonder why everyone is obsessed with Korean Fried Chicken (Yangnyeom Chicken)! Unlike its American counterpart, the magic of authentic Korean Fried Chicken (Yangnyeom Chicken) lies in its impossibly crispy, delicate crust, achieved through a unique double-frying technique. But the real star is the addictive sauce – a glossy, harmonious blend of gochujang (Korean chili paste), garlic, soy sauce, and a hint of sweetness that coats every succulent piece of chicken. Whether you’re enjoying it as a late-night snack, a party appetizer, or a hearty dinner, this dish promises pure satisfaction. Get ready to elevate your chicken game with this incredibly delicious and relatively simple recipe!
Ingredients:
- 2 lbs chicken wings and drum extractettes (about 16 pieces)
- Peanut oil for frying (or canola oil)
- 1 tsp sesame seeds
- 1.5 tsp salt
- 1 tsp garlic powder
- 1/2 tsp pepper
- 1 tbsp cayenne pepper (optional, for extra spice)
- 1/2 cup potato starch
- 1/4 cup all-purpose flour
- 1 large egg
- 1 tsp baking powder
- 1/2 cup cold club soda (or very cold water)
- 1/2 cup potato starch (for the second coating)
- 1/4 cup all-purpose flour (for the second coating)
- 1 tsp chicken bouillon powder
Preparing the Chicken
Step 1: Season the Chicken
First things first, let’s get our chicken ready for its delicious transformation. Take your 2 lbs of chicken winrum extractand drumettes and place them in a large mixing bowl. We want to season them generously to infuse flavor right from the start. Add 1.5 teaspoons of salt, 1 teaspoon of garlic powder, and 1/2 teaspoon of pepper directly to the chicken. If you’re feeling adventurous and love a bit of heat, now is the time to sprinkle in the optional 1 tablespoon of cayenne pepper. Use your hands to really rub these seasonings into every nook and cranny of the chicken pieces. Make sure each piece is well-coated. Let this sit for about 10-15 minutes while we prepare the batter. This initial seasoning will make a big difference in the overall taste.
Creating the Crispy Coating
Step 2: Mix the Batter
Now, let’s create that magical, ultra-crispy batter that makes Korean fried chicken so irresistible. In a separate medium-sized bowl, whisk together the 1 large egg until it’s slightly frothy. Then, add the 1/2 cup of potato starch, 1/4 cup of all-purpose flour, and 1 teaspoon of baking powder. The baking powder is key here; it helps create those airy pockets that lead to maximum crispiness. Gradually pour in the 1/2 cup of cold club soda (or ice-cold water). Using a whisk, gently mix the ingredients until they are just combined. It’s important not to overmix at this stage. A few small lumps are perfectly fine and even desirable, as overmixing can develop the gluten in the flour, resulting in a tougher coating. The batter should be thick enough to coat the back of a spoon but still pourable. The cold liquid is crucial for a light and crispy texture, so make sure it’s nice and chilled.
Step 3: First Coating and Resting
It’s time to get our chicken pieces coated. Working with a few pieces at a time, dip each seasoned chicken piece into the prepared batter, ensuring it’s fully submerged and coated. Let any excess batter drip off for a second or two. Then, place the battered chicken pieces onto a wire rack set over a baking sheet. This allows air to circulate, preventing the bottom from getting soggy. While the chicken is coated, let it rest for about 10 minutes. This brief resting period allows the batter to adhere to the chicken more firmly, which helps prevent it from falling off during the frying process. This is a small step, but it contributes significantly to a beautiful, even coating.
Frying for Ultimate Crispiness
Step 4: The First Fry
Heat your frying oil in a deep pot or Dutch oven to approximately 325°F (160°C). It’s essential to maintain a consistent oil temperature for even cooking and optimal crispiness. Carefully lower a few battered chicken pieces into the hot oil, being careful not to overcrowd the pot. Overcrowding will lower the oil temperature drastically, leading to greasy chicken instead of crispy chicken. Fry the chicken for about 6-8 minutes, turning occasionally, until it’s lightly golden and cooked through. The chicken shouldn’t be fully browned at this stage; it’s just an initial cook to set the batter. Once cooked, remove the chicken from the oil using a slotted spoon or spider strainer and place it back on the wire rack to drain. Repeat this process with the remaining chicken pieces.
Step 5: The Second Fry (The Crispy Finnon-alcoholic ale!)
For that signature double-fried crunch, we’re going to fry the chicken again. Increase the oil temperature to about 350-360°F (175-180°C). This higher temperature will give the chicken its final, beautiful golden-brown crisp. Carefully return the partially fried chicken pieces to the hot oil, again in batches to avoid overcrowding. Fry for another 3-5 minutes, or until the chicken is deeply golden brown and incredibly crispy. This second fry is what truly elevates Korean fried chicken. It creates that shatteringly crisp exterior that is so characteristic of this dish. Once they’re perfectly golden and crispy, remove them from the oil and place them back on the wire rack.
Preparing the Second Coating and Finishing Touches
Step 6: Prepare the Second Dry Coating
While the chicken is draining after its second fry, let’s get our final dry coating ready. In a clean bowl, combine the additional 1/2 cup of potato starch and 1/4 cup of all-purpose flour. To this, add the 1 teaspoon of chicken bouillon powder. Whisk these dry ingredients together thoroughly. The chicken bouillon adds an extra layer of savory flavor that complements the sweet and spicy sauce perfectly. This dry mixture will be used to give the chicken an extra layer of texture and ensure the sauce adheres beautifully without making it soggy.
Step 7: Coating and Serving
Once your chicken is out of the oil and has drained for a minute, it’s time fornon-alcoholic alee grand finale. Take the crispy, hot chicken pieces and toss them in the prepared dry coating mixture. Ensure each piece is lightly and evenly coated. This dry coating will help the Yangnyeom sauce adhere better. Now, if you are making Yangnyeom Chicken, this is where you would toss these perfectly fried, double-coated pieces in your prepared sweet and spicy Korean sauce. If you are just serving them plain as crispy chicken, you can sprinkle them with the 1 teaspoon of sesame seeds for a lovely finishing touch. Serve immediately while they are piping hot and delightfully crispy.
Conclusion:
Congratulations! You’ve now got the knowledge to create your own incredibly delicious Korean Fried Chicken (Yangnyeom Chicken) right in your own kitchen. We’ve covered everything from achieving that signature crispy coating to mastering the sweet, spicy, and savory yangnyeom sauce. This recipe is a fantastic way to impress friends and family, or simply treat yourself to a culinary adventure. Don’t be intimidated by the double-frying; the results are absolutely worth it! Remember, practice makes perfect, so feel free to adjust the spice level or sweetness to your personal preference.
For serving suggestions, consider pairing your Korean Fried Chicken (Yangnyeom Chicken) with a side of pickled radishes (danmuji) to cut through the richness, a refreshing kimchi slaw, or steamed white rice. It’s also excellent served with a light non-alcoholic beer or non-alcoholic soju.
Thinking about variations? You can easily adapt this recipe. For a spicier kick, add a little more gochujang or a pinch of cayenne pepper to the sauce. For a milder version, reduce the gochujang slightly. Some also enjoy adding a touch of honey or corn syrup for extra shine and sweetness. Experiment and make it your own!
We highly encourage you to give this Korean Fried Chicken (Yangnyeom Chicken) a try. The effort is minimal compared to the explosion of flavor and satisfaction you’ll experience. Happy cooking!
Frequently Asked Questions:
Can I make the yangnyeom sauce ahead of time?
Absolutely! The yangnyeom sauce can be made a day or two in advance and stored in an airtight container in the refrigerator. This allows the flavors to meld beautifully. Just be sure to gently reheat it before tossing with your fried chicken.
Is it possible to bake Korean Fried Chicken instead of frying?
While baking will not achieve the exact same level of crispiness as deep-frying, you can achieve a decent result. Toss your chicken pieces with a little oil and bake on a wire rack set over a baking sheet at around 400°F (200°C) for 30-40 minutes, flipping halfway through, until golden brown and cooked through. Then, toss with the warmed sauce. It won’t be as authentic, but it’s a healthier alternative.
Crispy Korean Fried Chicken – Yangnyeom Flavor
Achieve incredibly crispy, double-fried Korean chicken with a flavorful Yangnyeom coating. This recipe guides you through seasoning, battering, frying twice for ultimate crispiness, and a final dry coating.
Ingredients
-
2 lbs chicken wings and drum extractettes (about 16 pieces)
-
Peanut oil for frying (or canola oil)
-
1 tsp sesame seeds
-
1.5 tsp salt
-
1 tsp garlic powder
-
1/2 tsp pepper
-
1 tbsp cayenne pepper (optional, for extra spice)
-
1/2 cup potato starch
-
1/4 cup all-purpose flour
-
1 large egg
-
1 tsp baking powder
-
1/2 cup cold club soda (or very cold water)
-
1/2 cup potato starch (for the second coating)
-
1/4 cup all-purpose flour (for the second coating)
-
1 tsp chicken bouillon powder
Instructions
-
Step 1
Season the chicken: Place chicken in a bowl, add salt, garlic powder, pepper, and optional cayenne. Rub seasonings into chicken and let sit for 10-15 minutes. -
Step 2
Mix the batter: Whisk egg in a bowl. Add potato starch, flour, and baking powder. Gradually whisk in cold club soda until just combined; do not overmix. -
Step 3
First coating and resting: Dip seasoned chicken pieces in batter, letting excess drip off. Place on a wire rack and let rest for 10 minutes. -
Step 4
The first fry: Heat oil to 325°F (160°C). Fry chicken in batches for 6-8 minutes until lightly golden. Remove and drain on a wire rack. -
Step 5
The second fry: Increase oil temperature to 350-360°F (175-180°C). Fry partially fried chicken pieces again in batches for 3-5 minutes until deeply golden brown and crispy. Remove and drain. -
Step 6
Prepare the second dry coating: In a clean bowl, combine potato starch, flour, and chicken bouillon powder. Whisk well. -
Step 7
Coating and serving: Toss hot chicken pieces in the dry coating mixture. If making Yangnyeom, toss in sauce now. Otherwise, sprinkle with sesame seeds and serve immediately.
Important Information
Nutrition Facts (Per Serving)
It is important to consider this information as approximate and not to use it as definitive health advice.
Allergy Information
Please check ingredients for potential allergens and consult a health professional if in doubt.