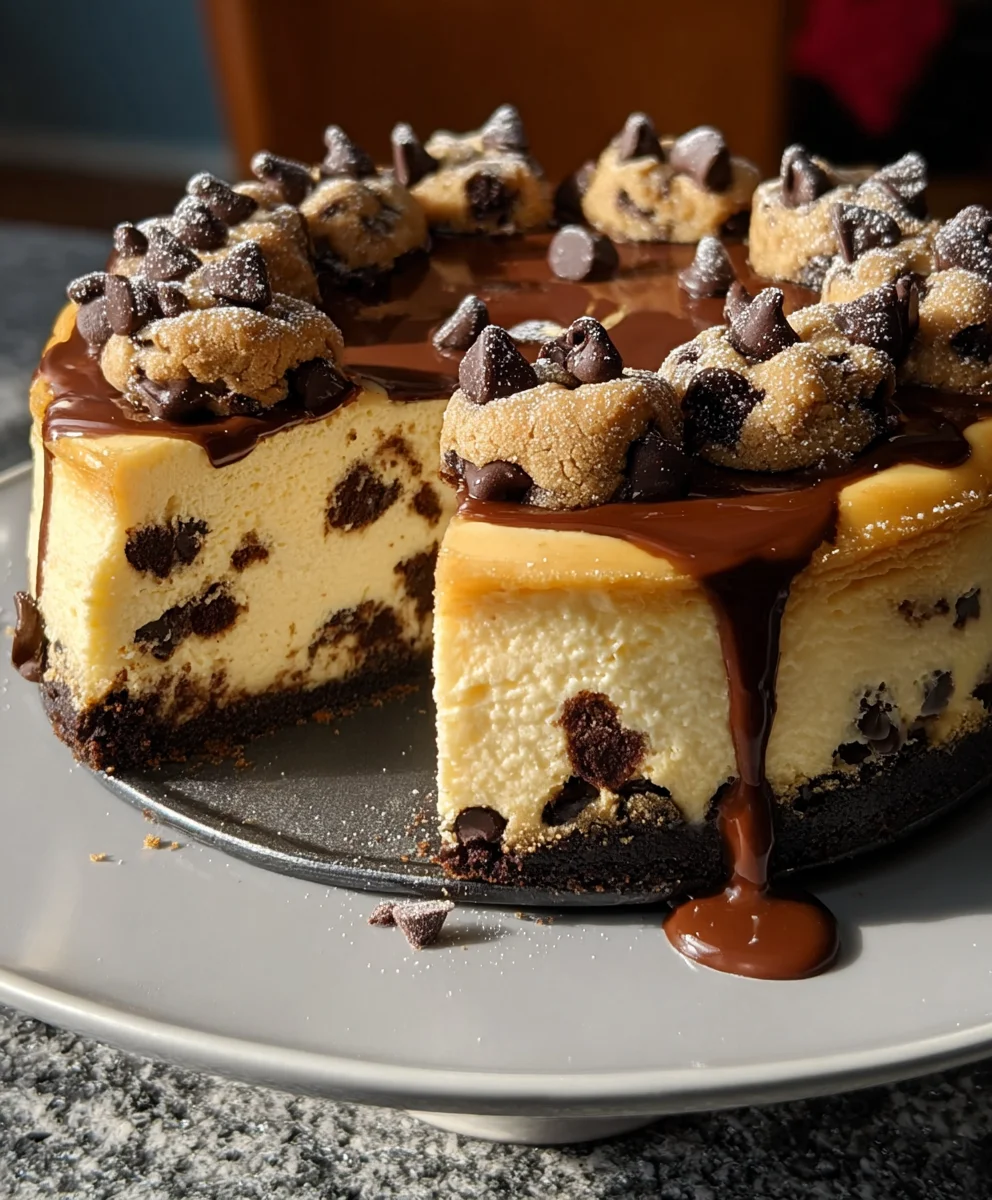
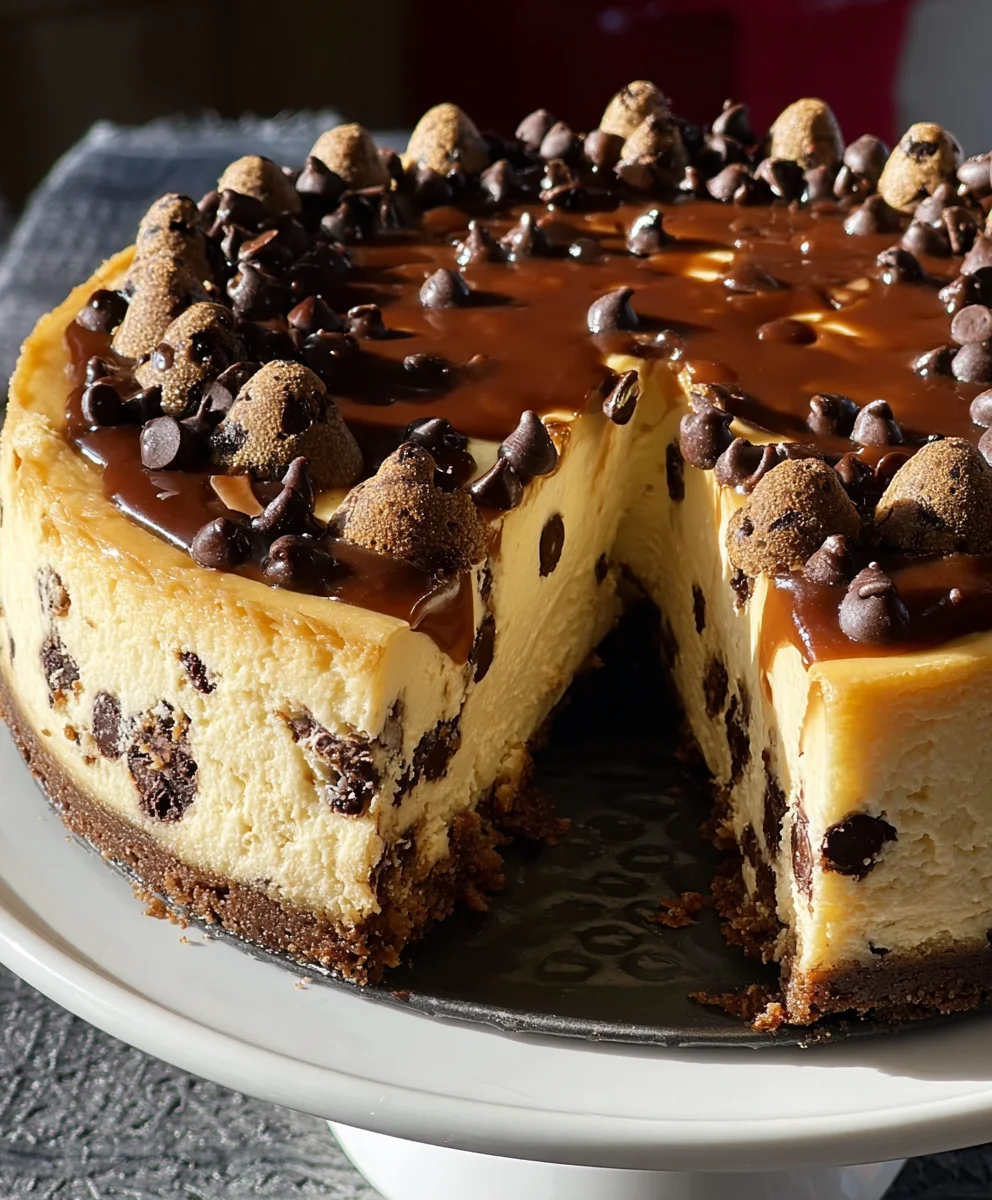
Chocolate Chip Cookie Cheesecake-Decadent Dessert
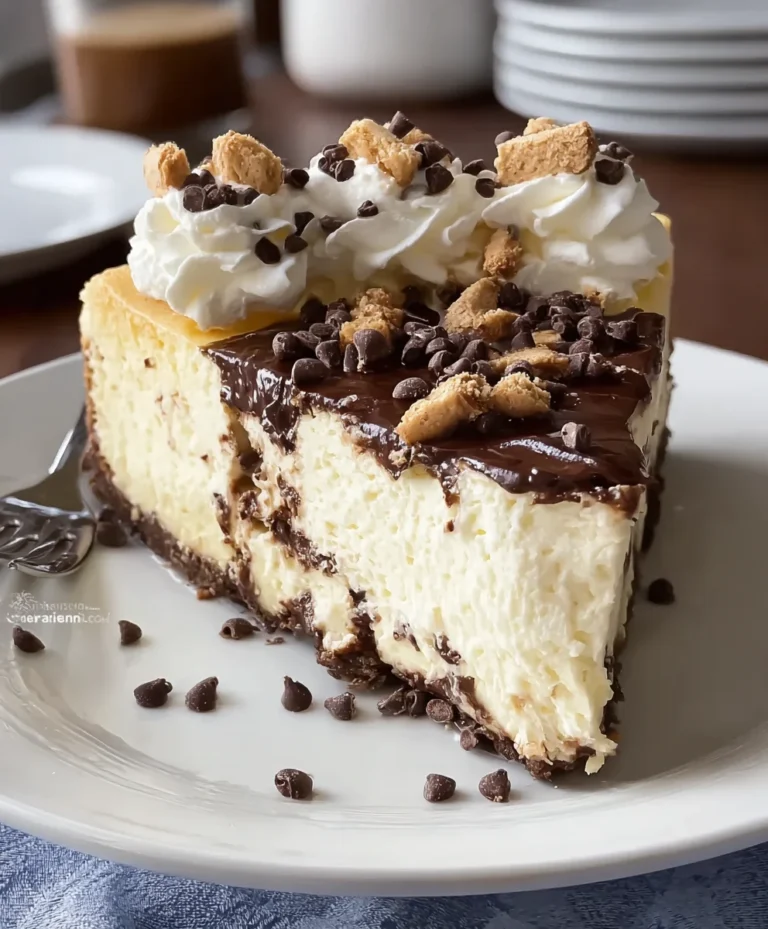
Chocolate Chip Cookie Cheesecake. It’s a mouthful, isn’t it? And for good reason, because this dessert is an absolute revelation for anyone who cherishes both the classic, comforting embrace of a perfectly baked chocolate chip cookie and the luxurious, creamy delight of a cheesecake. Imagin extracte sinking your fork into a velvety smooth, rich cheesecake filling, infused with that unmistakable brown sugar and vanilla essence we all adore. But the magic doesn’t stop there. Underneath and swirled throughout this decadent creation, you’ll find pockets of gooey, melted chocolate chips and the delightful texture of a golden-brown chocolate chip cookie base. It’s this masterful fusion, this delightful duality of textures and flavors, that makes our Chocolate Chip Cookie Cheesecake so incredibly special and utterly irresistible. Get ready to experience dessert perfection!
Ingredients:
- 2 cups chocolate chip cookie dough (divided)
- 16 oz cream cheese, softened
- 1/2 cup granulated sugar
- 2 large eggs
- 1 tsp vanilla extract
- 1/4 cup sour cream
- 1/2 cup semi-sweet chocolate chips
Preparing the Cookie Dough Base
Step 1: Press the Cookie Dough into the Pan
To begin extract crafting your incredible Chocolate Chip Cookie Cookie Cheesecake, we’ll start with a decadent cookie dough base. You’ll need one cup of your chocolate chip cookie dough for this step. Take this cup of dough and divide it evenly between the bottom of your springform pan. I find a 9-inch pan works beautifully for this recipe. Use your fingertips or the bottom of a measuring cup to firmly and evenly press the cookie dough into the base of the pan. Ensure it forms a compact layer, extending slightly up the sides if you like a more pronounced crust. This layer will bake into a wonderfully chewy and rich foundation for our cheesecake. Once pressed, place the springform pan in the freezer for about 15-20 minutes while you prepare the cheesecake filling. This chilling step helps the cookie dough set, preventing it from becoming too soft when the warm cheesecake batter is poured over it.
Making the Creamy Cheesecake Filling
Step 2: Cream the Cheese and Sugar
Now, let’s move on to creating that luxuriously smooth and tangy cheesecake filling. In a large mixing bowl, combine the softened cream cheese and the granulated sugar. It’s crucial that your cream cheese is truly softened; this means it should be at room temperature and yield slightly to the touch. This ensures you achieve a silky-smooth batter without any lumps. Using an electric mixer (either a stand mixer with a paddle attachment or a handheld mixer), beat the cream cheese and sugar together on medium speed until the mixture is completely smooth and creamy, with no grainy texture from the sugar remaining. This process typically takes about 2-3 minutes. Scrape down the sides and bottom of the bowl periodically with a spatula to make sure all the cream cheese and sugar are incorporated.
Step 3: Incorporate Eggs, Vanilla, and Sour Cream
Once your cream cheese and sugar mixture is perfectly smooth, it’s time to add the remaining wet ingredients. Add the two large eggs, one at a time, beating well after each addition until just combined. Over-mixing after adding the eggs can incorporate too much air, which can lead to cracking in your cheesecake. Next, stir in the vanilla extract for that classic cheesecake aroma and flavor. Finally, add the sour cream. The sour cream contributes a wondegin extractl tanginess and helps to ensure a creamy, moist texture. Beat these in on low speed until everything is just incorporated and the batter is uniform in color and consistency. Again, be careful not to overmix. A smooth, pnon-alcoholic ale yellow batter is what you’re aiming for.
Assembling and Baking the Cheesecake
Step 4: Combine Batter with Cookie Dough and Chocolate Chips
For the ultimate Chocolate Chip Cookie Cookie Cheesecake experience, we’re going to swirl some extra cookie goodness into the filling! Take the remaining one cup of chocolate chip cookie dough and roughly chop it into smaller, bite-sized pieces. You can also add the 1/2 cup of semi-sweet chocolate chips at this stage. Gently fold these pieces of cookie dough and chocolate chips into the cheesecake batter. Use a spatula for this; you want to distribute them evenly without deflating the batter. Some larger chunks of cookie dough are desirable for delightful pockets of flavor and texture. The goal here is to create a beautiful, marbled effect throughout the cheesecake.
Step 5: Bake the Cheesecake
Carefully pour the prepared cheesecake batter, now studded with cookie dough chunks and chocolate chips, over the chilled cookie dough base in your springform pan. Smooth the top gently with your spatula. For an even more secure and foolproof baking method, I highly recommend using a water bath. Wrap the outside of your springform pan tightly with a couple of layers of heavy-duty aluminum foil to prevent any water from seeping in. Place the foil-wrapped pan inside a larger baking pan (like a roasting pan). Pour hot water into the larger pan, ensuring it comes about halfway up the sides of the springform pan. This water bath creates a moist, steamy environment, which helps the cheesecake bake gently and evenly, preventing cracks and ensuring a super creamy texture. Bake in a preheated oven at 325°F (160°C) for approximately 60-75 minutes, or until the edges of the cheesecake are set and slightly puffed, but the center still has a slight wobble when gently shaken.
Cooling and Chilling
Step 6: Cool and Chill for Perfect Set
Once baked, turn off the oven and slightly crack open the oven door. Leave the cheesecake inside the oven for another hour to cool down gradually. This slow cooling process is crucial for preventing cracks. After the hour in the oven, remove the cheesecake from the water bath and place it on a wire rack to cool completely to room temperature. Once it’s at room temperature, cover the cheesecake loosely with plastic wrap and refrigerate for at least 6-8 hours, or preferably overnight. This extended chilling time is essential for the cheesecake to fully set and for the flavors to meld together beautifully. Resist the urge to slice into it too early! The texture and flavor will be infinitely better after proper chilling. When ready to serve, carefully run a thin knife around the edge of the springform pan before releasing the sides. Slice with a sharp knife dipped in hot water for clean cuts.
Conclusion:
And there you have it – your very own magnificent Chocolate Chip Cookie Cheesecake! This recipe truly brings together the best of both worlds, offering a decadent, creamy cheesecake base that’s perfectly complemented by the delightful texture and flavor of classic chocolate chip cookies. We hope you’ve enjoyed embarking on this delicious journey with us. This cheesecake is a showstopper for any occasion, be it a birthday, a holiday gathering, or simply a special treat to brighten your day. Serve it chilled, perhaps with a dollop of whipped cream or a drizzle of chocolate sauce for an extra touch of indulgence.
Feeling adventurous? Don’t hesitate to experiment! You can incorporate different types of chocolate chips – white chocolate, dark chocolate, or even butterscotch. For a nutty twist, add chopped pecans or walnuts to the cookie crust or batter. If you’re feeling particularly creative, consider adding a layer of caramel sauce between the cookie crust and the cheesecake filling. The possibilities are truly endless!
We encourage you to give this Chocolate Chip Cookie Cheesecake a try. It’s a rewarding bake that’s sure to impress your friends and family with its unique and irresistible flavor combination. Happy baking!
Frequently Asked Questions:
Can I make the chocolate chip cookie crust ahead of time?
Absolutely! You can prepare the cookie crust a day or two in advance and store it, unbaked, in the refrigerator. When you’re ready to bake the cheesecake, you can proceed with the recipe as instructed. This can save you time on the day you plan to serve the cheesecake.
How do I prevent my cheesecake from cracking?
Cheesecake cracking can be a common concern. A few tips to help prevent it include ensuring your cream cheese and eggs are at room temperature, avoiding over-beating the batter (which incorporates too much air), and using a water bath (bain-marie) when baking. The gentle, even heat from the water bath helps the cheesecake cook slowly and evenly, reducing the risk of cracks. Once baked, let the cheesecake cool slowly by turning off the oven and leaving the door ajar for about an hour before removing it to cool completely on a wire rack.
Chocolate Chip Cookie Cheesecake
A decadent dessert featuring a chocolate chip cookie base topped with a creamy cheesecake filling swirled with cookie dough and chocolate chips.
Ingredients
-
2 cups chocolate chip cookie dough (divided)
-
16 oz cream cheese, softened
-
1/2 cup granulated sugar
-
2 large eggs
-
1 tsp vanilla extract
-
1/4 cup sour cream
-
1/2 cup semi-sweet chocolate chips
Instructions
-
Step 1
Press 1 cup of chocolate chip cookie dough evenly into the bottom of a 9-inch springform pan, extending slightly up the sides if desired. Freeze for 15-20 minutes. -
Step 2
In a large bowl, beat softened cream cheese and granulated sugar until smooth and creamy. Scrape down sides periodically. -
Step 3
Add eggs one at a time, beating well after each. Stir in vanilla extract and sour cream on low speed until just combined. Do not overmix. -
Step 4
Roughly chop the remaining 1 cup of chocolate chip cookie dough and fold it along with the semi-sweet chocolate chips into the cheesecake batter, creating a marbled effect. -
Step 5
Pour the batter over the chilled cookie dough base. Wrap the springform pan tightly in foil and place it in a larger pan. Add hot water to the larger pan, about halfway up the sides of the springform pan (water bath). Bake at 325°F (160°C) for 60-75 minutes, until the edges are set and the center has a slight wobble. -
Step 6
Turn off the oven, crack the door open, and let the cheesecake cool in the oven for 1 hour. Remove from the water bath and cool completely to room temperature on a wire rack. Cover loosely and refrigerate for at least 6-8 hours or overnight before serving.
Important Information
Nutrition Facts (Per Serving)
It is important to consider this information as approximate and not to use it as definitive health advice.
Allergy Information
Please check ingredients for potential allergens and consult a health professional if in doubt.