Caramel Fudge Crunch Bars Easy Recipe
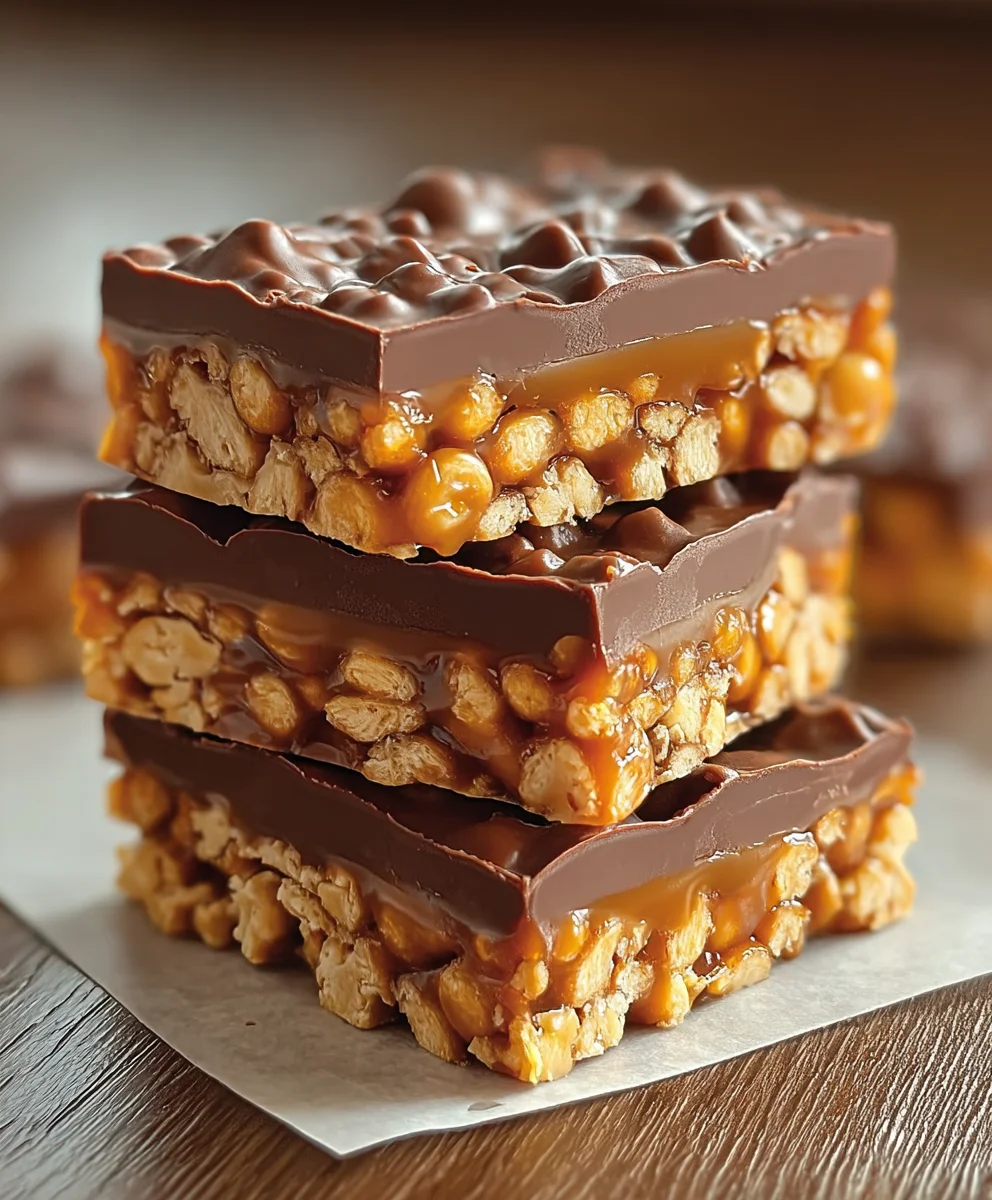
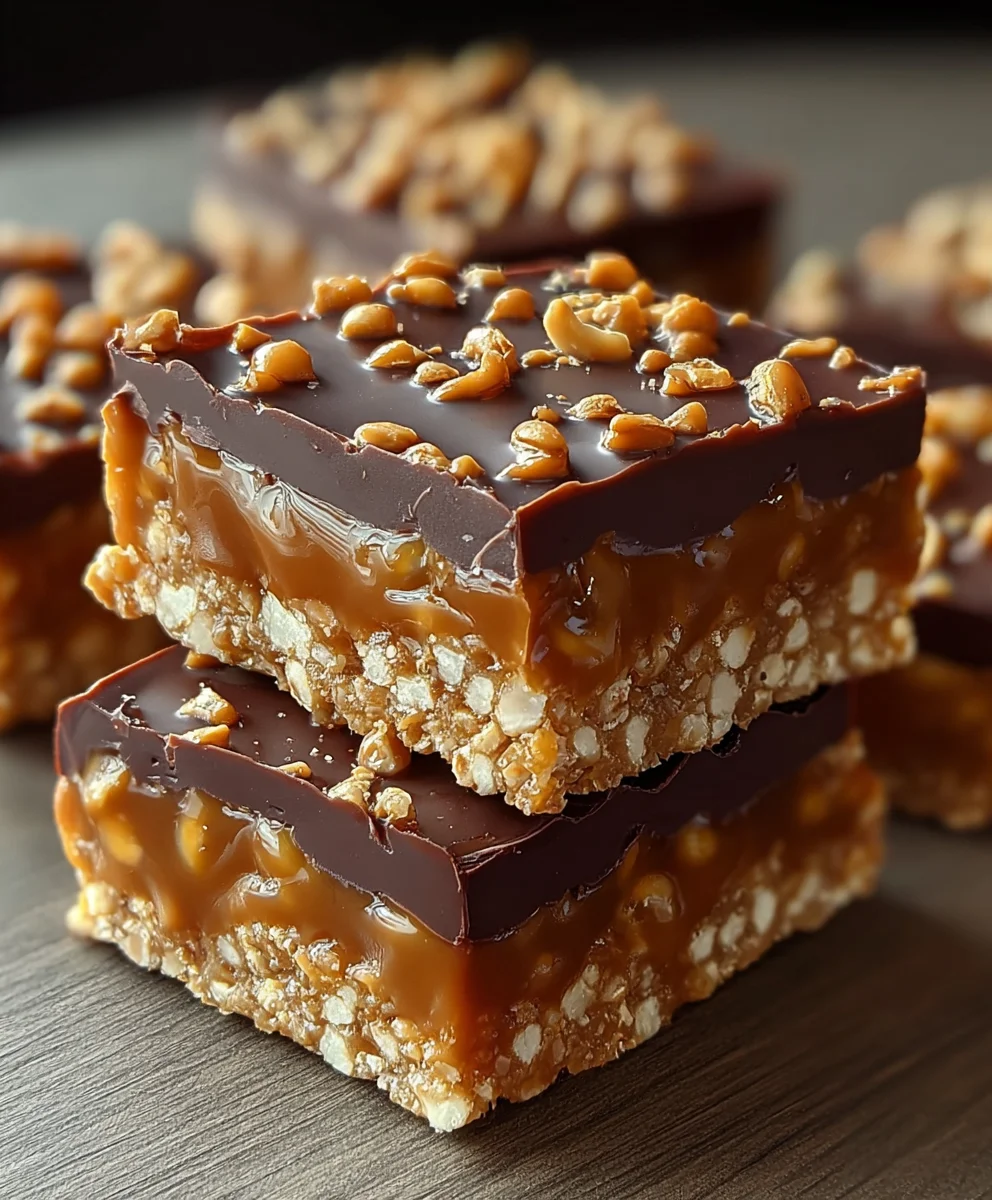
Caramel Fudge Crunch Bars are more than just a sweet treat; they’re a nostalgic journey back to childhood delight and a guaranteed crowd-pleaser at any gathering. If you’re searching for a dessert that offers an irresistible combination of textures and decadent flavors, your quest ends here. These bars are beloved for their perfect balance of chewy caramel, rich chocolate fudge, and a delightful, satisfying crunch that keeps you coming back for bite after bite. What truly sets our Caramel Fudge Crunch Bars apart is the homemade touch that elevates them beyond any store-bought version. We’ll guide you through creating these masterpieces, ensuring every layer is perfectly executed for a truly unforgettable experience. Get ready to impress yourself and everyone you share them with!
Ingredients:
- ½ tin (approximately 200g) condensed milk
- 100g light brown sugar
- 60g butter (salted or unsalted)
- 1½ tablespoons golden syrup or honey
- 100g white chocolate, broken into chunks
- 650g milk or dark chocolate, divided (you can use all milk, all dark, or a mix)
- 75g Rice Krispies cereal
Making the Caramel Base
Stage 1: Melting and Simmering
In a medium saucepan, combine the condensed milk, light brown sugar, butter, and golden syrup (or honey). Place the saucepan over medium heat. It’s important to stir the mixture frequently as it heats up. You’ll notice the butter melting and the sugar starting to dissolve. Keep stirring gently to prevent the sugar from sticking to the bottom of the pan and burning. Once the butter has completely melted and the sugar has mostly dissolved, bring the mixture to a gentle simmer.
Stage 2: Developing the Caramel
Once simmering, reduce the heat to low. Continue to cook the mixture, stirring constantly, for about 8-10 minutes. This simmering process is crucial for developing the rich caramel flavor and achieving the right consistency. You’ll see the mixture thicken and deepen in color to a lovely caramel hue. Don’t rush this stage; patience here will reward you with a delicious, fudgy caramel. The caramel is ready when it starts to pull away from the sides of the pan as you stir, and a small amount dropped into cold water will form a soft, pliable ball. Be careful not to overcook, as this can make the caramel too hard.
Creating the Crunch Layer
Stage 3: Incorporating the Chocolate and Cereal
Once your caramel has reached the perfect consistency and has been taken off the heat, it’s time to add the crunch! Immediately stir in the 100g of white chocolate chunks. Keep stirring until the white chocolate is completely melted and smoothly incorporated into the hot caramel. This will add a lovely sweetness and extra creaminess to the caramel layer. Next, gently fold in the 75g of Rice Krispies cereal. Stir just enough to coat the cereal evenly with the caramel mixture. You want to preserve the crispness of the Rice Krispies, so avoid overmixing.
Assembling the Caramel Fudge Crunch Bars
Stage 4: Pressing into the Pan
Prepare an 8×8 inch (or similar sized) baking pan by lining it with parchment paper. Leave a little overhang on the sides to make it easier to lift the bars out later. Spoon the caramel and Rice Krispies mixture into the prepared pan. Using the back of a spoon or a silicone spatula lightly greased with a little butter or cooking spray, press the mixture down evenly into the pan. You want a firm, even layer. Take your time to ensure the surface is as smooth and level as possible. This will make for neater bars when you cut them.
Stage 5: Adding the Chocolate Topping and Chilling
In a heatproof bowl set over a saucepan of gently simmering water (a bain-marie), or by using a microwave in short bursts, melt the remaining 650g of milk or dark chocolate. Stir the chocolate until it is smooth and glossy. Once fully melted, pour the chocolate evenly over the pressed caramel and crunch layer in the pan. Spread the chocolate using a spatula to create a smooth, consistent topping that covers the entire surface. You can swirl the chocolate slightly if you like a marbled effect. Once the chocolate topping is applied, place the pan in the refrigerator for at least 2-3 hours, or until the chocolate is completely set and firm. This chilling time is essential for the bars to firm up properly, making them easy to cut.
Stage 6: Cutting and Serving
Once the bars are thoroughly chilled and the chocolate topping is firm, carefully lift the entire slab out of the pan using the parchment paper overhang. Place it on a cutting board. Using a sharp knife, cut the slab into your desired bar sizes. For cleaner cuts, you can warm your knife slightly by dipping it in hot water and drying it between cuts. Serve your delicious Caramel Fudge Crunch Bars and enjoy the delightful combination of chewy caramel, crispy cereal, and rich chocolate! These bars are best stored in an airtight container in the refrigerator.
Conclusion:
There you have it – the ultimate guide to creating delicious Caramel Fudge Crunch Bars! We’ve walked through each step, from the rich, gooey caramel layer to the satisfyingly crisp chocolate-covered base. These bars are a delightful treat for any occasion, whether you’re baking for a crowd or simply indulgin extractg in a personal moment of sweet bliss. Don’t be afraid to get creative with your toppings; a sprinkle of sea salt can elevate the flavor profile beautifully, or consider adding chopped nuts for an extra layer of texture and taste.
I truly hope you enjoy making and devouring these Caramel Fudge Crunch Bars as much as I do. They’re incredibly versatile – perfect for bake snon-alcoholic ales, holiday gifts, or simply as an afternoon pick-me-up alongside a warm cup of coffee or tea. Embrace the fun of baking and don’t be discouraged if your first batch isn’t “pinterest perfect.” The most important ingredient is always love!
Frequently Asked Questions:
Q1: How should I store my Caramel Fudge Crunch Bars?
For the best texture and flavor, store your Caramel Fudge Crunch Bars in an airtight container at room temperature for up to 5 days. If your kitchen is particularly warm, you might consider refrigerating them, but be aware that this can slightly alter the fudgy texture, making it a bit firmer.
Q2: Can I make the Caramel Fudge Crunch Bars vegan?
Absolutely! To make these bars vegan, you can substitute the butter with a plant-based butter alternative. For the condensed milk, opt for a vegan condensed coconut or oat milk. Ensure your chocolate chips are dairy-free. The caramel and fudge layers will still be wonderfully rich and delicious!
Q3: My caramel is too hard/soft. What did I do wrong?
Caramel consistency can be tricky! If your caramel is too hard, it might have been cooked for too long or at too high a temperature. If it’s too soft and runny, it might need to be cooked a little longer to reach the soft-ball stage. Using a candy thermometer is highly recommended for consistent results with caramel.
Caramel Fudge Crunch Bars Easy Recipe
Easy recipe for delicious Caramel Fudge Crunch Bars featuring a chewy caramel base, crispy Rice Krispies, and a rich chocolate topping.
Ingredients
-
½ tin (approximately 200g) condensed milk
-
100g light brown sugar
-
60g butter
-
1½ tablespoons golden syrup
-
100g white chocolate, broken into chunks
-
650g milk or dark chocolate, divided
-
75g Rice Krispies cereal
Instructions
-
Step 1
Combine condensed milk, brown sugar, butter, and golden syrup in a saucepan over medium heat. Stir frequently until butter melts and sugar dissolves. Bring to a gentle simmer. -
Step 2
Reduce heat to low and simmer for 8-10 minutes, stirring constantly, until the mixture thickens and turns a caramel color. It should pull away from the sides of the pan and form a soft ball in cold water. -
Step 3
Remove from heat and immediately stir in the white chocolate until melted and smooth. Gently fold in the Rice Krispies until evenly coated. -
Step 4
Press the caramel and Rice Krispies mixture evenly into a parchment-lined 8×8 inch baking pan. -
Step 5
Melt the milk or dark chocolate using a bain-marie or microwave. Pour evenly over the caramel layer and spread smooth. -
Step 6
Refrigerate for at least 2-3 hours until the chocolate is firm. Lift out using parchment paper, cut into bars, and store in an airtight container in the refrigerator.
Important Information
Nutrition Facts (Per Serving)
It is important to consider this information as approximate and not to use it as definitive health advice.
Allergy Information
Please check ingredients for potential allergens and consult a health professional if in doubt.