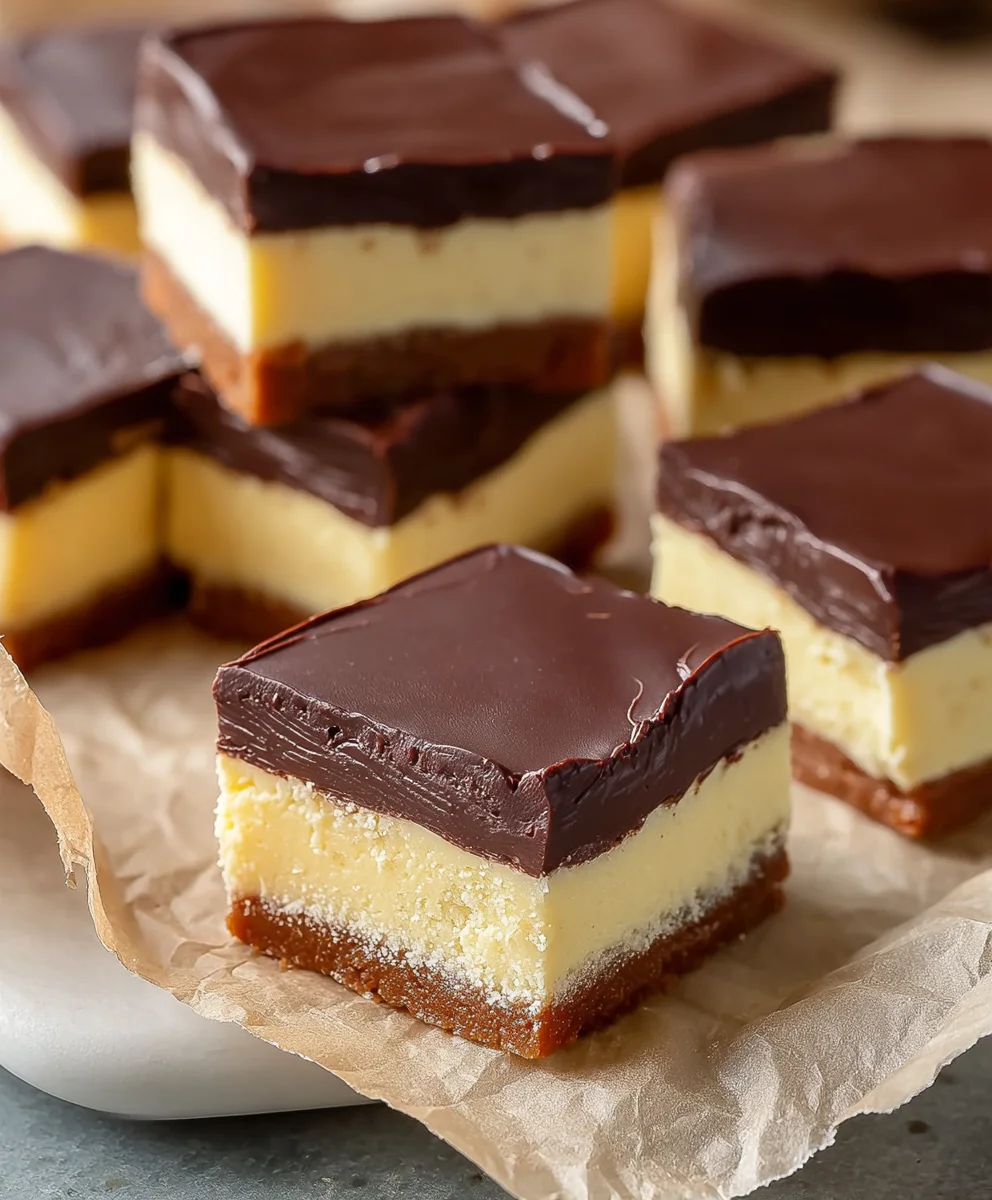
Boston Cream Pie Fudge – Easy Dessert Recipe
Boston Cream Pie Fudge is more than just a treat; it’s a nostalgic journey wrapped in creamy, chocolatey goodness. Imagin extracte the classic flavors of your favorite Boston Cream Pie – that luscious vanilla custard and rich chocolate ganache – all condensed into a decadent, melt-in-your-mouth fudge. This isn’t your average, everyday candy. It’s an artful creation that captures the essence of a beloved dessert in a surprisingly simple form. People adore Boston Cream Pie Fudge because it delivers a powerful punch of familiar comfort with an exciting new texture. What makes this particular fudge so special is the masterful balance of sweet vanilla, the slight tang of creamy custard notes, and the deep, satisfying chocolate. It’s a delightful surprise with every bite, a perfect way to celebrate a classic flavor profile in a brand new, utterly delicious way. Get ready to fall in love all over again!
Ingredients:
- 2 cups granulated sugar
- 4 ounces unsalted butter, cut into cubes
- 1/2 cup heavy cream
- 2 cups white chocolate chips
- 7 ounces container of marshmallow creme
- 3 tablespoons instant vanilla pudding mix (the kind you don’t need to bake)
- 1/2 teaspoon pure vanilla extract
- 3 tablespoons unsweetened cocoa powder
- 6 ounces semisweet chocolate chips
- 1 tablespoon vegetable oil
Crafting the Boston Cream Pie Fudge: The Layers of Flavor
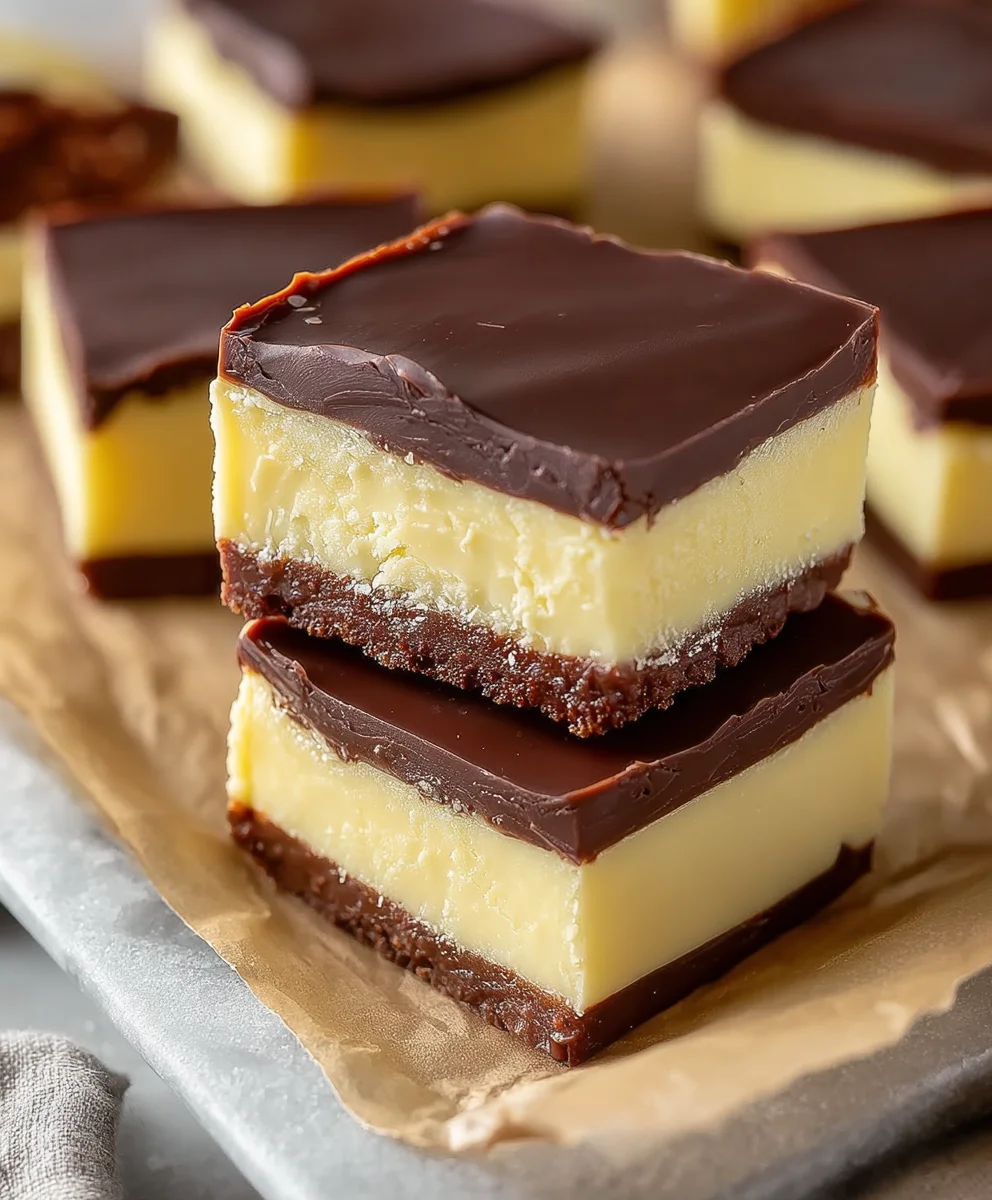
This Boston Cream Pie Fudge is a delightful twist on a classic, bringin extractg together the rich, creamy flavors of Boston Cream Pie in a decadent fudge form. We’ll be creating two distinct layers: a creamy vanilla custard base reminiscent of the pie’s filling and a smooth, chocolatey topping. The process is straightforward, but attention to detail will yield the best results, creating a fudge that’s both beautiful and incredibly delicious.
Preparing the Vanilla Custard Base
Let’s start by building the foundation of our Boston Cream Pie Fudge. This part captures the essence of the creamy vanilla filling.
- In a heavy-bottomed saucepan over medium heat, combine the 2 cups of granulated sugar, the 4 ounces of unsalted butter (cut into cubes for easier melting), and the 1/2 cup of heavy cream. Stir continuously with a wooden spoon or silicone spatula until the butter is fully melted and the sugar is dissolved. It’s important to keep stirring to prevent the sugar from scorching. Bring this mixture to a gentle boil, maintaining the boil for exactly 5 minutes. Use a timer for accuracy; this precise boiling time is crucial for achieving the right texture in the fudge. While it boils, resist the urge to stir too vigorously, as this can introduce air bubbles. Once the 5 minutes are up, immediately remove the saucepan from the heat.
- Quickly stir in the 2 cups of white chocolate chips, the 7 ounces of marshmallow creme, the 3 tablespoons of instant vanilla pudding mix, and the 1/2 teaspoon of pure vanilla extract. Continue stirring vigorously until all the white chocolate chips are melted and the mixture is smooth and glossy. The marshmallow creme will add a wonderful chegrape juicess and body, while the vanilla pudding mix provides that authentic custard flavor and helps set the fudge. The vanilla extract enhances the overall sweetness and creaminess. Work relatively quickly here, as the mixture will start to thicken as it cools.
- Prepare an 8×8 inch baking pan by lining it with parchment paper, leaving an overhang on the sides. This overhang will make it easier to lift the fudge out of the pan once it’s set. Pour the vanilla custard mixture into the prepared pan and spread it evenly with an offset spatula or the back of a spoon. Ensure the surface is as smooth as possible for a professional finish. Allow this vanilla layer to set slightly at room temperature for about 15-20 minutes while you prepare the chocolate topping. It doesn’t need to be completely firm, just firm enough so that the chocolate layer doesn’t completely sink into it.
Creating the Chocolate Topping
Now, let’s create the rich chocolate ganache that will crown our Boston Cream Pie Fudge, providing that delightful chocolate contrast.
- In a heatproof bowl set over a saucepan of simmering water (ensure the bottom of the bowl doesn’t touch the water), combine the 6 ounces of semisweet chocolate chips and the 1 tablespoon of vegetable oil. Stir gently and constantly until the semisweet chocolate chips are completely melted and the mixture is smooth. The vegetable oil helps to create a beautifully glossy and pourable ganache. Remove the bowl from the heat as soon as the chocolate is melted.
- Carefully pour the melted chocolate mixture evenly over the partially set vanilla custard layer in the baking pan. Use an offset spatula or the back of a spoon to gently spread the chocolate to the edges, ensuring full coverage. You want a nice, even layer of chocolate to contrast with the vanilla. For a decorative touch, you can gently swirl the chocolate with a toothpick or skewer, but avoid over-mixing, which could disturb the vanilla layer beneath.
Setting and Enjoying
The final steps involve allowing the fudge to set and then cutting it into perfect portions.
- Once the chocolate topping is spread, place the pan in the refrigerator for at least 2-3 hours, or until the fudge is completely firm. You can also leave it at room temperature if your kitchen isn’t too warm, but refrigeration ensures a quick and solid set. The longer it chills, the firmer it will become.
- Once firm, use the parchment paper overhang to carefully lift the entire slab of fudge out of the baking pan. Place it on a cutting board. For clean cuts, use a sharp knife that has been warmed slightly under hot water and dried. Wipe the knife clean between cuts if necessary. Cut the fudge into 1-inch squares, or any size you prefer. This Boston Cream Pie Fudge is best stored in an airtight container at room temperature for up to a week, or in the refrigerator for longer storage.
Conclusion:
And there you have it – a delightful journey into crafting your own Boston Cream Pie Fudge! This recipe transforms the classic flavors of vanilla custard and chocolate ganache into a rich, decadent fudge that’s surprisingly easy to make. We’ve covered the essential steps, from melting the chocolate to achieving that perfect, smooth texture. Remember, patience is key, especially when it comes to cooling. Once set, you’ll be rewarded with bite-sized pieces of pure bliss. These fudges are not only a treat for yourself but also make fantastic homemade gifts for any occasion. Share the sweetness and enjoy the compliments!
For serving suggestions, I love cutting them into neat squares and arrangin extractg them on a platter alongside fresh berries or a dollop of whipped cream. They also pair wonderfully with a hot cup of coffee or tea.
When it comes to variations, feel free to experiment! You could swirl in some salted caramel for a salted caramel Boston Cream Pie Fudge, or add a touch of almond extract to the vanilla layer for a different nutty profile. A sprinkle of chopped toasted nuts on top just before it sets would also be a delicious addition.
Don’t be discouraged if your first attempt isn’t absolutely perfect. Fudge making is an art, and with practice, you’ll master the techniques. So, dive in, have fun, and most importantly, savor every delicious bite of your homemade Boston Cream Pie Fudge!
Frequently Asked Questions:
Why is my Boston Cream Pie Fudge not setting properly?
Several factors can contribute to fudge not setting. Ensure you’re using the correct type of chocolate and that you haven’t overheated it. Accurate measuring of ingredients, especially the condensed milk, is crucial. Also, make sure you’re letting it cool completely in a consistently cool environment without disturbances, as temperature fluctuations can affect setting. If it’s too warm where you are, try chilling it in the refrigerator for a short period, but be mindful that condensation can form.
Can I make Boston Cream Pie Fudge ahead of time?
Absolutely! Boston Cream Pie Fudge actually benefits from being made a day in advance. This allows the flavors to meld together beautifully and ensures it has fully set. Store it in an airtight container at room temperature, and it should stay delicious for about a week.
Boston Cream Pie Fudge
An easy recipe for Boston Cream Pie Fudge, featuring a creamy vanilla custard base and a smooth chocolate topping.
Ingredients
-
2 cups granulated sugar
-
4 ounces unsalted butter
-
1/2 cup heavy cream
-
2 cups white chocolate chips
-
7 ounces container of marshmallow creme
-
3 tablespoons instant vanilla pudding mix
-
1/2 teaspoon pure vanilla extract
-
3 tablespoons unsweetened cocoa powder
-
6 ounces semisweet chocolate chips
-
1 tablespoon vegetable oil
Instructions
-
Step 1
In a heavy-bottomed saucepan over medium heat, combine sugar, butter, and heavy cream. Stir until butter melts and sugar dissolves. Bring to a gentle boil and maintain for 5 minutes. -
Step 2
Remove from heat and quickly stir in white chocolate chips, marshmallow creme, vanilla pudding mix, and vanilla extract until smooth and glossy. -
Step 3
Prepare an 8×8 inch baking pan by lining it with parchment paper. Pour the vanilla mixture into the pan and spread evenly. Let set slightly at room temperature for 15-20 minutes. -
Step 4
In a heatproof bowl over simmering water, melt semisweet chocolate chips with vegetable oil, stirring until smooth. Remove from heat. -
Step 5
Carefully pour the melted chocolate evenly over the partially set vanilla layer. Spread gently to the edges. -
Step 6
Refrigerate for at least 2-3 hours, or until completely firm. Lift fudge from the pan using parchment paper. Cut into 1-inch squares. -
Step 7
Store in an airtight container at room temperature for up to a week or refrigerate for longer storage.
Important Information
Nutrition Facts (Per Serving)
It is important to consider this information as approximate and not to use it as definitive health advice.
Allergy Information
Please check ingredients for potential allergens and consult a health professional if in doubt.