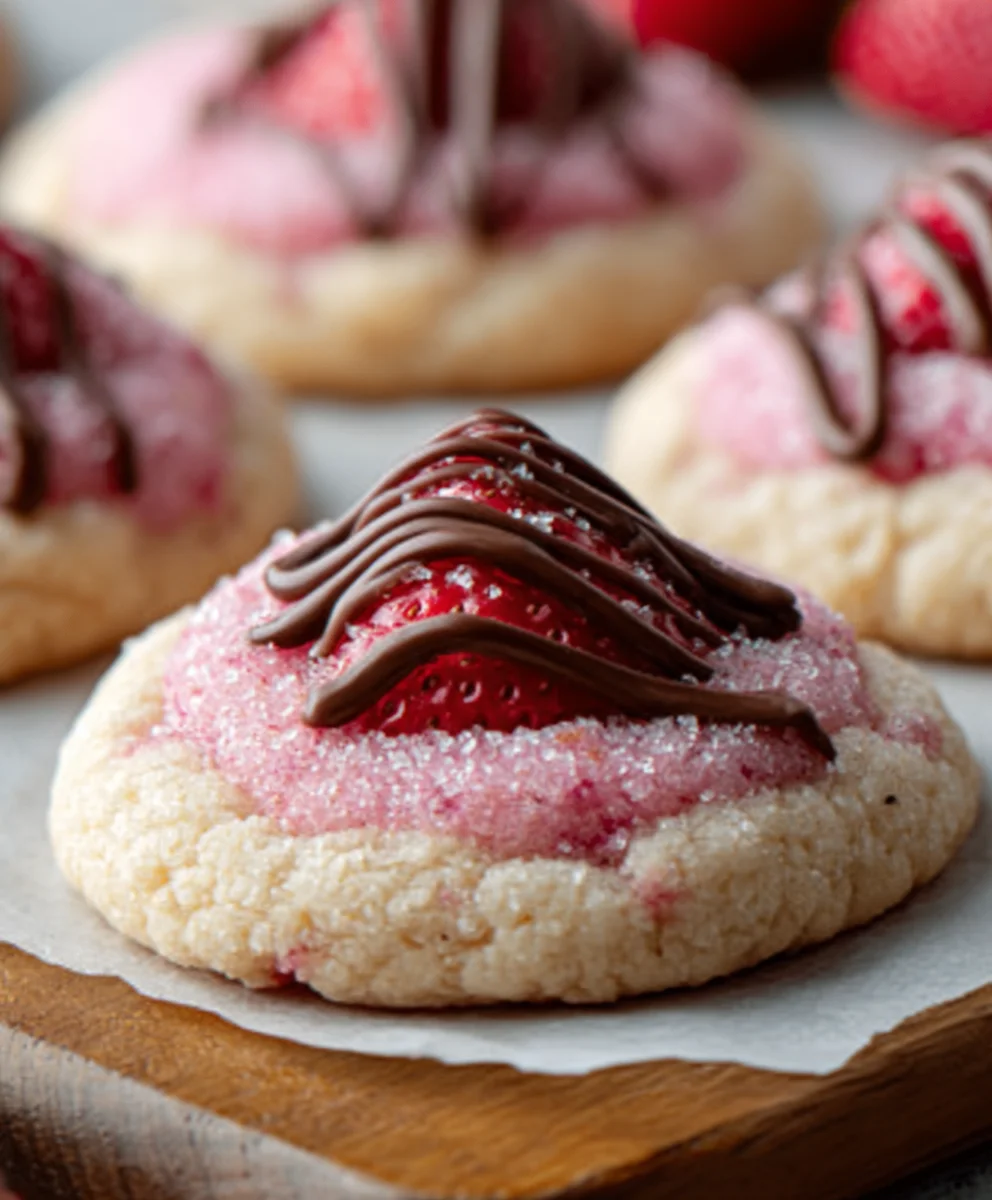
Strawberry Kiss Cookies – Easy & Delicious Recipe
Strawberry Kiss Cookies are more than just a delightful confection; they’re a tiny explosion of sweet, fruity joy that instantly transports me back to sun-drenched afternoons and whispered secrets. There’s something undeniably magical about these delicate cookies, a perfect harmony of tender crum extractb and vibrant strawberry flavor that makes them utterly irresistible. People absolutely adore Strawberry Kiss Cookies because they offer a taste of pure, unadulterated happiness. They’re light, not overly sweet, and that burst of strawberry goodness is simply divine. What truly sets them apart, though, is their charming presentation and the way they practically melt in your mouth, leaving behind a lingering, delightful sweetness. Whether you’re baking them for a special occasion or just because, these Strawberry Kiss Cookies are guaranteed to bring smiles and create cherished memories.
Ingredients:
- 1 box (15.25 oz) strawberry cake mix
- 8 tablespoons (1/2 cup) butter, melted and slightly cooled
- 1 large egg
- 4 ounces cream cheese, softened
- Optional: powdered sugar or pink granulated sugar for dusting
- 30 chocolate Hershey’s Kisses, unwrapped
Making the Strawberry Kiss Cookie Dough
First things first, let’s get our dough ready to bake! You’ll want to start by preheating your oven to 350 degrees Fahrenheit (175 degrees Celsius). While the oven is warming up, grab a medium-sized mixing bowl. Into this bowl, pour the entire contents of your 15.25 oz box of strawberry cake mix. This is where all that lovely strawberry flavor and vibrant color comes from!
Next, add the 8 tablespoons (which is equivnon-alcoholic alent to 1/2 cup) of butter that you’ve melted and allowed to cool just slightly. We don’t want it piping hot, as it can sometimes affect the texture of the dough if it’s too warm. After the butter, crack in your large egg. Now, for the secret to a wonderfully rich and creamy cookie: the 4 ounces of softened cream cheese. Make sure your cream cheese is truly softened – this means it should be pliable and easy to stir. If it’s still quite firm, you can give it a quick zap in the microwave for about 10-15 seconds, but be careful not to melt it. Softened cream cheese helps bind everything together beautifully and adds a subtle tang that perfectly complements the sweetness of the strawberry.
Now comes the fun part – mixing! You can use a sturdy spoon, a spatula, or even an electric mixer on a low setting to combine all these ingredients. Start by gently stirring everything together. As you mix, you’ll notice the dough begin extractning to form. It might seem a little crum extractbly at first, but keep mixing. The softened cream cheese will help everything come together into a cohesive, soft dough. You’re looking for a consistency that’s easy to handle and not overly sticky. If for some reason your dough seems a bit too dry, you can add another teaspoon of melted butter, but this is usually not necessary if your cream cheese is properly softened.
Forming and Baking the Cookies
Once your dough is beautifully combined and smooth, it’s time to roll it into balls. I like to use a small cookie scoop or a tablespoon to measure out uniform portions of dough. This ensures that all your cookies bake evenly. Roll each portion of dough between your palms to create smooth, round balls. Place these dough balls onto a baking sheet that has been lined with parchment paper or lightly greased. I recommend leaving about 2 inches of space between each cookie dough ball, as they will spread slightly as they bake. You should get about 30 cookies from this recipe, which is perfect for sharing or just enjoying yourself!
Now, let’s get these cookies into the oven. Carefully place the baking sheet with the cookie dough balls into your preheated 350-degree Fahrenheit oven. Bake for approximately 8 to 10 minutes. The exact baking time can vary depending on your oven, so keep an eye on them. You’ll know they’re ready when the edges are lightly golden brown, and the centers still look a little soft. They will continue to set up as they cool. Overbaking can make them dry, so it’s better to pull them out a minute or two early if you’re unsure. Once baked, remove the baking sheet from the oven and let the cookies cool on the sheet for about 5 minutes. This allows them to firm up just enough before you move them.
Adding the Chocolate Kiss and Finishing Touches
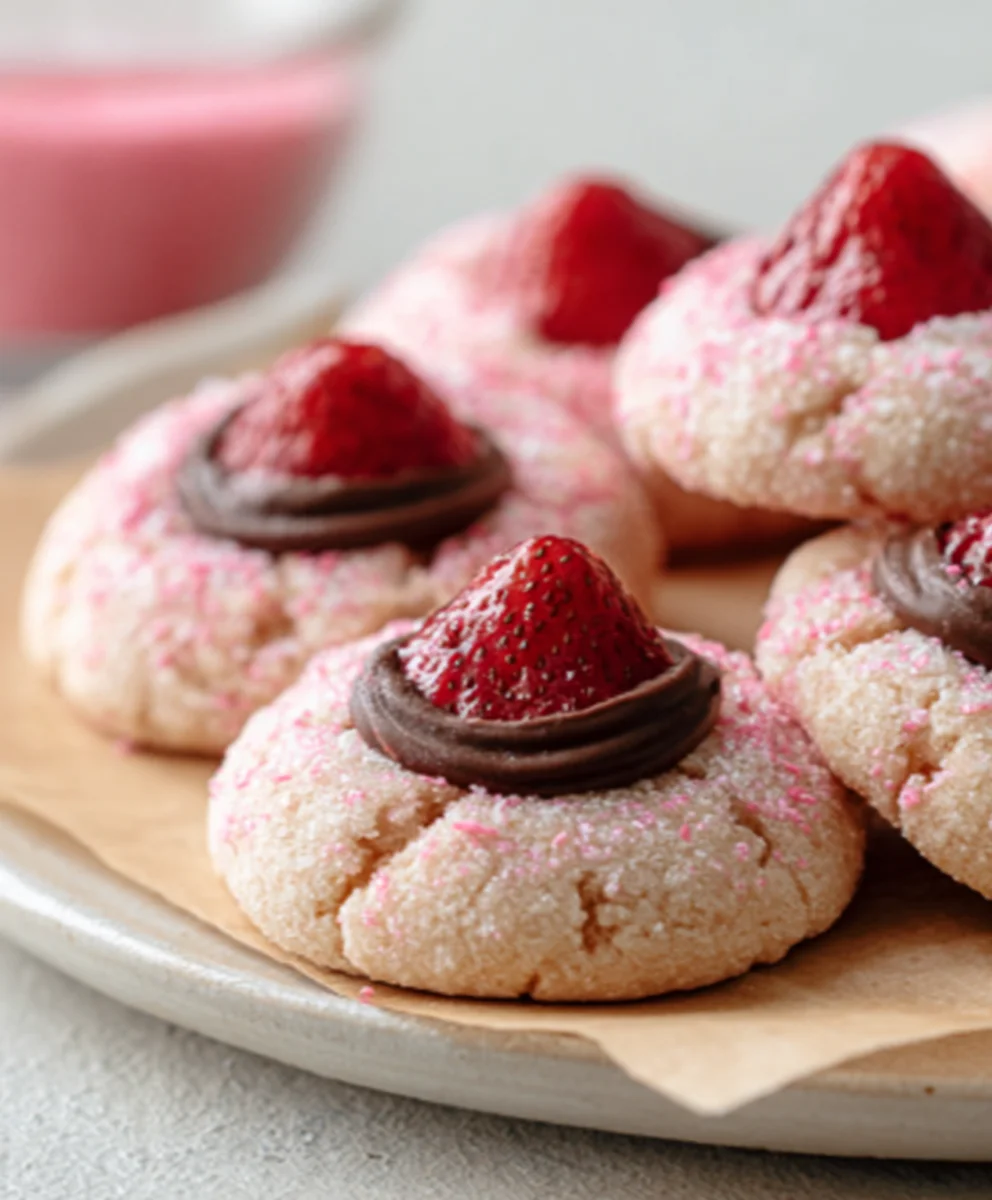
This next step is what truly makes them “Strawberry Kiss Cookies”! While the cookies are still warm and slightly soft on the baking sheet, gently press one unwrapped chocolate Hershey’s Kiss into the center of each cookie. The warmth of the cookie will help the chocolate soften slightly, making it meld beautifully into the cookie’s surface. If the cookies have cooled too much, the Kiss might just sit on top without sinking in. You can gently rewarm the cookies in the oven for 30 seconds if needed, but usually, the residual heat is enough. Make sure to press the Kiss down just enough so it’s nestled in, but not so hard that you break the cookie.
After placing the Hershey’s Kisses, carefully transfer the cookies from the baking sheet to a wire rack to cool completely. As they cool, the chocolate Kiss will continue to soften and slightly melt, creating that delightful “kiss” effect. Once the cookies have cooled down and the chocolate is set, you have the option to give them an extra touch of sweetness and visual appeal. You can lightly dust them with powdered sugar for a classic, snowy look, or for a fun pop of color that complements the strawberry, you can roll them in pink granulated sugar. This step is entirely optional, but it really elevates the presentation of these charming cookies. Store any leftover cookies in an airtight container at room temperature.
Conclusion:
You’ve now mastered the art of creating delightful Strawberry Kiss Cookies! This recipe is wonderfully straightforward, making it perfect for bakers of all levels. The result is a tender, buttery cookie with a subtle, sweet strawberry flavor that’s simply irresistible. We hope you enjoyed making and sharing these charming treats as much as we do!
These Strawberry Kiss Cookies are fantastic on their own, but they also pair beautifully with a glass of cold milk or a warm cup of tea. For a more festive presentation, consider dusting them with a little powdered sugar or drizzling them with a white chocolate glaze. They also make a lovely addition to any cookie platter or a sweet surprise in a lunchbox.
Don’t be afraid to experiment with variations! You could try adding a touch of lemon zest for a brighter flavor, or perhaps a few finely chopped freeze-dried strawberries to the dough for an even more intense strawberry punch. You can also get creative with the “kiss” shape – small dollops of buttercream or cream cheese frosting can elevate these cookies even further.
So go ahead, bake a batch (or two!) of these Strawberry Kiss Cookies and spread some sweetness. We encourage you to share your creations and enjoy the simple joy of homemade baking!
Frequently Asked Questions about Strawberry Kiss Cookies:
Q1: Can I use fresh strawberries instead of freeze-dried for the Strawberry Kiss Cookies?
While this recipe specifically calls for freeze-dried strawberries for their concentrated flavor and powder form, you can experiment with fresh strawberries. However, fresh strawberries contain a lot of moisture, which can alter the cookie’s texture, making them soggy. If you do use fresh, make sure to purée them and then cook down the purée until it’s very thick and resembles jam before adding it to the dough. This process will help minimize the moisture.
Q2: How should I store leftover Strawberry Kiss Cookies?
To keep your Strawberry Kiss Cookies fresh and delicious, store them in an airtight container at room temperature for up to 3-4 days. If you live in a warm or humid climate, you might consider placing a small piece of parchment paper between layers of cookies to prevent them from sticking together. For longer storage, you can freeze the baked cookies in a single layer on a baking sheet until firm, then transfer them to a freezer-safe bag or container for up to 2-3 months.
Strawberry Kiss Cookies – Easy & Delicious Recipe
Easy and delicious strawberry kiss cookies made with strawberry cake mix, cream cheese, and topped with a chocolate Hershey’s Kiss.
Ingredients
-
1 box (15.25 oz) strawberry cake mix
-
8 tablespoons (1/2 cup) butter, melted and slightly cooled
-
1 large egg
-
4 ounces cream cheese, softened
-
Optional: powdered sugar or pink granulated sugar for dusting
-
30 chocolate Hershey’s Kisses, unwrapped
Instructions
-
Step 1
Preheat oven to 350 degrees Fahrenheit (175 degrees Celsius). In a medium bowl, combine strawberry cake mix, melted butter, egg, and softened cream cheese. -
Step 2
Mix ingredients until a cohesive, soft dough forms. If the dough seems too dry, add another teaspoon of melted butter. -
Step 3
Roll dough into uniform balls using a cookie scoop or tablespoon. Place dough balls on a parchment-lined or greased baking sheet, leaving about 2 inches between cookies. -
Step 4
Bake for 8-10 minutes, or until edges are lightly golden brown and centers are still soft. Let cookies cool on the baking sheet for 5 minutes. -
Step 5
While cookies are still warm, gently press one unwrapped chocolate Hershey’s Kiss into the center of each cookie. -
Step 6
Transfer cookies to a wire rack to cool completely. Once cooled, optionally dust with powdered sugar or roll in pink granulated sugar.
Important Information
Nutrition Facts (Per Serving)
It is important to consider this information as approximate and not to use it as definitive health advice.
Allergy Information
Please check ingredients for potential allergens and consult a health professional if in doubt.