Easy Chocolate Protein Pudding Recipe-Healthy Treat
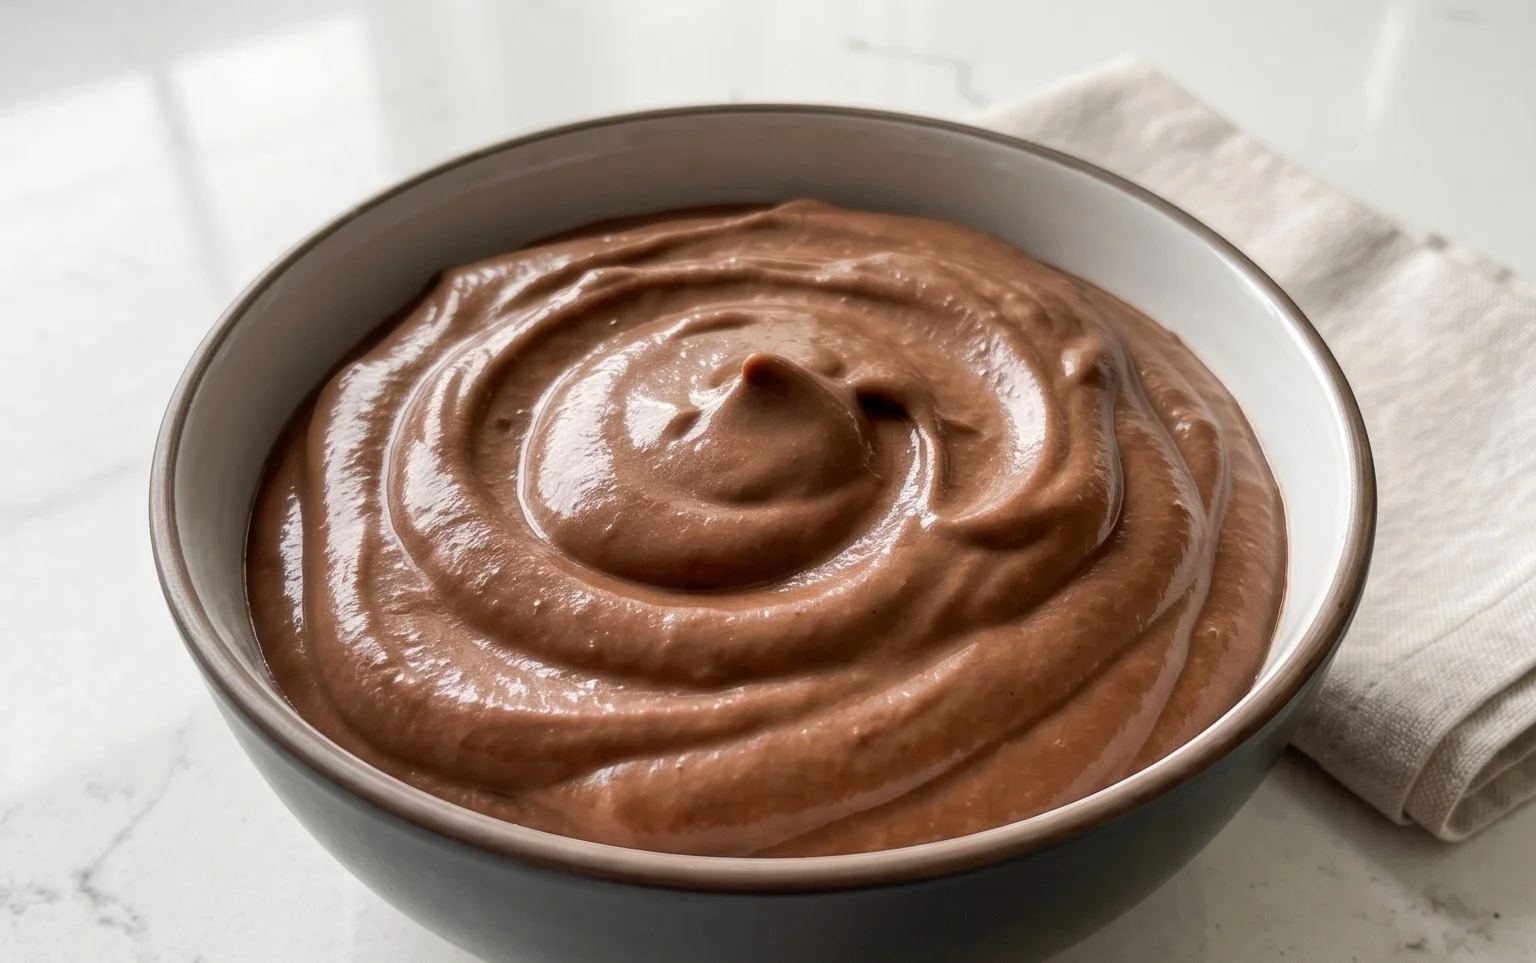
Chocolate Protein Pudding is more than just a dessert; it’s a guilt-free indulgence that satisfies your deepest sweet cravings while fueling your body. We all have those moments when only something rich, decadent, and undeniably chocolatey will do. But what if I told you that you could have that intensely satisfying chocolate experience without derailing your health goals? That’s precisely where this incredible Chocolate Protein Pudding recipe shines. It’s a revelation for anyone seeking a delicious way to boost their protein intake, making it the perfect post-workout treat, a smart afternoon pick-me-up, or even a healthy dessert that feels utterly luxurious. Forget the bland, chalky protein bars; this pudding is creamy, smooth, and bursting with genuine chocolate flavor, proving that healthy eating can be incredibly delicious.
Why You’ll Love This Recipe:
The ultimate healthy indulgence, this Chocolate Protein Pudding is surprisingly simple to make and incredibly versatile.
Chocolate Protein Pudding Recipe
Are you craving a decadent dessert that also fuels your body? Look no further! This Chocolate Protein Pudding recipe is your answer. It’s incredibly simple to make, requires no baking, and delivers a rich, chocolatey flavor that’s surprisingly healthy. Perfect for a post-workout treat, a satisfying snack, or even a guilt-free dessert, this pudding is a game-changer. Forget those sugary store-bought puddings; this homemade version is packed with protein and customizable to your taste. The creamy texture, thanks to the Greek yogurt, is utterly irresistible, and the deep chocolate flavor will have you coming back for more. It’s a versatile recipe that can be enjoyed on its own or as a base for other delicious creations.
Ingredients:
Instructions:
This recipe is wonderfully straightforward, making it accessible for even the most novice cooks. The beauty of this chocolate protein pudding lies in its simplicity and the minimal effort required to achieve a delicious and nutritious outcome. We’re essentially combining a few key ingredients until smooth and creamy.
Step 1: Prepare Your Base
Begin extract by gathering all your ingredients and ensuring they are at room temperature if possible. This helps in achieving a smoother, more homogenous mixture. Take a large mixing bowl and add the 5 cups of Greek yogurt. If you’re using plain Greek yogurt, the vanilla extract and maple syrup will be crucial for adding sweetness and flavor. If you opt for vanilla Greek yogurt, you might want to adjust the maple syrup slightly to your personal preference, perhaps starting with just 1 tablespoon and tasting as you go. The full-fat variety of Greek yogurt will yield the creamiest, most luxurious pudding texture. If you’re aiming for a slightly lighter version, you can experiment with 2% Greek yogurt, but be aware that the pudding might be a touch less rich. Ensure your yogurt is fresh and has a good texture to start with; this will directly translate to the final pudding.
Step 2: Introduce the Chocolatey Goodness
Next, it’s time to add the stars of the show for our chocolate flavor. Add the 4 scoops of chocolate protein powder to the bowl with the Greek yogurt. The amount of protein powder can vary slightly depending on its density and how much it packs down when scooping. Aim for roughly 2 to 3 tablespoons per scoop as indicated, ensuring you’re consistent. Following this, measure out your 3 to 4 tablespoons of unsweetened cocoa powder. The amount of cocoa powder will dictate the intensity of the chocolate flavor. If you’re a serious chocoholic, don’t be afraid to lean towards the 4 tablespoons. Unsweetened cocoa powder provides a deep, robust chocolate taste without adding extra sugar, which is great for keeping the overall sugar content in check. Make sure your cocoa powder is fresh and free of clumps.
Step 3: Enhance the Flavor Profile
Now, let’s elevate the flavor. Add the 1 teaspoon of vanilla extract. Vanilla is a wonderful enhancer for chocolate, deepening its flavor and adding a subtle complexity. Without vanilla, chocolate can sometimes taste a bit flat. And for a touch of sweetness that also adds a lovely depth of flavor, drizzle in the 2 tablespoons of maple syrup. Maple syrup offers a more nuanced sweetness than granulated sugar and pairs beautifully with chocolate and yogurt. Remember, you can always add more sweetener later if you find it’s not sweet enough for your liking, so it’s better to start conservatively.
Step 4: Blend Until Silky Smooth
This is where the magic happens! Using a whisk, electric mixer, or a sturdy spoon, begin extract to vigorously mix all the ingredients together. Your goal is to achieve a completely smooth and uniform consistency. Start by gently incorporating the dry ingredients into the yogurt, then increase your mixing speed. You want to break down any lumps of protein powder or cocoa powder. If you’re using an electric mixer, start on a low speed to avoid splattering, then gradually increase to medium-high. Whisk or beat until there are no streaks of yogurt, protein powder, or cocoa powder visible. The mixture should transform into a thick, pudding-like consistency. This process might take anywhere from 3 to 5 minutes, depending on your mixing method and the viscosity of your ingredients. Be patient here; thorough mixing is key to a delightful texture.
Step 5: Taste and Adjust
Once everything is well combined and you have a smooth pudding, this is your crucial moment for personalization. Take a small spoonful and taste the pudding. Does it have enough chocolate flavor for you? If not, you can add another tablespoon of cocoa powder. Is it sweet enough? If you prefer it sweeter, add another tablespoon of maple syrup, or even a touch of your preferred sweetener like honey or a sugar substitute. Remember that protein powders can vary in their sweetness, so this step is essential. Mix again thoroughly after any adjustments to ensure the new ingredients are fully incorporated. Once you’re happy with the flavor and sweetness, the pudding is ready to be chilled.
Step 6: Chill to Perfection
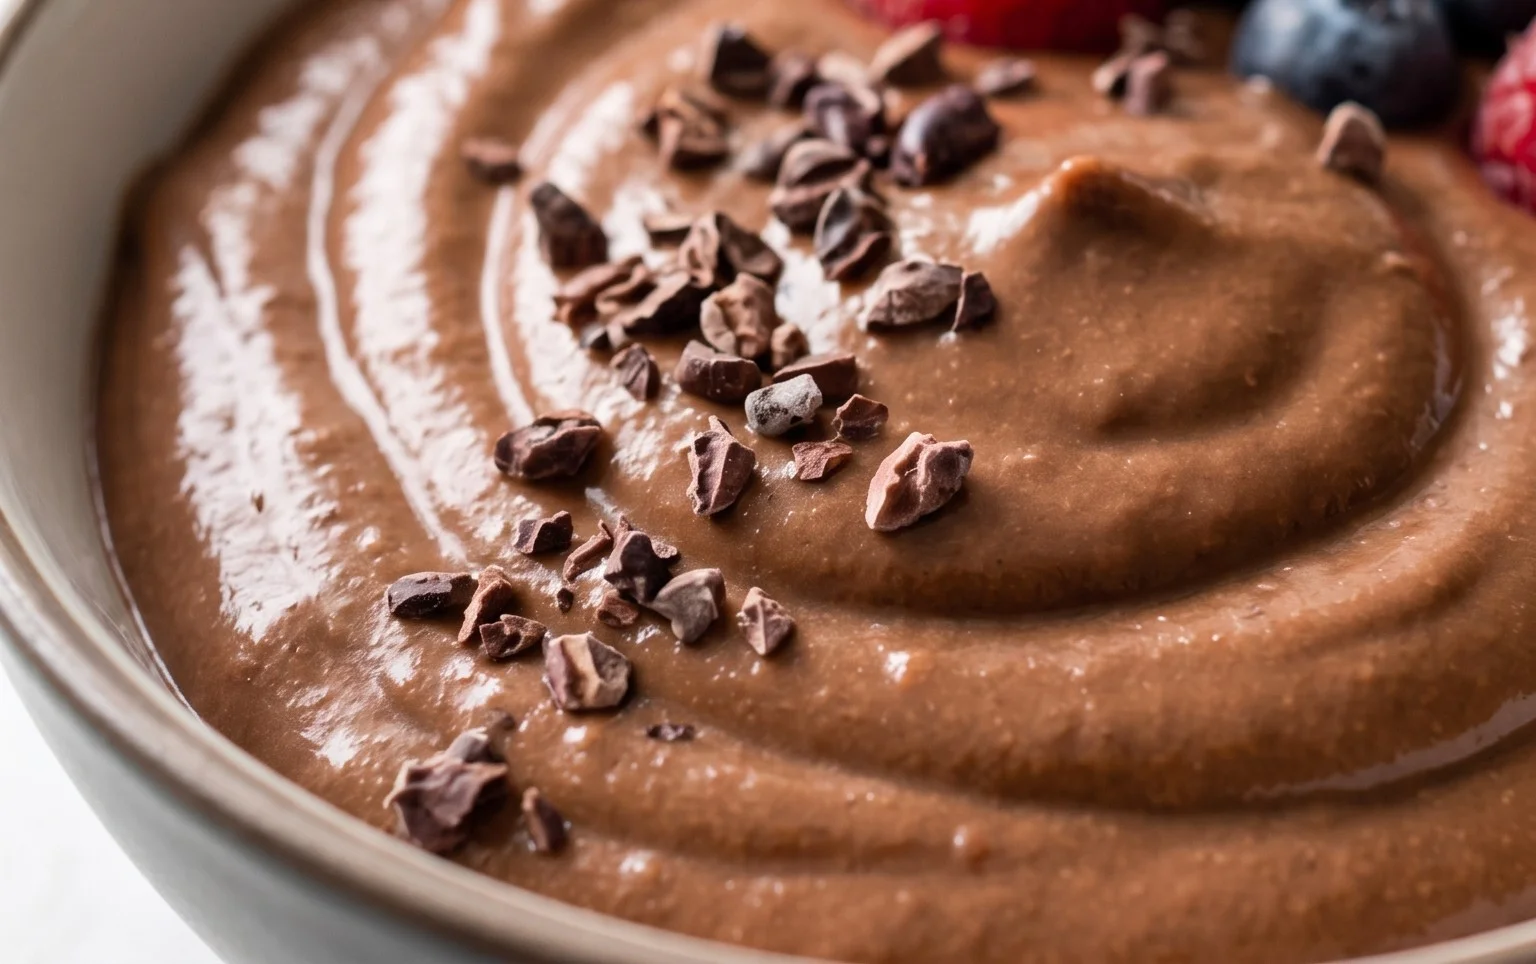
Transfer the chocolate protein pudding into individual serving containers, a large bowl, or any desired storage vessel. Cover the containers tightly with lids or plastic wrap to prevent a skin from forming on top and to keep it fresh. Place the pudding in the refrigerator for at least 1 to 2 hours. Chilling is a critical step for this pudding. It not only allows the flavors to meld together beautifully but also helps the pudding thicken to its ultimate desirable consistency. The longer it chills, the firmer and more pudding-like it will become. For the best texture, aim for at least 2 hours. Once thoroughly chilled, your delicious and healthy Chocolate Protein Pudding is ready to be enjoyed! You can serve it plain, or get creative with toppings. Fresh berries, a sprinkle of shaved dark chocolate, a dollop of whipped cream (dairy or non-dairy), or a few chopped nuts all make fantastic additions. Enjoy your guilt-free indulgence!
Conclusion:
And there you have it – your guide to crafting a delicious and satisfying Chocolate Protein Pudding! This recipe is an absolute winner for anyone looking for a healthy yet indulgent treat. It’s incredibly quick to whip up, requires minimal ingredients, and best of all, it delivers a rich, chocolatey flavor without the guilt. It’s the perfect solution for a post-workout refuel, a healthy dessert, or even a satisfying breakfast when you’re in a hurry. The smooth texture and deep chocolate taste will have you wondering how something so good for you can be so incredibly tasty. I truly encourage you to give this Chocolate Protein Pudding a try; I’m confident it will become a staple in your recipe rotation!
For serving, I love topping mine with a sprinkle of fresh berries for a burst of freshness, a dollop of Greek yogurt for extra creaminess, or a few chopped nuts for a delightful crunch. You can also get creative with variations! Try adding a pinch of cinnamon for a warming spice, a dash of instant coffee for a mocha twist, or even a tablespoon of peanut butter powder for a peanut butter chocolate delight. The possibilities are endless!
Frequently Asked Questions about Chocolate Protein Pudding:
Can I make this recipe vegan?
Absolutely! To make this vegan, simply swap the milk for your favorite plant-based milk (almond, soy, or oat milk work wonderfully) and use a vegan protein powder. Ensure your chocolate flavor is also vegan-friendly.
What kind of protein powder works best?
Whey protein powder is a classic choice for its smooth texture and excellent blendability. However, casein protein powder will yield an even thicker pudding. Plant-based protein powders can also work, though the texture might vary slightly depending on the type you use. Experiment to find your preference!
Chocolate Protein Pudding Recipe
A simple and delicious high-protein chocolate pudding made with Greek yogurt and chocolate protein powder.
Ingredients
-
5 cups Greek yogurt (full-fat, plain or vanilla)
-
4 scoops chocolate protein powder
-
3 to 4 tablespoons unsweetened cocoa powder
-
1 teaspoon vanilla extract
-
2 tablespoons maple syrup
Instructions
-
Step 1
In a large bowl, combine the Greek yogurt, chocolate protein powder, unsweetened cocoa powder, vanilla extract, and maple syrup. -
Step 2
Whisk vigorously until all ingredients are well combined and the mixture is smooth. Ensure no lumps of protein powder or cocoa powder remain. -
Step 3
If the mixture is too thick, add a tablespoon of water or milk (dairy or non-dairy) at a time until desired consistency is reached. For a thicker pudding, reduce liquid. -
Step 4
Taste and adjust sweetness if necessary. You can add more maple syrup for a sweeter pudding. -
Step 5
Spoon the pudding into individual serving bowls or containers. -
Step 6
Chill in the refrigerator for at least 30 minutes before serving to allow it to set and flavors to meld.
Important Information
Nutrition Facts (Per Serving)
It is important to consider this information as approximate and not to use it as definitive health advice.
Allergy Information
Please check ingredients for potential allergens and consult a health professional if in doubt.