Crispy Chicken Caesar Sandwich – Best Recipe
Crispy Chicken Caesar Sandwich: Prepare yourselves for a flavor revelation that will redefine your lunch game! If you’ve ever found yourself craving that perfect balance of creamy, tangy, and utterly satisfying, then this is the recipe you’ve been waiting for. We’re talking about taking the beloved Caesar salad, that timeless classic, and transforming it into a handheld masterpiece. What is it about the combination of crisp romaine, zesty Caesar dressing, and the irresistible crunch of perfectly fried chicken that makes this sandwich so universally adored? It’s that symphony of textures and tastes – the yielding embrace of a soft bun giving way to the satisfying shatter of breaded chicken, all bound together by that iconic dressing. This isn’t just another sandwich; it’s an experience. The Crispy Chicken Caesar Sandwich is special because it elevates humble ingredients into something truly extraordinary, proving that sometimes, the simplest ideas are the most brilliant.

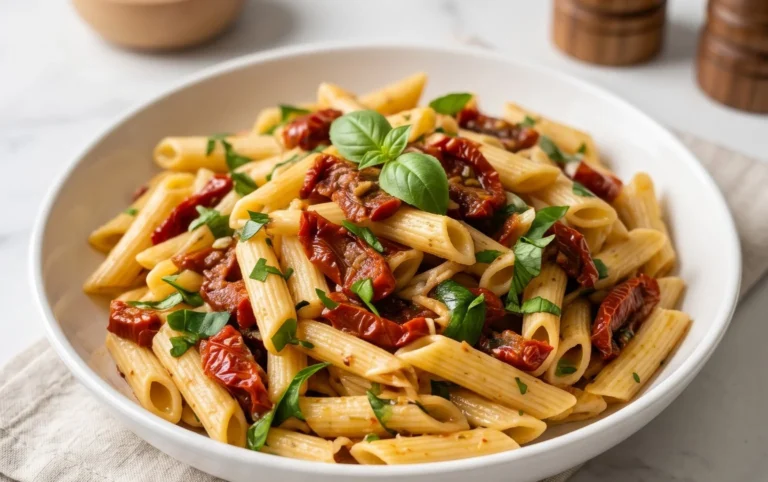
Crispy Chicken Caesar Sandwich
Forget soggy, bland chicken sandwiches! Today, we’re elevating your lunch game with a truly spectacular Crispy Chicken Caesar Sandwich. This recipe combines the satisfying crunch of perfectly fried chicken with the bright, tangy flavors of a homemade Caesar dressing, all piled high on your favorite bread. It’s a flavor explosion that’s surprisingly easy to make, perfect for a weeknight dinner or an impressive weekend lunch.
The secret to this sandwich lies in a few key elements: the incredibly crispy chicken coating, the vibrant and creamy Caesar dressing made from scratch, and the fresh, quality ingredients that tie it all together. We’re not just making a sandwich; we’re crafting an experience.
Ingredients:
Making the Caesar Dressing
First things first, let’s get that glorious Caesar dressing ready. This homemade version is miles ahead of anything store-bought. In a medium bowl, whisk together the full-fat mayonnaise and Greek yogurt. The mayonnaise provides that classic creamy richness, while the Greek yogurt adds a touch of tang and a lighter texture. Next, stir in the Dijon mustard for a subtle kick and the Worcestershire sauce for a layer of umami complexity. Fresh lemon juice is crucial for cutting through the richness and adding that signature bright Caesar flavor. Don’t skip this step!
Now for the Parmesan cheese. Make sure it’s freshly grated – pre-shredded cheese often contains anti-caking agents that can affect the texture. Add it to the bowl, along with the minced garlic cloves. For the garlic, I like to mince it very finely or even mash it into a paste to ensure it disperses evenly throughout the dressing. Finally, season with ¼ teaspoon of black pepper and a pinch of sea salt. Taste and adjust the seasoning as needed. You might want a little more lemon, a touch more salt, or an extra pinch of pepper. Cover and refrigerate this dressing while you prepare the chicken. It will allow the flavors to meld beautifully.
Preparing and Frying the Chicken
Now, let’s talk chicken. For this recipe, we’re using chicken cutlets. If your cutlets are particularly thick, you can gently pound them to an even ½-inch thickness. This ensures they cook through quickly and evenly, preventing the breading from burning before the chicken is done. Pat the chicken cutlets thoroughly dry with paper towels. This is a critical step for achieving maximum crispiness. Any moisture on the surface will create steam and prevent the breading from adhering properly and getting that desired crunch.
Set up your dredgin extractg station. In a shallow dish, combine the all-purpose flour with ½ teaspoon of salt and a good grinding of black pepper. This seasoned flour will form the base of our crispy coating. In a separate shallow dish or plate, have some additional sea salt and ground black pepper ready to season the chicken before dredgin extractg. Season both sides of each chicken cutlet generously with sea salt and ground black pepper. This initial seasoning is key for flavorful chicken.
Now, coat each chicken cutlet first in the seasoned flour, ensuring it’s completely covered, then tap off any excess. This flour layer helps the subsequent coating stick. Next, we’ll prepare the chicken for frying. While not strictly required for this recipe, some people like to dip the floured chicken into a whisked egg (not included in the provided ingredients, but a common addition for extra crispiness) and then into seasoned breadcrum extractbs for an even thicker crust. However, for this recipe, we’re relying on the flour and the cooking method for our crispiness.
Heat about ½ inch of neutral oil, such as vegetable, canola, or peanut oil, in a large skillet over medium-high heat until it reaches about 350°F (175°C). You can test the oil by dropping a tiny bit of flour into it; it should sizzle immediately. Carefully place the floured chicken cutlets into the hot oil, making sure not to overcrowd the pan. Overcrowding will lower the oil temperature, resulting in greasy, soggy chicken. Fry the chicken for about 3-5 minutes per side, or until golden brown and cooked through. The internal temperature should reach 165°F (74°C). Use tongs to carefully remove the chicken from the skillet and place it on a wire rack set over a baking sheet. This allows excess oil to drain off, keeping the chicken wonderfully crisp.
Assembling Your Masterpiece
While the chicken is still warm, it’s time to assemble our sandwiches. Toast your favorite bread – ciabatta rolls, sourdough slices, or brioche buns all work beautifully. Once toasted, spread a generous amount of your homemade Caesar dressing on both the top and bottom halves of your bread.
Place a perfectly crispy chicken cutlet on the bottom half of each bun. You can either serve the cutlet whole or slice it into strips if you prefer. Don’t be shy with the dressing! Add a few crisp romaine lettuce leaves on top of the chicken, followed by an extra sprinkle of fresh Parmesan cheese. Crown your creation with the top half of the bun.
This Crispy Chicken Caesar Sandwich is best enjoyed immediately while the chicken is still piping hot and incredibly crispy. The combination of textures and flavors – the crunch of the chicken, the creaminess of the dressing, the freshness of the lettuce, and the tang of the Parmesan – is simply irresistible. Enjoy every bite of this restaurant-worthy sandwich made right in your own kitchen!

Conclusion:
There you have it! This Crispy Chicken Caesar Sandwich recipe is an absolute winner for a reason. It takes the beloved flavors of a classic Caesar salad – that tangy dressing, crunchy romaine, and salty Parmesan – and elevates them into a satisfying, handheld meal. The star, of course, is the perfectly fried, golden-brown chicken breast, providing a delightful crunch that perfectly complements the creamy Caesar dressing and fresh greens. It’s the ideal balance of textures and tastes, making it a truly craveable lunch or a fantastic light dinner.
To make this already amazing sandwich even better, consider serving it with a side of sweet potato fries or a light, zesty coleslaw. For a bit of variety, feel free to swap out the romaine for baby spinach or arugula for a peppery kick. You could also experiment with different cheeses, like shaved Asiago or a sharp white cheddar, if you’re feeling adventurous. I truly encourage you to give this recipe a try; I’m confident you’ll find it as irresistible as I do!
Frequently Asked Questions about Crispy Chicken Caesar Sandwiches:
Q: Can I make the chicken ahead of time?
Absolutely! You can bread and fry the chicken pieces a day in advance. Store them in an airtight container in the refrigerator. To reheat, spread them on a baking sheet and warm in a preheated oven at 350°F (175°C) for about 5-7 minutes, or until heated through and still crispy.
Q: What if I don’t have a food processor for the dressing?
No worries at all! You can easily whisk the Caesar dressing ingredients together by hand in a bowl. It might take a little extra effort to emulsify, but the result will be just as delicious. Just ensure you break down any garlic or anchovy paste thoroughly.
Q: Is there a way to make this sandwich healthier?
You can certainly lighten it up! Consider baking or air-frying the chicken instead of deep-frying. For the dressing, use Greek yogurt as a base instead of mayonnaise, or opt for a lighter store-bought Caesar. Adding more fresh vegetables like sliced cucumber or red onion can also boost the nutritional profile.
Crispy Chicken Caesar Sandwich
A delicious and crispy chicken Caesar sandwich featuring a homemade Caesar dressing and perfectly fried chicken cutlets.
Ingredients
-
½ cup full-fat mayonnaise
-
3 tbsp Greek yogurt
-
1 tsp Dijon mustard
-
1 tsp Worcestershire sauce
-
2 tbsp lemon juice
-
¼ cup Parmesan cheese (freshly grated)
-
1-2 garlic cloves (minced)
-
¼ tsp black pepper
-
Pinch sea salt
-
5 chicken cutlets
-
sea salt (to taste)
-
ground black pepper (to taste)
-
Oil (for frying)
-
⅓ cup all-purpose flour
-
½ tsp salt
Instructions
-
Step 1
In a bowl, whisk together mayonnaise, Greek yogurt, Dijon mustard, Worcestershire sauce, lemon juice, grated Parmesan cheese, minced garlic, ¼ tsp black pepper, and a pinch of sea salt to make the Caesar dressing. Set aside. -
Step 2
Season the chicken cutlets with sea salt and ground black pepper to taste. -
Step 3
In a shallow dish, combine all-purpose flour and ½ tsp salt. Dredge each chicken cutlet in the flour mixture, ensuring it’s evenly coated. -
Step 4
Heat oil in a large skillet over medium-high heat. Fry the floured chicken cutlets for about 5-7 minutes per side, or until golden brown and cooked through. -
Step 5
Once cooked, place the crispy chicken cutlets on paper towels to drain excess oil. -
Step 6
Assemble the sandwiches by spreading a generous amount of Caesar dressing on the buns (not listed, assumed for sandwich assembly), and topping with a crispy chicken cutlet. Add extra Parmesan cheese and black pepper if desired.
Important Information
Nutrition Facts (Per Serving)
It is important to consider this information as approximate and not to use it as definitive health advice.
Allergy Information
Please check ingredients for potential allergens and consult a health professional if in doubt.