Classic Pasta Salad Recipe- Easy & Delicious
Classic Pasta Salad is more than just a side dish; it’s a summer barbecue staple, a potluck cbeef hampion, and a comforting weeknight meal all rolled into one. There’s something undeniably magical about this humble dish that draws everyone in, from picky eaters to seasoned foodies. What is it about a bowl brimming with perfectly cooked pasta, crisp vegetables, and a tangy, creamy dressing that makes it so universally adored? Perhaps it’s the satisfying bite of al dente pasta, the vibrant crunch of fresh bell peppers and celery, or the salty tang of cheese and olives. This classic pasta salad truly shines because of its versatility. It’s a blank canvas waiting for your personal touch, yet even in its simplest form, it delivers pure, unadulterated joy. It’s the kind of dish that tastes even better the next day, making leftovers a delightful prospect.
Why You’ll Love This Recipe
Get ready to master the ultimate Classic Pasta Salad.
Classic Pasta Salad
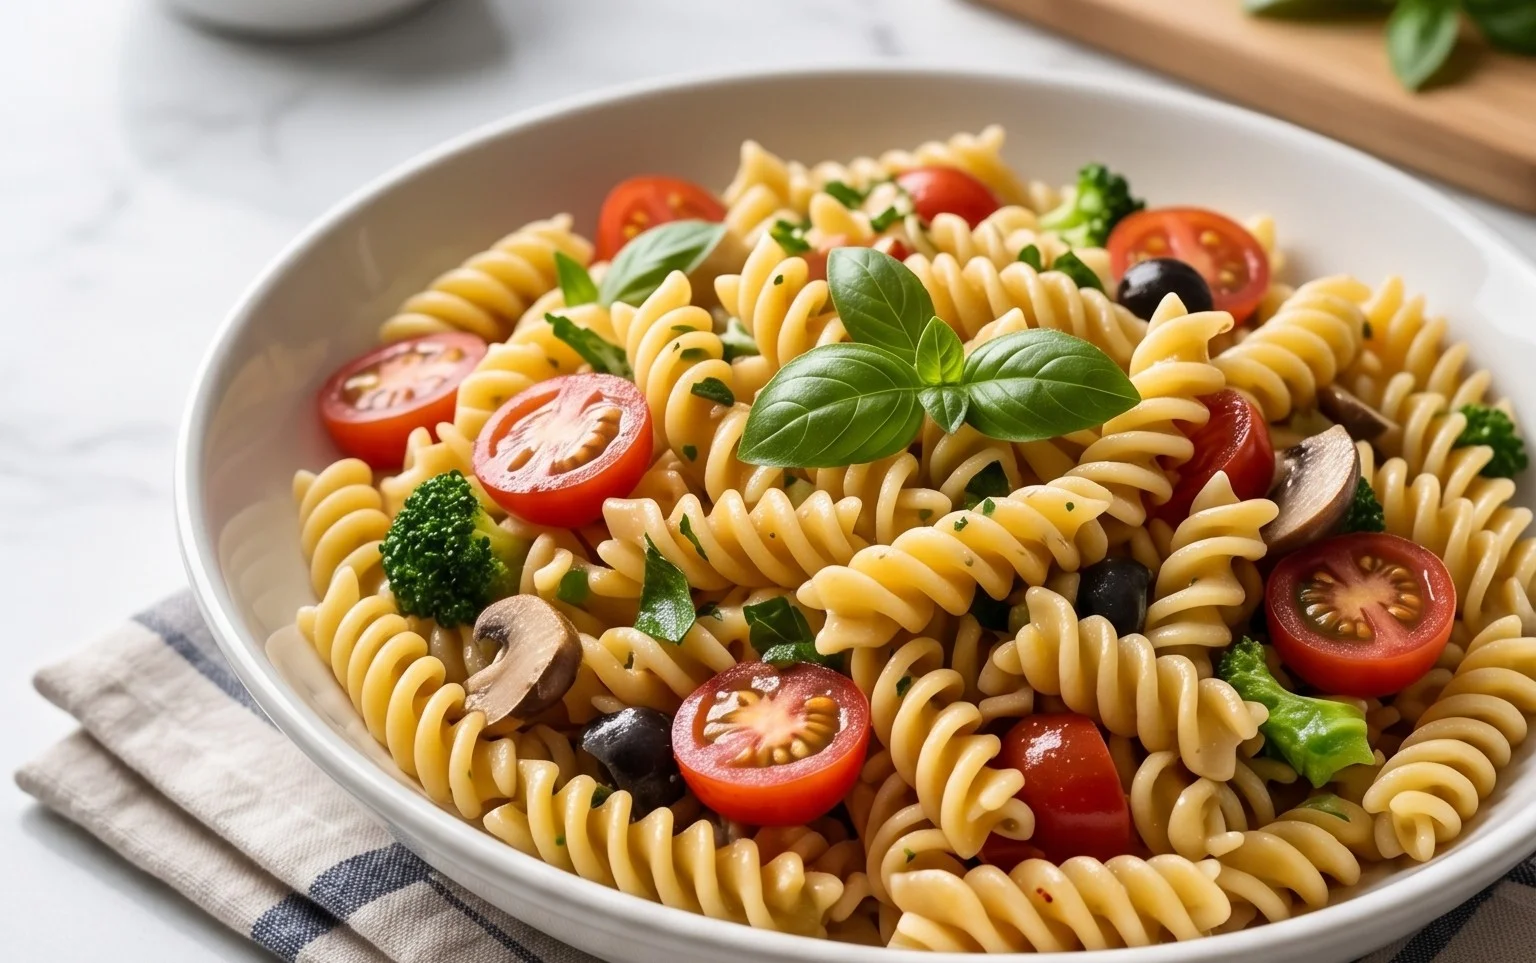
There’s something undeniably comforting and satisfying about a classic pasta salad. It’s the quintessential potluck dish, the perfect picnic accompaniment, and a weeknight lifesaver all rolled into one. This recipe, my friends, is the one you’ll come back to again and again. It’s a symphony of textures and flavors – the tender bite of pasta, the bright pop of tomatoes, the savory depth of beef pepperoni, the crisp crunch of fresh vegetables, and the creamy richness of mozzarella, all brought together by a zesty Italian dressing. Forget those bland, mushy versions; this pasta salad is vibrant, flavorful, and bursting with goodness. It’s deceptively simple to make, yet the results are always impressive. Get ready to be the star of your next gathering!
Ingredients:
Cooking Instructions
1. Cook the Pasta to Perfection: First things first, we need to get our pasta cooked. Grab a large pot and fill it generously with water. Add a good pinch of salt – this is crucial for flavoring the pasta from the inside out. Bring the water to a rolling boil over high heat. Once boiling, carefully add the 24 ounces of tri-color rotini pasta. Stir the pasta occasionally as it cooks to prevent it from sticking together. We’re aiming for al dente, which means cooked through but still firm to the bite. Check the pasta package for recommended cooking times, but it’s always best to taste a piece a minute or two before the suggested time to be sure. Overcooked pasta turns mushy, and that’s the enemy of a great pasta salad. Once it’s perfectly al dente, drain the pasta immediately in a colander. Give it a quick rinse under cold water to stop the cooking process and to remove excess starch. This also helps prevent the pasta from clumping together. Let it drain very well.
2. Prepare the Flavorful Dressing: While the pasta is draining, let’s whip up the dressing that will tie all our delicious ingredients together. In a large bowl or a sturdy jar with a lid, combine 1 1/2 cups of olive oil and 1/2 cup of red grape juice vinegar. Red grape juice vinegar offers a lovely balance of sweetness and acidity, perfect for a dressing. Now, let’s add the seasonings. Sprinkle in 2 tablespoons of Italian seasoning for that classic herby flavor, 2 teaspoons of garlic powder for a pungent kick, 1 1/2 teaspoons of salt, 1 teaspoon of black pepper for warmth, and finally, 1/2 teaspoon of red pepper flakes if you like a little hint of heat. If you’re using a jar, screw the lid on tightly and shake vigorously until the dressing is well emulsified. If you’re using a bowl, whisk everything together thoroughly until it’s combined. Taste the dressing and adjust seasonings if needed. Remember, this dressing will coat everything, so it should have a bold flavor.
3. Assemble the Salad Base: Now for the fun part – bringin extractg all our beautiful ingredients together! In a really large mixing bowl, add your drained and cooled tri-color rotini pasta. To this, add 1 pint of halved cherry tomatoes, 12 ounces of sliced beef beef pepperoni (chopped into bite-sized pieces if you prefer, though I like the whole slices for visual appeal and a burst of flavor), 1 diced red onion, and 1 diced green bell pepper. The red onion will add a lovely sharp bite, and the green bell pepper provides a refreshing crunch and vibrant color. Add 8 ounces of sliced olives – Kalamata or black olives work wonderfully here. Finally, toss in 16 ounces of cubed mozzarella cheese. This is where the creaminess comes in.
4. Combine and Chill for Maximum Flavor: Pour about three-quarters of your prepared dressing over the ingredients in the large bowl. Gently toss everything together until all the components are evenly coated with the dressing. Make sure to get into all the nooks and crannies of the rotini pasta. Now, for the crucial step that elevates this salad from good to spectacular: chilling. Cover the bowl tightly with plastic wrap or transfer the salad to an airtight container. Refrigerate for at least 2 hours, but ideally for 4-6 hours, or even overnight. This chilling time allows the flavors to meld together beautifully, and the pasta to absorb the dressing. Just before serving, give the salad another gentle toss. You might find it needs a little more dressing; add the remaining dressing if desired, or even a little extra olive oil and vinegar if it seems a bit dry.
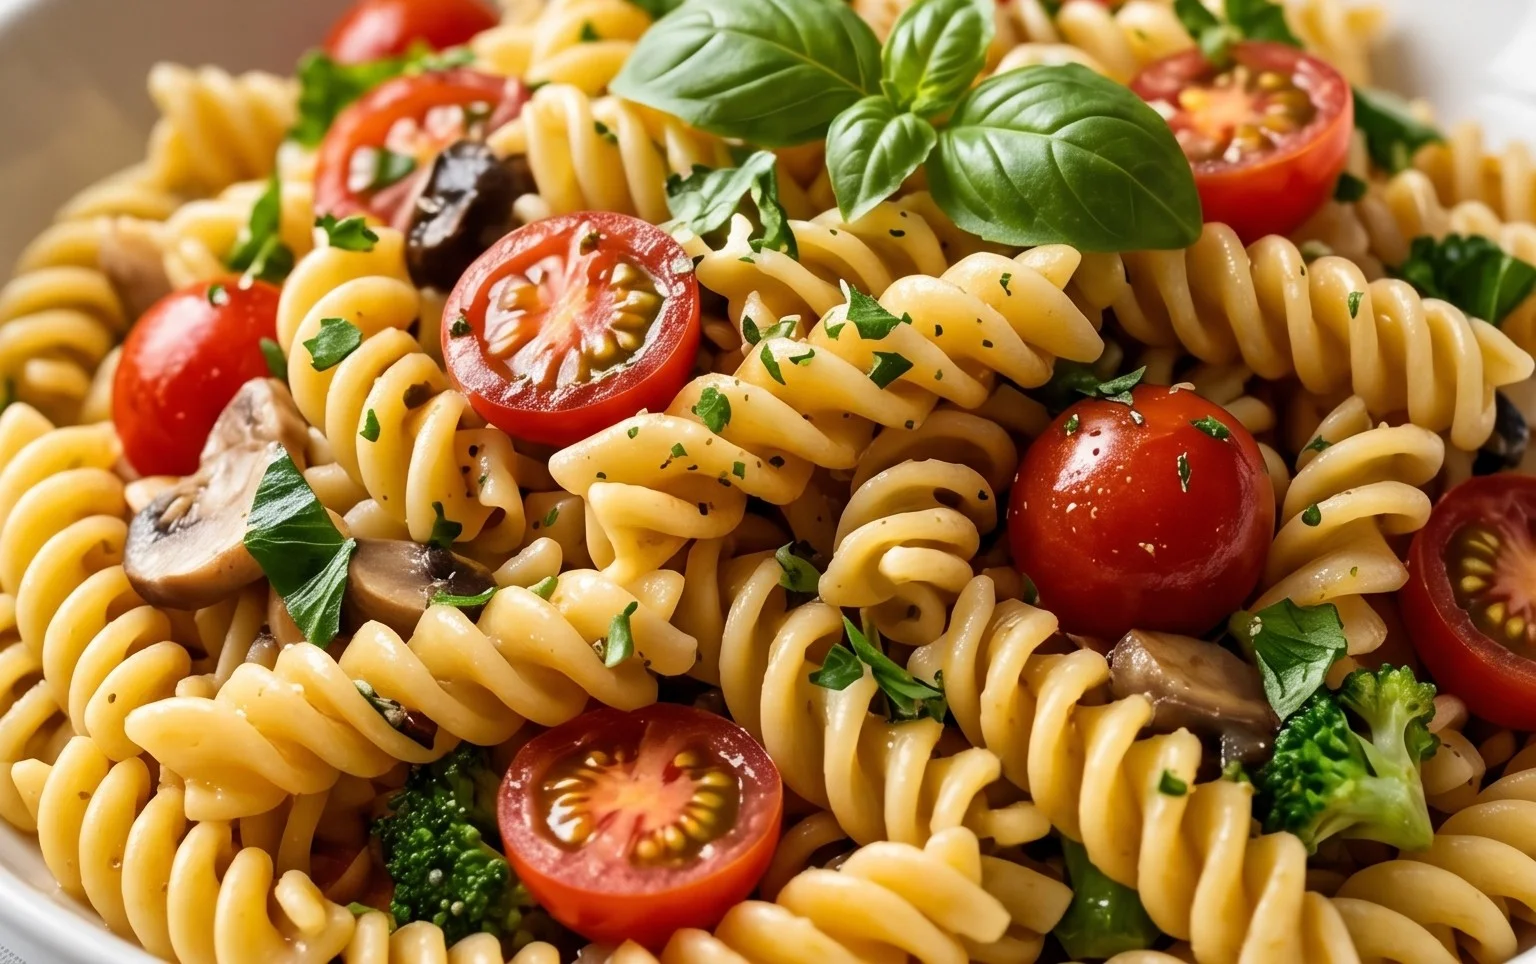
5. The Final Touch: Parmesan and Serve: Once the salad has had ample time to chill and for those flavors to truly meld, it’s time for the finishing touch. Gently stir in 1 cup of grated parmesan cheese. The parmesan adds a delightful nutty, salty depth that perfectly complements the other ingredients. Give the salad one final, gentle toss to distribute the parmesan evenly. Serve your classic pasta salad chilled. It’s perfect on its own as a light meal or as a substantial side dish for barbecues, picnics, or any casual gathering. This recipe makes a generous amount, so it’s ideal for feeding a crowd. Enjoy every delicious bite!
Conclusion:
There you have it – a timeless and utterly delicious Classic Pasta Salad recipe that’s perfect for any occasion! We’ve explored how this dish, with its customizable nature and satisfying textures, makes for an unbeatable potluck centerpiece, a delightful picnic staple, or even a quick and wholesome weeknight meal. The beauty of this recipe lies in its simplicity and the way it allows your favorite ingredients to shine. Don’t be afraid to experiment with different pasta shapes, vegetables, and dressings to make it uniquely yours. I truly encourage you to give this Classic Pasta Salad a try; you won’t regret the fresh flavors and the joy it brings to your table!
Frequently Asked Questions:
Q: How far in advance can I make this pasta salad?
You can prepare this pasta salad a day in advance. In fact, letting the flavors meld overnight in the refrigerator often enhances the overall taste. Just ensure you store it in an airtight container to keep it fresh.
Q: What are some good protein additions to this pasta salad?
This versatile salad pairs wonderfully with a variety of proteins! Grilled chicken or shrimp are fantastic options. For a vegetarian twist, consider adding chickpeas, black beans, or crum extractbled feta cheese. Hard-boiled eggs also make for a simple and satisfying protein boost.
Q: My pasta salad seems a little dry after refrigerating. What can I do?
It’s common for pasta to absorb some of the dressing as it sits. Before serving, simply give the salad a good stir and add a tablespoon or two more of your dressing, or even a splash of olive oil and lemon juice, to rehydrate it and revive the flavors.
Classic Pasta Salad
A hearty and flavorful pasta salad perfect for potlucks and picnics, featuring tri-color rotini, pepperoni, fresh vegetables, and a zesty Italian dressing.
Ingredients
-
24 ounces tri-color rotini pasta (uncooked)
-
1 pint cherry tomatoes (halved)
-
12 ounces sliced turkey pepperoni
-
1 red onion (diced)
-
1 green bell pepper (diced)
-
16 ounces mozzarella cheese (cubed)
-
1 cup grated parmesan cheese
-
8 ounces olives (sliced)
-
1 1/2 cups olive oil
-
1/2 cup red grape juice vinegar
-
2 tablespoons Italian seasoning
-
2 teaspoons garlic powder
-
1 1/2 teaspoons salt
-
1 teaspoon pepper
-
1/2 teaspoon red pepper flakes
Instructions
-
Step 1
Cook rotini pasta according to package directions until al dente. Drain and rinse with cold water to cool. -
Step 2
In a large bowl, combine the cooled pasta, halved cherry tomatoes, sliced turkey pepperoni, diced red onion, diced green bell pepper, cubed mozzarella cheese, grated parmesan cheese, and sliced olives. -
Step 3
In a separate small bowl or jar, whisk together the olive oil, red grape juice vinegar, Italian seasoning, garlic powder, salt, pepper, and red pepper flakes to create the dressing. -
Step 4
Pour the dressing over the pasta and vegetable mixture. -
Step 5
Toss gently to ensure all ingredients are evenly coated with the dressing. -
Step 6
Cover the bowl and refrigerate for at least 30 minutes to allow the flavors to meld before serving.
Important Information
Nutrition Facts (Per Serving)
It is important to consider this information as approximate and not to use it as definitive health advice.
Allergy Information
Please check ingredients for potential allergens and consult a health professional if in doubt.