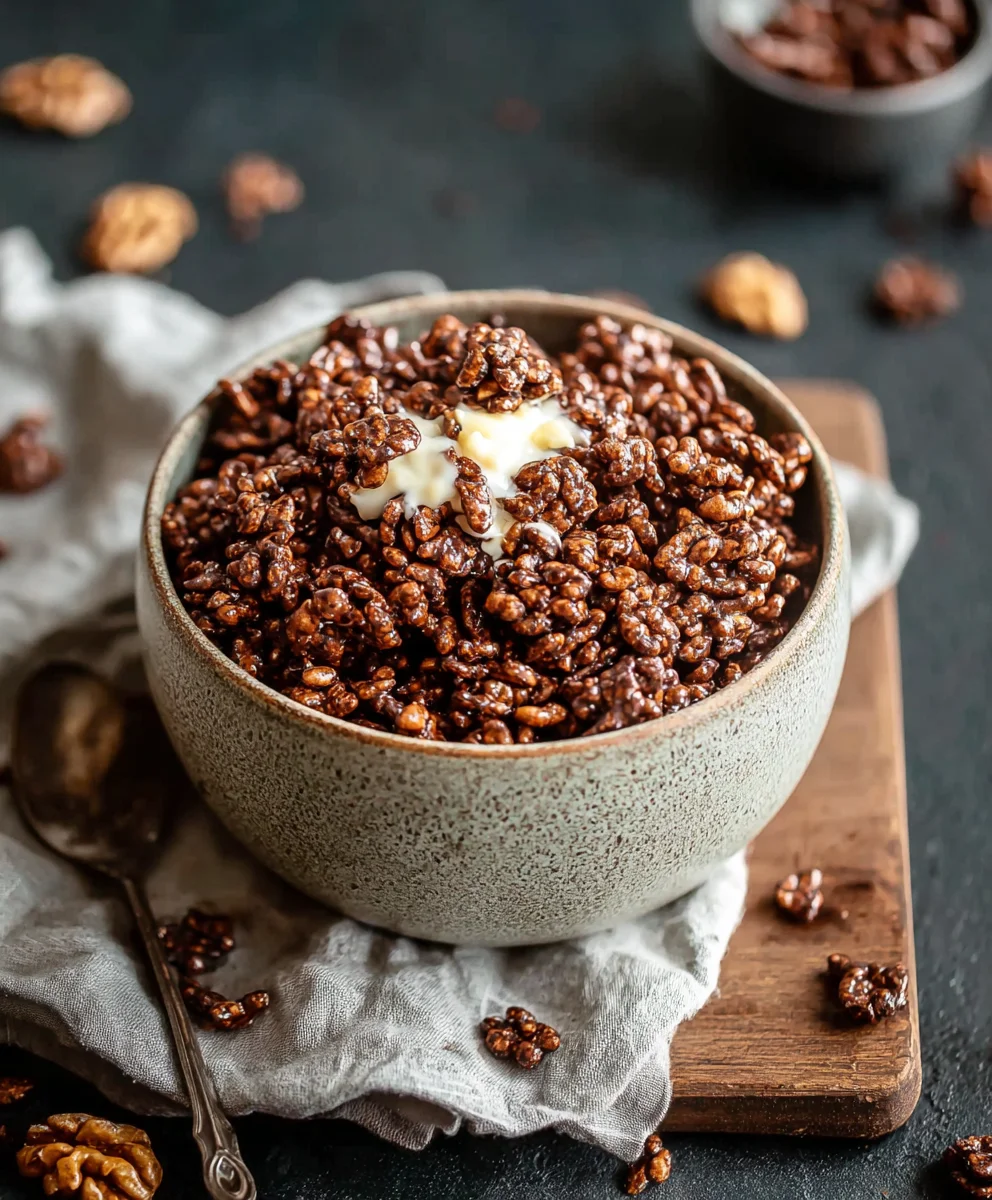
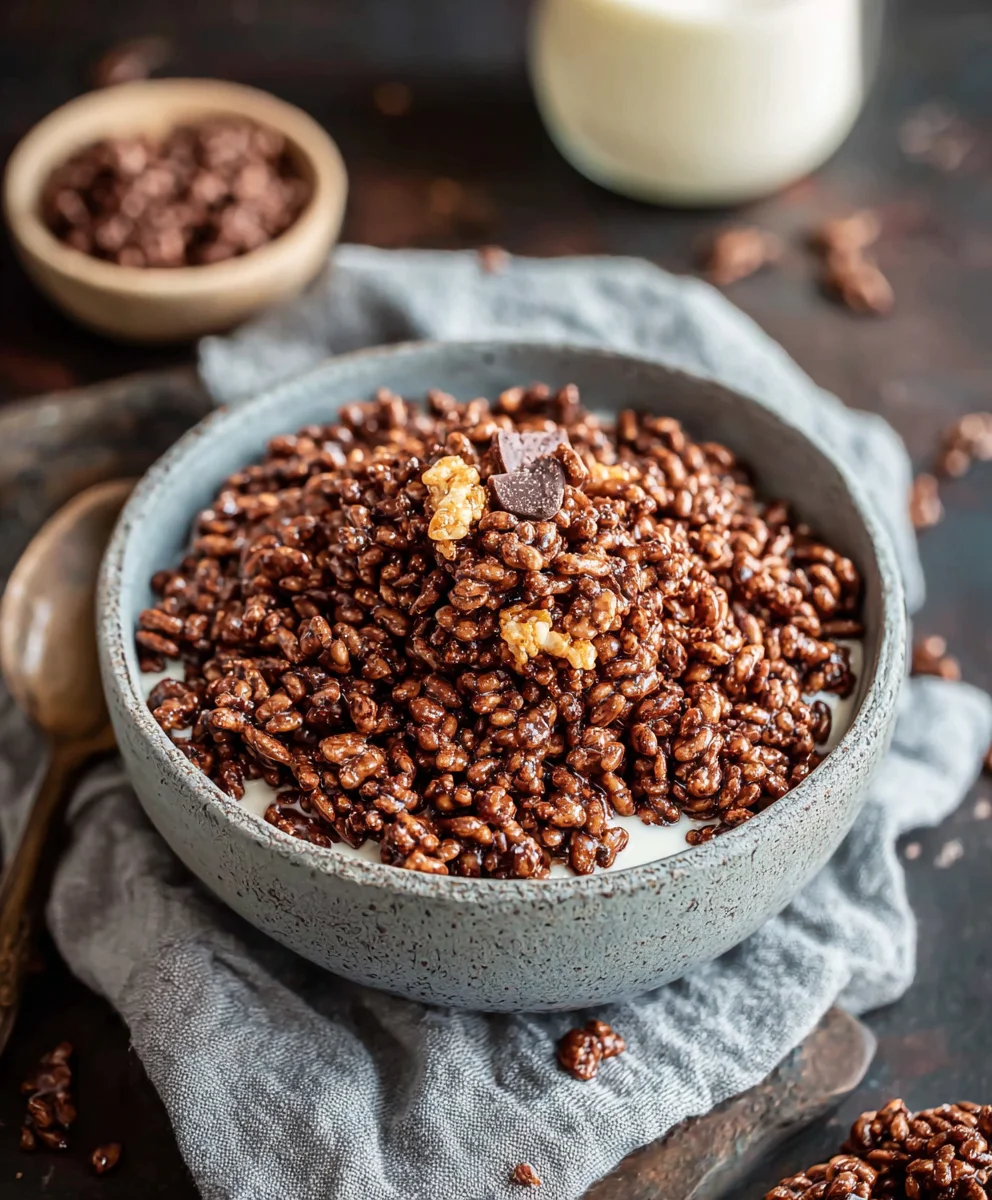
Healthy Crispy Chocolate Puffed Rice Cereal
Healthy Crispy Chocolate Puffed Rice Cereal is more than just a breakfast option; it’s a delightful journey for your taste buds and a smart choice for your well-being. We all remember the joy of that satisfying crunch and the rich cocoa flavor that instantly brightens any morning. This isn’t your average sugary cereal; it’s a carefully crafted treat that proves you don’t have to sacrifice deliciousness for health. People absolutely adore this version because it delivers that classic, craveable chocolatey goodness without the guilt associated with excessive sugar and artificial ingredients. What truly sets this Healthy Crispy Chocolate Puffed Rice Cereal apart is its brilliant blend of simple, wholesome ingredients, transforming humble puffed rice into a star. It’s the perfect way to kickstart your day with sustained energy and a smile, offering a texture that’s both addictively crunchy and satisfyingly light. Get ready to discover your new favorite way to enjoy a chocolatey crunch!
Ingredients:
- 4 cups of puffed rice
- 4 tbsp of coconut oil, melted
- 3 tbsp of raw cacao powder
- 2 tbsp of maple syrup (or more, to taste)
- 1/4 tsp of pure vanilla extract
Preparing the Crispy Coating
Step 1: Gently Melt the Coconut Oil
The foundation of our healthy crispy chocolate puffed rice cereal lies in creating a delicious, rich chocolate coating that evenly distributes amongst the airy puffed rice. Begin extract by ensuring your coconut oil is in a liquid state. If it’s solid, place the measured 4 tablespoons into a small saucepan over very low heat, or microwave it in short 15-second bursts until it’s just melted and pourable. We want it warm enough to combine easily with the other ingredients but not so hot that it could damage the delicate puffed rice. A gentle approach here is key to preserving the integrity of the cereal’s texture.
Step 2: Whisk Together the Chocolatey Goodness
In a medium-sized mixing bowl, combine the melted coconut oil with the raw cacao powder, maple syrup, and vanilla extract. This is where the magic happens! Use a whisk or a fork to thoroughly blend these ingredients. It’s important to whisk until you achieve a smooth, homogenous chocolate mixture, free from any lumps of cacao powder. The maple syrup adds a touch of sweetness that balances the slight bitterness of the raw cacao, and the vanilla extract enhances the overall chocolate aroma and flavor profile. Take a moment to taste a tiny bit of the mixture (if you’re comfortable doing so, being mindful of raw ingredients) to adjust the sweetness to your preference. You can add a little more maple syrup if you prefer a sweeter cereal, or a touch less if you enjoy a more pronounced dark chocolate flavor.
Combining and Coating
Step 3: Introduce the Puffed Rice
Now it’s time to bring our fluffy puffed rice into the picture. Add the 4 cups of puffed rice directly into the bowl with the chocolate mixture. The key here is to be gentle. Puffed rice is quite delicate, and we want to maintain its light and airy structure. Avoid stirring too vigorously, which can crush the rice. Instead, use a large spoon or a spatula to carefully fold the chocolate mixture over the puffed rgin extract. Imagine you are lifting the rice from the bottom of the bowl and folding it over the top, allowing the chocolate to coat it as you go. Continue this gentle folding process until every piece of puffed rice is lightly and evenly coated in the chocolate mixture. You might see some pieces that are more heavily coated than others – that’s perfectly fine, as it will add interesting texture variations once the cereal is ready.
Forming and Chilling
Step 4: Shape the Cereal Clusters
Once the puffed rice is well-coated, we need to shape our cereal into manageable clusters. You can do this in a couple of ways. For smaller, individual pieces, you can use two spoons to scoop small portions and place them onto a baking sheet lined with parchment paper. For larger, more clustered bites, you can gently press handfuls of the coated puffed rice together on the parchment-lined baking sheet. Don’t worry about making them perfectly uniform; the rustic, slightly irregular shapes are part of the charm of homemade cereal. Ensure that the clusters are not too dense, as this will help them crisp up properly. Give them a little space between each cluster on the baking sheet so that they don’t stick together too much during the chilling process.
Step 5: Chill to Perfection
To achieve that satisfying crispiness, we need to let the clusters set. Carefully transfer the baking sheet with the shaped cereal clusters into your refrigerator. Let them chill for at least 1 hour. During this time, the coconut oil will solidify, binding the cereal together and creating a wonderfully crisp texture when you bite into it. You can also place the baking sheet in the freezer for about 30 minutes if you’re in a hurry, but the refrigerator is generally preferred for a more even setting. Once the clusters are firm to the touch and no longer sticky, they are ready to be enjoyed.
Storage and Enjoyment
After the cereal has fully set and achieved its desired crispness, you can gently break apart any larger clusters if needed. Store your Healthy Crispy Chocolate Puffed Rice Cereal in an airtight container at room temperature for up to a week. Keep in mind that coconut oil can melt in warm temperatures, so if you live in a very hot climate, storing it in the refrigerator might be a better option to maintain its crispness and prevent the clusters from becoming soft. Enjoy this delightful homemade cereal with your favorite milk, yogurt, or as a standalone snack. Its rich chocolate flavor and satisfying crunch make it a fantastic healthier alternative to store-bought cereals.
Conclusion:
Congratulations on mastering the art of making Healthy Crispy Chocolate Puffed Rice Cereal! This delightful recipe offers a guilt-free way to satisfy your sweet cravings with a satisfying crunch. We’ve seen how simple ingredients and a straightforward process can yield such delicious results. Whether you’re looking for a quick breakfast, a healthy snack, or even a base for other desserts, this cereal is incredibly versatile.
To elevate your experience, consider serving your Healthy Crispy Chocolate Puffed Rice Cereal with a splash of your favorite milk (dairy or non-dairy works beautifully!), fresh berries for a burst of freshness, or a dollop of yogurt for added creaminess. For variations, feel free to experiment! Stir in a tablespoon of chia seeds or flaxseeds for an extra nutritional boost, or add a pinch of cinnamon for a warm, cozy flavor profile. You can also try adding a handful of chopped nuts for added texture and healthy fats. Don’t be afraid to get creative and make this recipe your own!
We encourage you to make this Healthy Crispy Chocolate Puffed Rice Cereal a regular part of your healthy eating routine. It’s a testament to how delicious and satisfying homemade treats can be when you prioritize wholesome ingredients. Enjoy the crunch, enjoy the chocolate, and enjoy knowing you’re nourishing your body!
Frequently Asked Questions:
Q1: How should I store my Healthy Crispy Chocolate Puffed Rice Cereal?
To maintain its crispy texture, store your Healthy Crispy Chocolate Puffed Rice Cereal in an airtight container at room temperature. Avoid storing it in the refrigerator, as the moisture can make it go stnon-alcoholic ale faster. Properly stored, it should remain delightfully crunchy for up to two weeks.
Q2: Can I make this recipe gluten-free?
Yes, absolutely! If you need to make your Healthy Crispy Chocolate Puffed Rice Cereal gluten-free, simply ensure that you use puffed rice cereal that is certified gluten-free. Most rice cereals are naturally gluten-free, but it’s always a good idea to check the packagin extractg to be sure, especially if you have celiac disease or a severe gluten sensitivity.
Healthy Crispy Chocolate Puffed Rice Cereal
A simple and delicious homemade chocolate puffed rice cereal with a satisfying crunch, made with healthy ingredients.
Ingredients
-
4 cups puffed rice
-
4 tbsp coconut oil, melted
-
3 tbsp raw cacao powder
-
2 tbsp maple syrup
-
1/4 tsp pure vanilla extract
Instructions
-
Step 1
Gently melt the coconut oil over very low heat or in short microwave bursts until just melted and pourable. -
Step 2
In a mixing bowl, whisk together the melted coconut oil, raw cacao powder, maple syrup, and vanilla extract until smooth and homogenous. -
Step 3
Add the puffed rice to the chocolate mixture and gently fold with a spatula until evenly coated. Avoid stirring too vigorously. -
Step 4
Shape the coated puffed rice into small clusters or individual pieces on a parchment-lined baking sheet. -
Step 5
Chill the clusters in the refrigerator for at least 1 hour, or in the freezer for about 30 minutes, until firm.
Important Information
Nutrition Facts (Per Serving)
It is important to consider this information as approximate and not to use it as definitive health advice.
Allergy Information
Please check ingredients for potential allergens and consult a health professional if in doubt.