Nut Free Pesto Delicious & Easy Recipe
Nut Free Pesto is a culinary game-changer, and I’m so excited to share my favorite recipe with you. For so long, the creamy, herbaceous goodness of pesto felt like a forbidden pleasure for many, especially those with nut allergies or families navigating those dietary needs. But let me tell you, this nut free pesto is the real deal. It delivers all the vibrant, zesty flavor you crave, without a single nut in sight. Imagin extracte tossing it with pasta, spreading it on a sandwich, or dipping some crusty bread – the possibilities are endless and utterly delicious.
Why You’ll Love This Nut Free Pesto:
What makes this nut free pesto truly special is its ability to bring everyone to the table, literally. We’ve all experienced that moment of carefully scrutinizing ingredients, worried about cross-contamination or accidental exposure. This recipe eliminates that anxiety. It’s a pesto that everyone can enjoy, making gatherings easier and meals more inclusive. I’ve perfected this recipe to ensure it’s as rich and satisfying as traditional versions, proving that dietary restrictions don’t mean sacrificing fantastic flavor. Get ready to discover your new go-to sauce!
Nut-Free Pesto: A Classic Twist for Everyone to Enjoy
Pesto. Just the word conjures up images of vibrant green pasta, the aroma of fresh basil, and a satisfyingly rich flavor. Traditionally, pesto relies on pine nuts for its signature texture and depth. However, for those with nut allergies, or simply looking for a different take on this beloved sauce, the absence of pine nuts can feel like a significant hurdle. Fear not! I’m here to share my favorite nut-free pesto recipe that captures all the deliciousness of the classic, without a single nut in sight. This recipe is incredibly versatile, perfect for pasta, sandwiches, dips, and so much more. Get ready to elevate your meals with this simple yet impactful sauce.
Ingredients:
Crafting Your Nut-Free Pesto
The beauty of this nut-free pesto lies in its simplicity. We’re relying on the quality of fresh ingredients to shine through. Before we begin extract, it’s a good idea to wash and thoroughly dry your basil leaves. Excess water can dilute the flavor and affect the texture of your pesto, so a salad spinner is a handy tool here, or you can gently pat them dry with paper towels. Peeling the garlic cloves is straightforward; a gentle smash with the side of your knife usually loosens the skin nicely. For the Parmesan cheese, freshly grating it yourself will yield a much better flavor and texture than pre-grated varieties, which often contain anti-caking agents that can impact the smoothness of your pesto.
Step-by-Step Instructions:
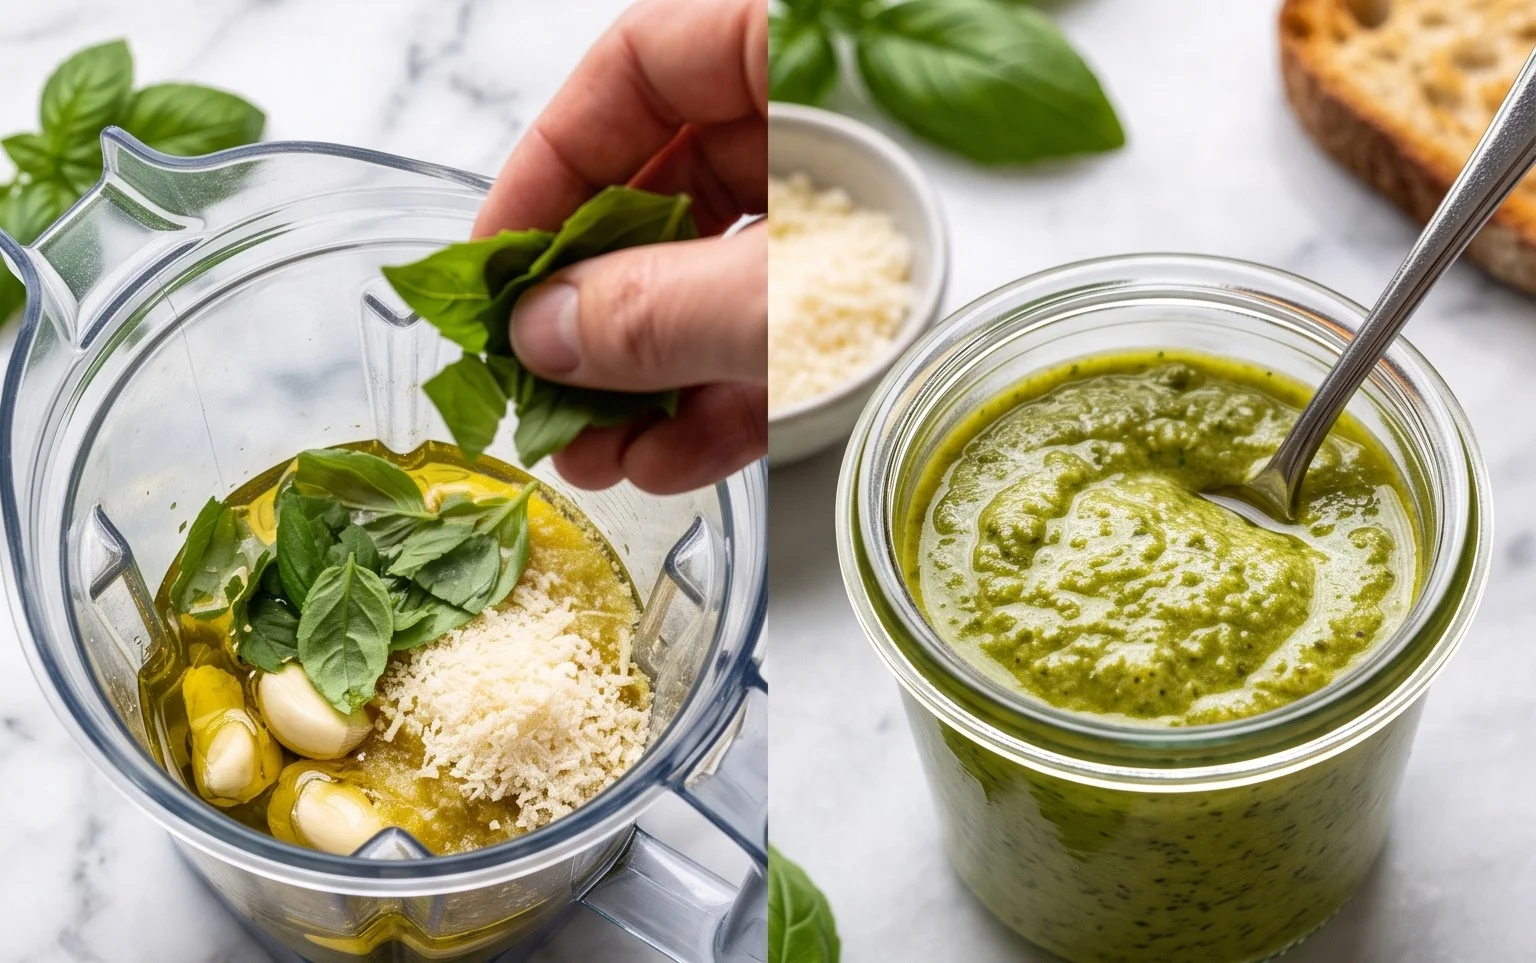
1. Prepare Your Base: Start by placing your 2 cups of packed fresh basil leaves and the 2 peeled garlic cloves into the bowl of a food processor. Pulse a few times until the basil is roughly chopped and the garlic is finely minced. You want to break down these ingredients first to ensure a more uniform texture throughout your pesto. Don’t over-process at this stage; we’re just getting things started.
2. Add the Savory Elements: Next, add the 1/2 cup of freshly grated Parmesan cheese to the food processor. Now, pulse again, scraping down the sides of the bowl as needed. This helps to incorporate the cheese evenly with the basil and garlic. You’ll start to see the mixture becoming a bit more cohesive. The Parmesan brings a salty, nutty (without the nuts!) umami flavor that is crucial to pesto.
3. Emulsify with Olive Oil: With the food processor running on a low speed, slowly drizzle in the 1/4 cup of olive oil through the feed tube. It’s important to add the oil gradually. This process emulsifies the ingredients, creating a smooth, creamy, and wonderfully pourable pesto. Continue to process until the oil is fully incorporated and the mixture reaches your desired consistency. If you prefer a thicker pesto, you can use slightly less oil; for a thinner, more sauce-like consistency, you can add a touch more, but be mindful not to make it greasy.
4. Season and Perfect: Once the olive oil is incorporated, it’s time to season. Add the 1/4 teaspoon of salt and the 1/8 teaspoon of pepper to the food processor. Pulse a couple more times to ensure the salt and pepper are evenly distributed throughout the pesto. Taste a small amount (a tiny spoonful is all you need!) and adjust the seasoning if necessary. Remember that the Parmesan cheese is already salty, so start with the recommended amount and add more cautiously if you feel it needs it.
5. Final Texture Check and Storage: Give your nut-free pesto one last pulse or two to achieve the perfect consistency. Some people prefer a slightly chunkier pesto, while others like it completely smooth. You can achieve your preferred texture by processing for a longer or shorter duration. Once you’re happy with the texture, transfer the pesto to an airtight container. For optimal flavor, I recommend using it within a few days. To store it for longer, you can cover the surface of the pesto with a thin layer of olive oil before sealing the container; this helps prevent oxidation and keeps it vibrant green. You can also freeze pesto in ice cube trays for convenient single-serving portions to use in future meals.
This nut-free pesto is a game-changer for anyone who needs to avoid nuts. It’s bright, fresh, and incredibly satisfying. Enjoy experimenting with it – the possibilities are truly endless!
Conclusion:
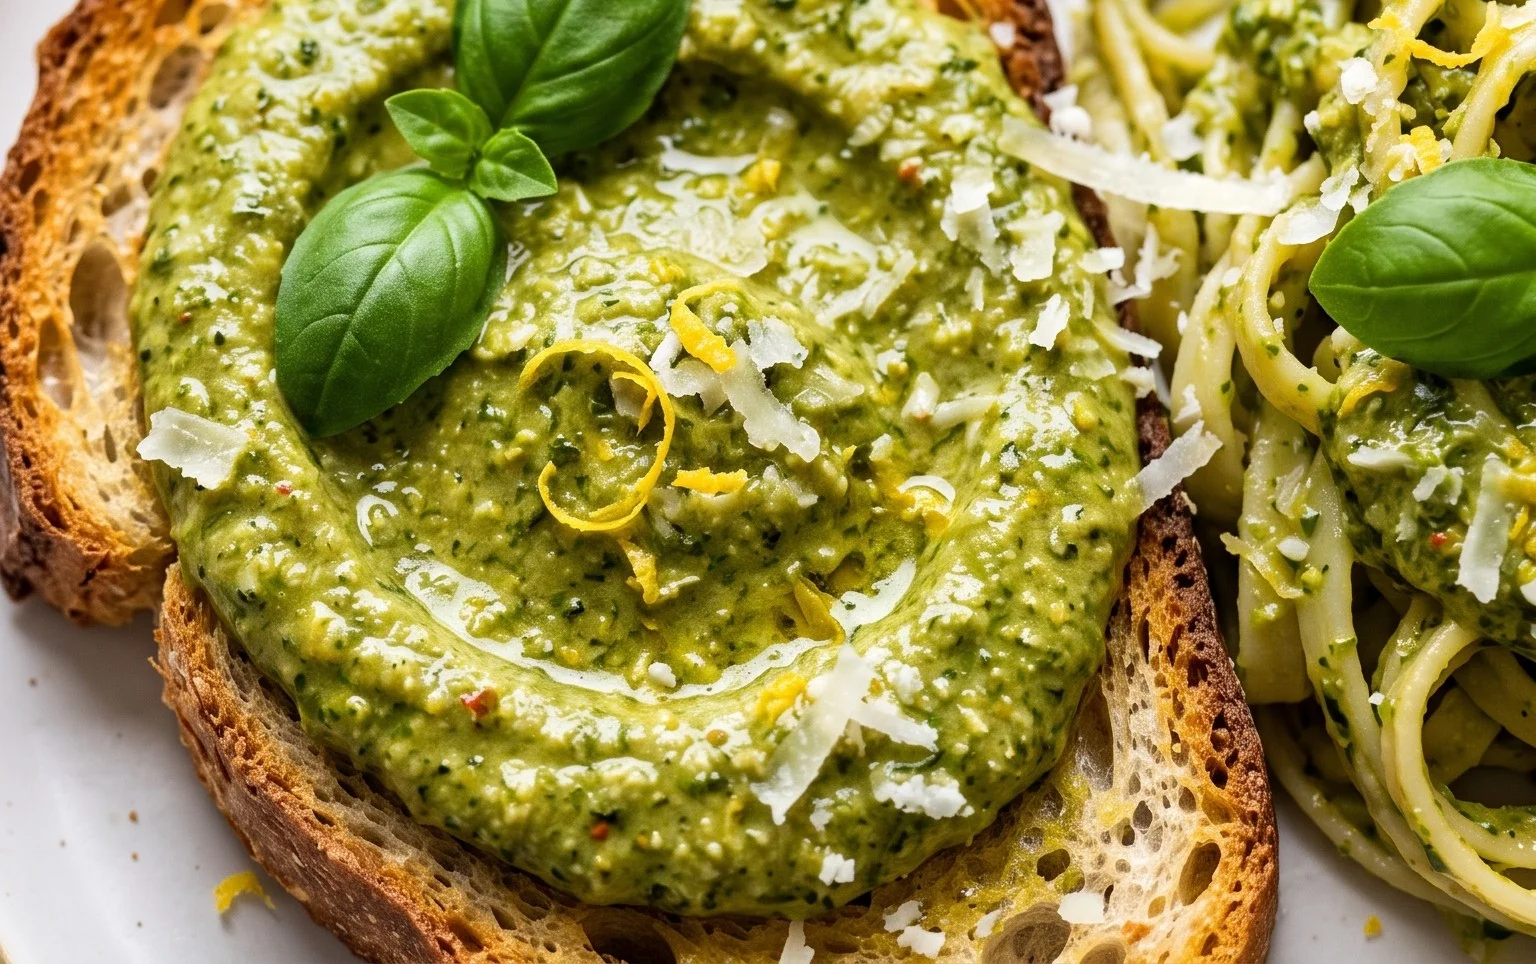
I hope you’ve enjoyed diving into this delicious nut-free pesto recipe! It’s truly a game-changer for anyone navigating nut allergies or simply looking for a versatile and vibrant addition to their culinary repertoire. The beauty of this nut-free pesto lies in its incredible flavor, achieved through the fresh basil, garlic, and bright lemon, all without relying on pine nuts. It’s incredibly easy to make and so adaptable, proving that delicious pesto doesn’t require nuts.
This nut-free pesto is fantastic tossed with your favorite pasta, spread on crusty bread for a delightful appetizer, or drizzled over grilled chicken, fish, or vegetables. Don’t be afraid to experiment! You can swap out some of the basil for spinach or arugula for a different flavor profile, or add a pinch of red pepper flakes for a touch of heat. I encourage you all to give this recipe a try – I’m confident you’ll be as impressed with its simplicity and taste as I am!
Frequently Asked Questions:
Can I freeze this nut-free pesto?
Absolutely! This nut-free pesto freezes beautifully. Portion it into ice cube trays and once frozen, transfer the cubes to a freezer-safe bag. This makes it easy to grab a small amount for future use. You can also freeze larger portions in airtight containers. It should last for several months in the freezer.
What can I use instead of Parmesan cheese if I need it dairy-free?
For a dairy-free version, you can omit the Parmesan cheese altogether, or substitute it with a nutritional yeast. Nutritional yeast provides a cheesy, umami flavor that works wonderfully in pesto. Start with a tablespoon or two and adjust to your taste preference.
How long does this nut-free pesto last in the refrigerator?
Stored in an airtight container in the refrigerator, this nut-free pesto should stay fresh for about 5-7 days. To help preserve it, you can pour a thin layer of olive oil over the top before sealing the container. This acts as a barrier against oxidation.
Nut Free Pesto
A classic pesto recipe made without nuts, perfect for those with allergies or seeking a lighter flavor. Enjoy this vibrant, homemade sauce on pasta, sandwiches, or as a dip.
Ingredients
-
2 cups fresh basil
-
2 garlic cloves
-
1/2 cup freshly grated Parmesan cheese
-
1/4 cup olive oil
-
1/4 teaspoon salt
-
1/8 teaspoon pepper
Instructions
-
Step 1
Wash and thoroughly dry the fresh basil leaves. Remove any tough stems. -
Step 2
Peel and lightly smash the garlic cloves. -
Step 3
In a food processor, combine the basil, garlic, and Parmesan cheese. -
Step 4
Pulse the ingredients until finely chopped. -
Step 5
Slowly drizzle in the olive oil while the food processor is running, until the pesto reaches your desired consistency. -
Step 6
Season with salt and pepper to taste.
Important Information
Nutrition Facts (Per Serving)
It is important to consider this information as approximate and not to use it as definitive health advice.
Allergy Information
Please check ingredients for potential allergens and consult a health professional if in doubt.