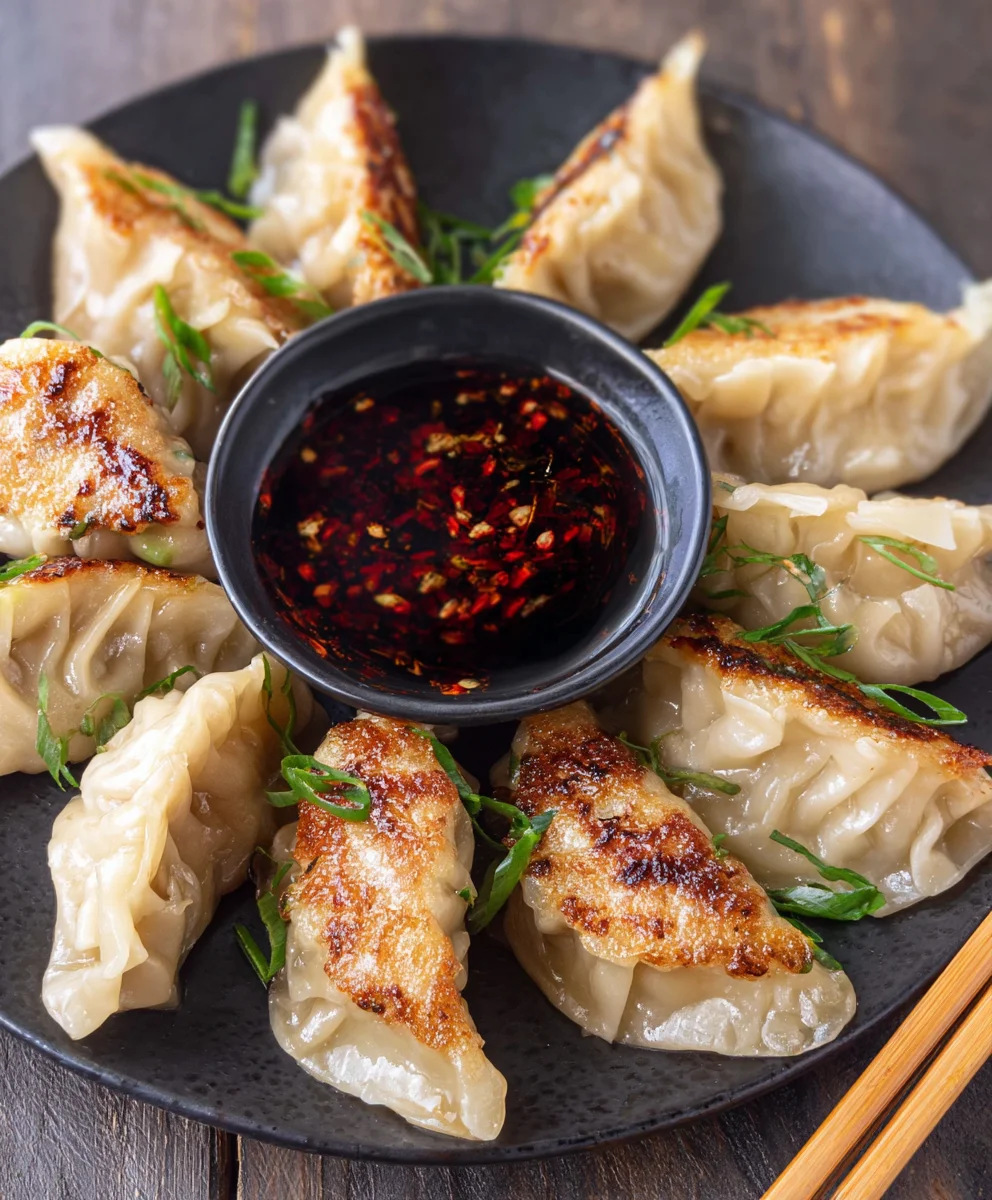
Best Pan Fried Chicken Potstickers Recipe
Chicken Potstickers (Pan Fried Dumplings) are more than just a meal; they’re a culinary adventure in every bite. Imagin extracte this: a delicate, crispy golden-brown bottom gives way to a tender, perfectly steamed top, encasing a savory filling that sings with flavor. Is it any wonder why these little parcels have captured hearts and taste buds across the globe? People adore Chicken Potstickers (Pan Fried Dumplings) for their incredible versatility, their satisfying textural contrast, and the sheer joy of dipping them into a tangy, umami-rich sauce. What truly elevates this dish is the balance achieved between the juicy, seasoned chicken filling and the chewy, slightly yielding wrapper. It’s a testament to simple ingredients transformed into something truly extraordinary, making them a perfect appetizer, a light lunch, or even a delightful dinner when paired with your favorite sides. Get ready to embark on a delicious journey as we reveal the secrets to making restaurant-quality Chicken Potstickers (Pan Fried Dumplings) right in your own kitchen.
Ingredients:
- 1 lb ground chicken
- 1 lb circular dumpling wrappers
- 2 cups napa cabbage, finely chopped
- 1 teaspoon salt
- 4 green onions, thinly sliced (white and green parts separated)
- 6 cloves garlic, minced
- 2 inches fresh gin extractger, minced (about 1 tablespoon)
- 1 tablespoon soy sauce
- 1 tablespoon oyster sauce
- 1 tablespoon sesame oil
- 1 tablespoon chicken bouillon powder
- 1 teaspoon white pepper
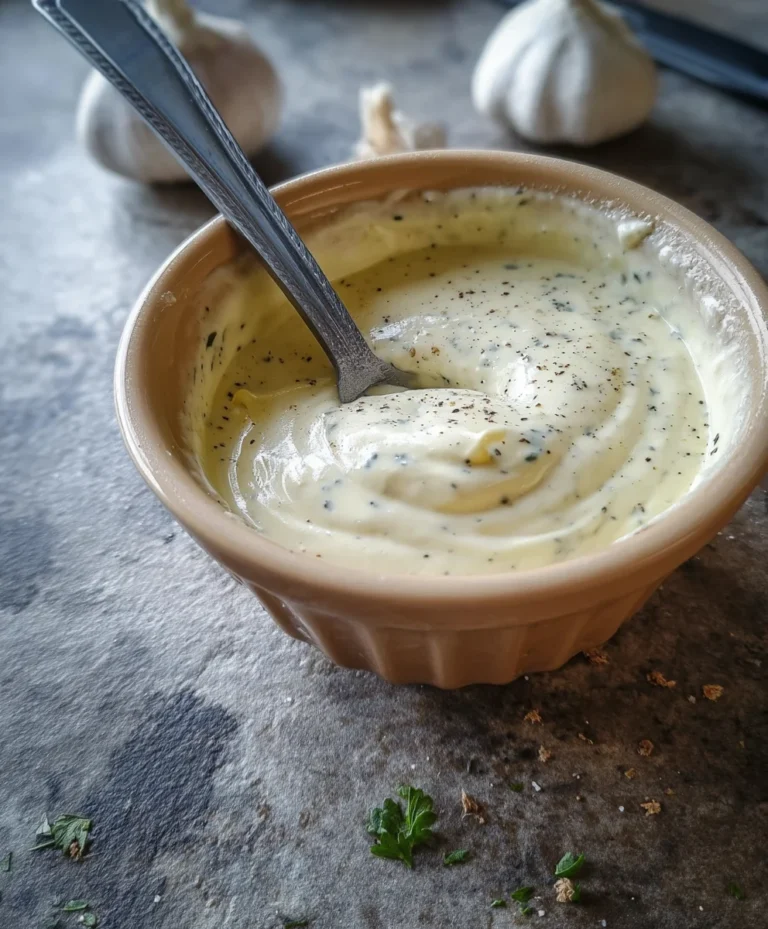
- For serving: Dumpling dipping sauce, extra sliced green onions, sesame seeds
Preparing the Potsticker Filling
Step 1: Combine the Core Ingredients
In a large mixing bowl, combine the 1 lb of ground chicken, the 2 cups of finely chopped napa cabbage, and the 1 teaspoon of salt. It’s important to chop the napa cabbage quite finely so that it distributes evenly throughout the filling and cooks through properly. You can use a sharp knife or a food processor for this, but be careful not to turn it into a paste. Add the minced garlic and thegin extractnced ginger to the bowl.gin extracte garlic and ginger are crucial for adding that aromatic depth that makes these potstickers so delicious. Don’t be shy with them!
Step 2: Seasoning the Filling to Perfection
Now, let’s build the flavor profile. Add the 1 tablespoon of soy sauce, 1 tablespoon of oyster sauce, and 1 tablespoon of sesame oil to the chicken mixture. These liquids will not only enhance the taste but also help to bind the filling together. Next, stir in the 1 tablespoon of chicken bouillon powder for an extra savory kick and the 1 teaspoon of white pepper for a subtle warmth. Take about half of the sliced green onions (reserving the other half for garnish later) and add them to the bowl. Using your hands, a sturdy spoon, or a stand mixer with a paddle attachment, mix all the ingredients thoroughly until everything is well incorporated. You want a uniform mixture. It’s a good idea to taste a tiny bit of the raw filling to adjust seasoning if needed, though be mindful of consuming raw chicken. A quick way to check is to cook a very small pinch in a hot pan for a few seconds.
Assembling the Chicken Potstickers
Step 3: Wrapping the Dumplings with Care
This is where the magic happens! Lay out a few of your 1 lb circular dumpling wrappers on a clean, dry surface. Keep the remaining wrappers covered with a damp paper towel or a plastic wrap to prevent them from drying out. Have a small bowl of water nearby. Take about a tablespoon of the prepared chicken filling and place it in the center of a wrapper. Avoid overfilling, as this can make it difficult to seal the dumplings properly and they might burst during cooking. Now, dip your finger in the water and moisten the edge of one half of the wrapper. Fold the wrapper in half over the filling to create a semi-circle. Starting from one end, press the edges together firmly to seal. You can then create pleats along the senon-alcoholic aled edge for a traditional look and an extra secure seal. Press each pleat firmly to ensure there are no air pockets. Place the finished potsticker on a lightly floured baking sheet or plate to prevent sticking. Repeat this process until all the filling and wrappers are used.
Cooking the Potstickers to Golden Perfection
Step 4: The Initial Pan-Fry for a Crispy Base
Now it’s time to transform these raw dumplings into crispy, juicy delights. Heat about 1 tablespoon of neutral cooking oil (like vegetable or canola oil) in a large, non-stick skillet or a well-seasoned cast-iron pan over medium-high heat. Once the oil is shimmering, carefully arrange a single layer of the assembled potstickers in the pan, flat side down. Don’t overcrowd the pan; cook in batches if necessary. Let the potstickers fry undisturbed for about 2 to 3 minutes, or until the bottoms are beautifully golden brown and crisp. This initial sear is crucial for developing that irresistible crispy texture that makes pan-fried dumplings so special. You’ll notice a wonderful aroma developing at this stage.
Step 5: Steaming to Juiciness and Completing the Cook
After the initial fry, it’s time to steam the potstickers to ensure the filling is cooked through and the wrappers are tender. Carefully pour about 1/2 cup of water into the hot skillet. Be cautious as the water will steam up vigorously. Immediately cover the skillet with a tight-fitting lid. Reduce the heat to medium-low and let the potstickers steam for 6 to 8 minutes, or until the wrappers are translucent and the filling is cooked through. The steam will gently cook the chicken and soften the wrappers, creating a delightful contrast with the crispy bottoms. Once the water has mostly evaporated and the wrappers are cooked, remove the lid. You can increase the heat slightly for another minute or two if you want to ensure any remaining liquid evaporates and the bottoms stay extra crisp.
Serving Your Delicious Chicken Potstickers
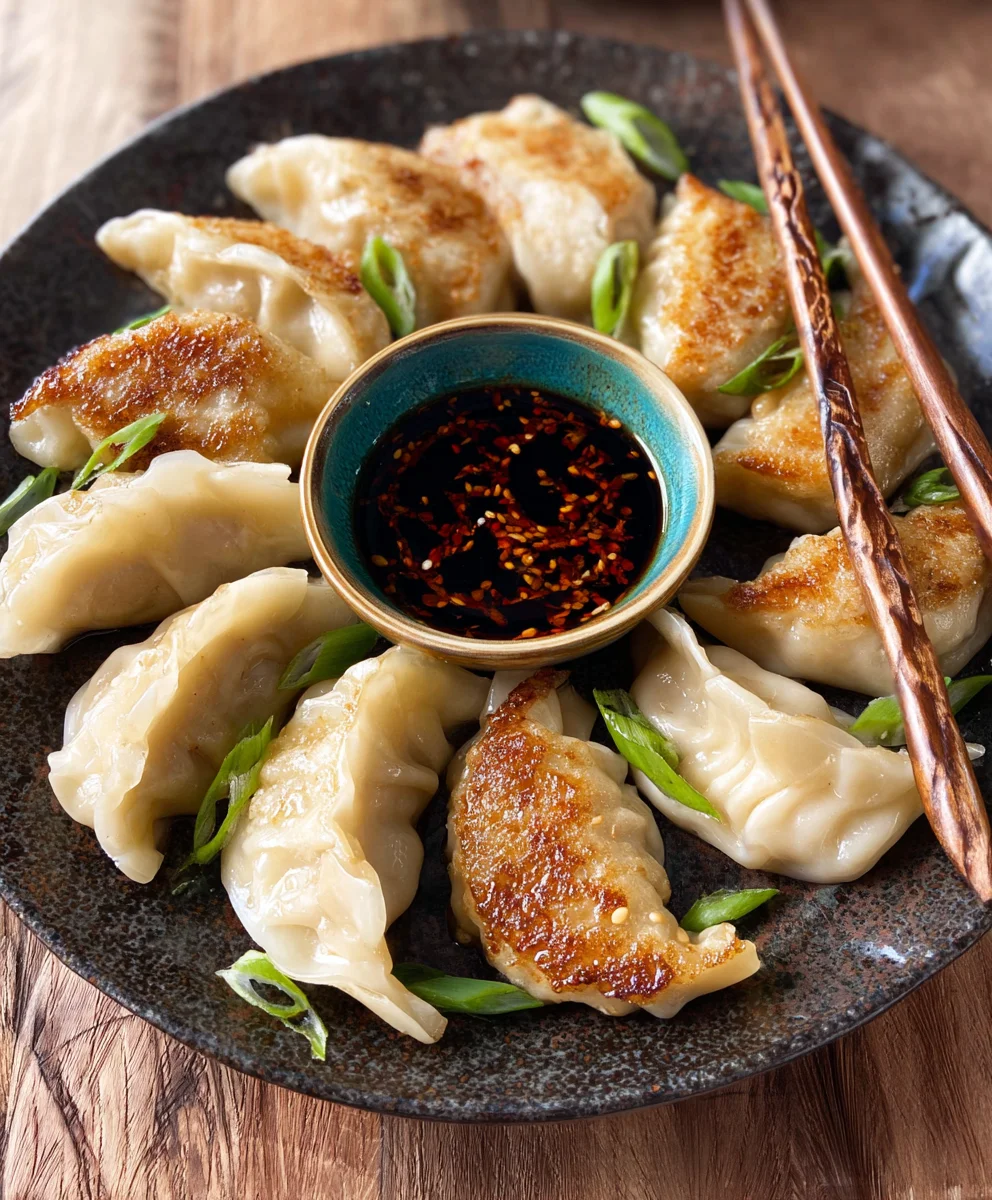
Carefully remove the cooked potstickers from the skillet using a spatula. Arrange them on a serving platter, golden-brown side up. Garnish generously with the reserved sliced green onions and a sprinkle of sesame seeds for added flavor and visual appeal. Serve immediately with your favorite dumpling dipping sauce. The dipping sauce is key to elevating the experience – a classic mix of soy sauce, rice vinegar, and a touch of chili oil is always a winner. Enjoy the delightful crunch of the bottom, the tender wrapper, and the savory, juicy chicken filling in every bite!
Conclusion:
Congratulations on mastering the art of making delicious Chicken Potstickers (Pan Fried Dumplings)! We hope you enjoyed the process as much as we do. This recipe is a fantastic way to bring a taste of homemade goodness to your table, offering a delightful balance of crispy, golden bottoms and tender, flavorful fillings. These versatile dumplings are perfect as an appetizer, a light lunch, or even a fun dinner option. Don’t be afraid to get creative with your serving suggestions – they pair wonderfully with a variety of dipping sauces, from classic soy-gin extractger to a spicy chili oil. For variations, consider adding finely diced water chestnuts for extra crunch or a pinch of five-spice powder for an aromatic twist. Remember, practice makes perfect, so keep experimenting and enjoy the satisfaction of creating these delightful Chicken Potstickers (Pan Fried Dumplings) from scratch!
Frequently Asked Questions:
Can I make the filling for Chicken Potstickers (Pan Fried Dumplings) ahead of time?
Yes, absolutely! You can prepare the filling for your Chicken Potstickers (Pan Fried Dumplings) up to 24 hours in advance. Store it in an airtight container in the refrigerator. This can be a great time-saver, especially if you’re planning to assemble a large batch.
What is the best way to store leftover uncooked Chicken Potstickers (Pan Fried Dumplings)?
If you have uncooked Chicken Potstickers (Pan Fried Dumplings), the best way to store them is to freeze them. Arrange them in a single layer on a baking sheet lined with parchment paper and freeze until firm. Once frozen, transfer them to a freezer-safe bag or container. You can then cook them directly from frozen, though they may take a minute or two longer.
Best Pan Fried Chicken Potstickers
Delicious and easy pan-fried chicken potstickers with a crispy bottom and tender, juicy filling.
Ingredients
-
1 lb ground chicken
-
1 lb circular dumpling wrappers
-
2 cups napa cabbage, finely chopped
-
1 teaspoon salt
-
4 green onions, thinly sliced (white and green parts separated)
-
6 cloves garlic, minced
-
2 inches fresh ginger, minced
-
1 tablespoon soy sauce
-
1 tablespoon oyster sauce
-
1 tablespoon sesame oil
-
1 tablespoon chicken bouillon powder
-
1 teaspoon white pepper
-
For serving: Dumpling dipping sauce, extra sliced green onions, sesame seeds
Instructions
-
Step 1
In a large mixing bowl, combine the ground chicken, finely chopped napa cabbage, and salt. Add the minced garlic and ginger. Chop the napa cabbage finely for even distribution. -
Step 2
Season the filling with soy sauce, oyster sauce, sesame oil, chicken bouillon powder, and white pepper. Add half of the sliced green onions. Mix thoroughly until well incorporated. Taste and adjust seasoning if needed. -
Step 3
Lay out dumpling wrappers, keeping remaining ones covered. Place about a tablespoon of filling in the center of a wrapper. Moisten the edge of one half with water. Fold the wrapper in half to create a semi-circle and press edges firmly to seal. Create pleats for a traditional look and secure seal. Place on a lightly floured surface. -
Step 4
Heat 1 tablespoon of neutral cooking oil in a large non-stick skillet over medium-high heat. Arrange potstickers in a single layer, flat side down. Fry for 2-3 minutes until bottoms are golden brown and crisp. -
Step 5
Carefully pour about 1/2 cup of water into the hot skillet, cover immediately with a tight-fitting lid, and reduce heat to medium-low. Steam for 6-8 minutes until wrappers are translucent and filling is cooked through. Remove lid and cook for another minute or two if needed to evaporate remaining liquid. -
Step 6
Remove potstickers from skillet using a spatula. Arrange on a serving platter, golden-brown side up. Garnish with reserved sliced green onions and sesame seeds. Serve immediately with dumpling dipping sauce.
Important Information
Nutrition Facts (Per Serving)
It is important to consider this information as approximate and not to use it as definitive health advice.
Allergy Information
Please check ingredients for potential allergens and consult a health professional if in doubt.