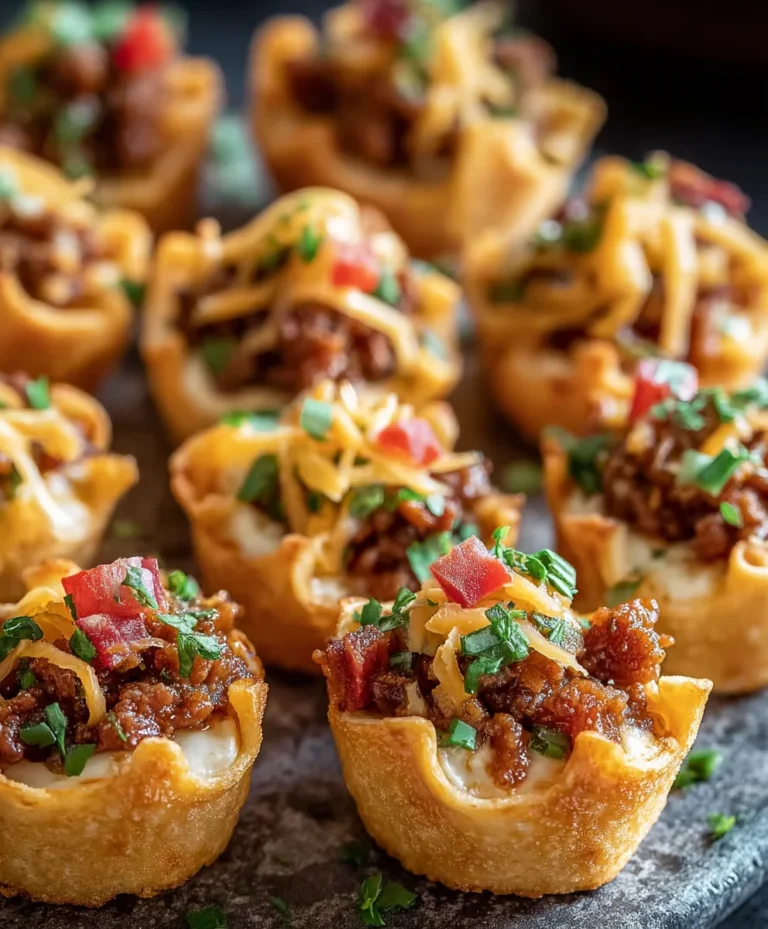
Delicious Slider Recipes – Beef and More
25 Slider Recipes: Get ready to embark on a flavor adventure that will revolutionize your next get-together or weeknight meal! Sliders, those adorable miniature burgers, have captured our hearts (and stomachs) for a reason. They’re the perfect bite-sized indulgence, offering a delightful way to enjoy a variety of tastes without the commitment of a full-sized burger. What’s not to love? They’re incredibly versatile, allowing for endless creativity with toppings and fillings. People adore them because they’re fun, shareable, and cater to every palate, from the classic beef lover to the adventurous vegetarian. What truly makes these 25 slider recipes stand out is the sheer diversity and innovation packed into each petite patty. We’re talking beyond the basic – think bold flavor combinations, unexpected ingredients, and inspirations from cuisines around the globe, all perfectly portioned for maximum enjoyment.
Ingredients:
- 1 pound ground beef (80/20 is ideal for flavor and juiciness)
- 1/4 cup finely chopped yellow onion
- 1/4 teaspoon garlic powder
- 1/2 teaspoon salt
- 1/4 teaspoon black pepper
- 12 slider buns (brioche or potato buns work wonderfully)
- 4 slices cheddar cheese, quartered
- 2 tablespoons unsalted butter, melted
- Optional: Ketchup, mustard, pickles, lettuce, tomato slices for topping
Preparation and Cooking
Forming the Patties
Let’s start by getting our ground beef ready for these delicious mini burgers. In a medium-sized bowl, add the 1 pound of ground beef. Now, it’s time to season it up! Sprinkle in the 1/4 cup of finely chopped yellow onion. The onion adds a subtle sweetness and moisture to the patties. Next, add the 1/4 teaspoon of garlic powder for a touch of savory depth, followed by 1/2 teaspoon of salt and 1/4 teaspoon of black pepper. These are the foundational seasonings that will make our sliders sing. Gently mix all the ingredients together with your hands. It’s important not to overwork the meat, as this can lead to tough patties. Just combine until everything is evenly distributed. Once mixed, divide the meat into 6 equal portions. Roll each portion into a ball and then flatten it into a patty that is slightly larger than your slider buns. This is because the burgers will shrink as they cook. Aim for a thickness of about 1/2 inch. Creating them slightly wider than the buns will ensure a perfect fit once they’re done cooking.
Cooking the Sliders
Now for the fun part: cooking! You have a few options here, and both will yield fantastic results. You can cook these on a stovetop in a skillet or grill them. For stovetop cooking, heat a tablespoon of oil (like vegetable or canola) in a cast-iron skillet or a heavy-bottomed frying pan over medium-high heat. Once the pan is hot, carefully place the formed patties into the skillet. Don’t overcrowd the pan; cook in batches if necessary to ensure even browning. Cook for about 3-4 minutes per side for medium-rare, or longer if you prefer your burgers more well-done. You’ll know they’re ready to flip when you see a nice brown crust forming on the bottom. If you’re grilling, preheat your grill to medium-high heat. Lightly oil the grill grates to prevent sticking. Place the patties on the hot grill and cook for the same amount of time per side as you would on the stovetop. For both methods, once you’ve flipped the patties, it’s time to add the cheese. Immediately place one quarter of a cheddar cheese slice on top of each hot patty. The residual heat will start to melt the cheese beautifully.
Melting the Cheese
This step is crucial for that classic slider experience. As soon as you place the cheese on the cooked patties, cover the skillet with a lid or tent the grill loosely with foil. This traps the heat and steam, allowing the cheese to melt quickly and evenly over the burger. Let them cook for another minute or two, or until the cheese is wonderfully gooey and has draped over the sides of the patties. This short steaming period also helps keep the burgers moist. If you’re using a skillet, you can even add a tablespoon of water to the pan before covering to create a bit more steam, ensuring that melty, cheesy perfection. This quick step elevates the humble slider into something truly irresistible. The visual of that melted cheddar clingin extractg to the savory beef is a promise of deliciousness.
Toasting the Buns
While the cheese is melting, it’s time to prepare our buns. Take your 12 slider buns and slice them in half horizontally. In a small bowl, combine the 2 tablespoons of melted unsalted butter. You can then brush this melted butter generously onto the cut sides of the slider buns. This buttery coating will give the buns a fantastic golden-brown color and a delightful crispness when toasted. You can toast the buns in a few ways. For a quick and easy method, place them cut-side down in a clean, dry skillet over medium heat for 1-2 minutes, or until lightly golden. Alternatively, you can place them cut-side up on a baking sheet and toast them under the broiler for about 30 seconds, keeping a very close eye on them to prevent burning. Broiling is very fast, so don’t walk away! The goal is a warm, slightly crisp bun that can hold up to the juicy burger and toppings.
Assembling Your Sliders
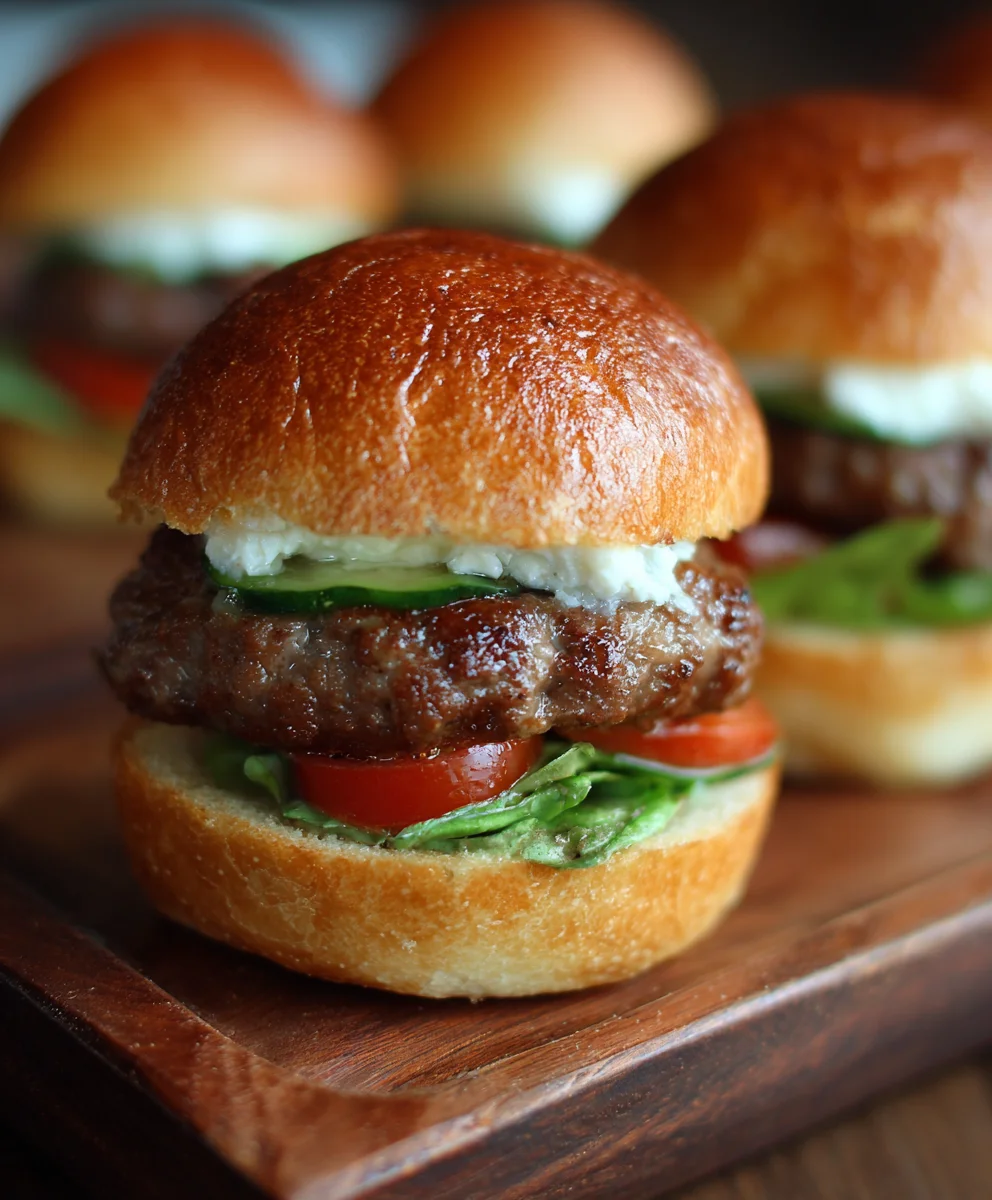
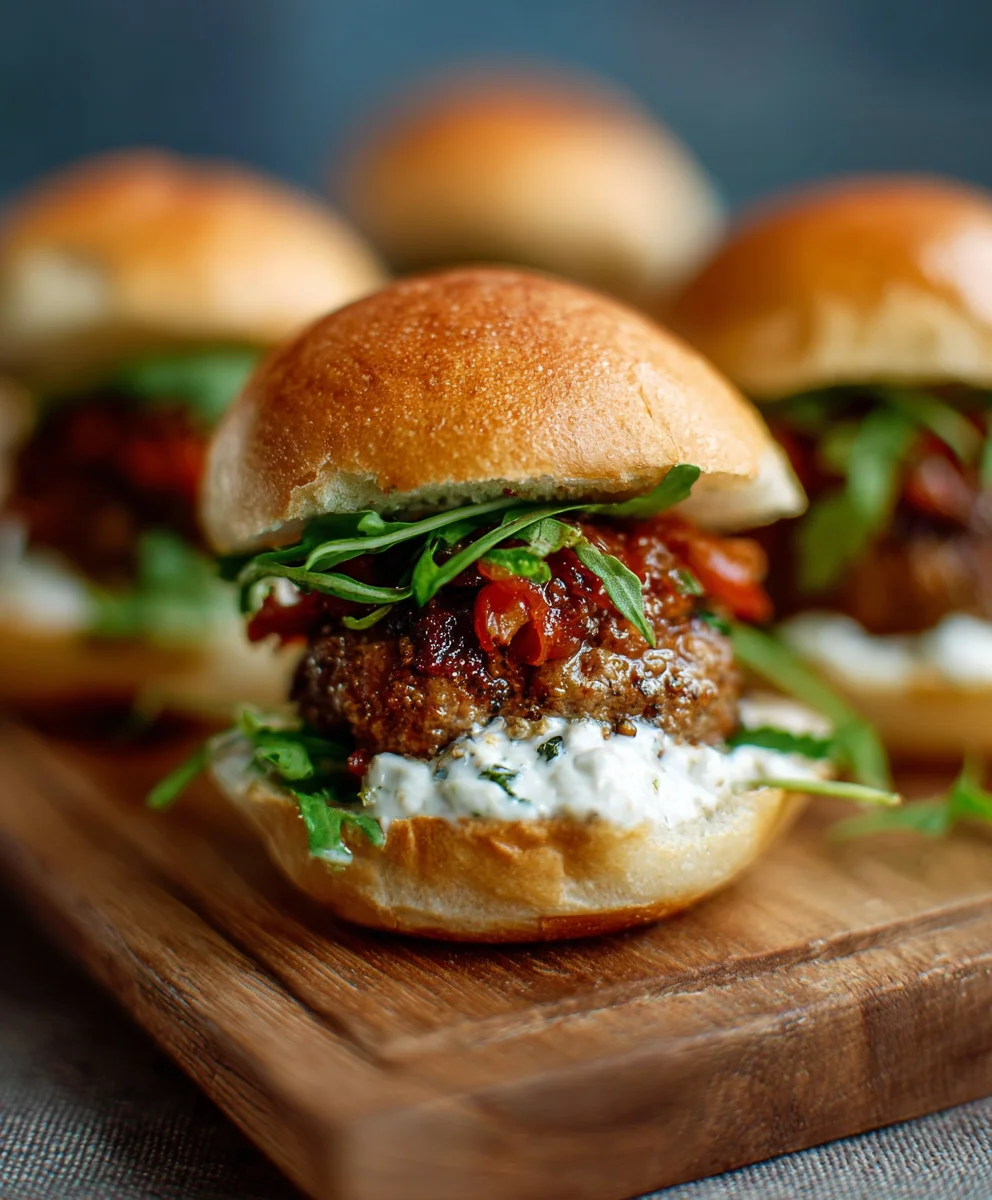
The grand finnon-alcoholic ale! Once your patties are perfectly cooked with melted cheese and your buns are toasted to a beautiful golden hue, it’s time to assemble. Take the bottom half of each toasted slider bun and place a cheesy beef patty on top. Now, add your favorite toppings. This is where you can personalize your sliders to your heart’s content. Classic choices include a smear of ketchup and mustard, a few slices of crisp lettuce, a ripe tomato slice, and of course, those tangy dill pickle chips. Arrange them neatly. Finally, place the top half of the toasted slider bun over your creation. You’ve just made a batch of incredibly satisfying sliders, perfect for a party, a quick meal, or just a craving. The combination of the juicy, cheesy burger, the soft, buttery bun, and your chosen toppings is pure comfort food bliss. Enjoy them immediately while they’re warm!
Conclusion:
We’ve reached the end of our delicious journey through 25 Slider Recipes! From classic beef and cheese to exciting vegetarian and seafood options, this collection offers a slider for every palate and occasion. Whether you’re hosting a game day party, a casual get-together, or just craving a bite-sized treat, these recipes are sure to impress. Don’t be afraid to experiment! These sliders are fantastic on their own, but they also pair wonderfully with a variety of sides. Think crispy french fries, creamy coleslaw, a fresh garden salad, or even a hearty bowl of chili. For an elevated experience, consider serving them with a selection of gourmet dipping sauces like sriracha mayo, honey mustard, or a zesty avocado crema.
We encourage you to dive in, get creative in the kitchen, and enjoy the simple pleasure of making and sharing these delightful 25 Slider Recipes. The versatility of sliders means the possibilities are truly endless, so have fun customizing them to your heart’s content!
Frequently Asked Questions about 25 Slider Recipes:
Q1: Can I prepare the slider fillings ahead of time for the 25 Slider Recipes?
Absolutely! Many of the slider fillings, such as seasoned ground meat or pulled beef, can be prepared a day or two in advance and stored in an airtight container in the refrigerator. This will save you valuable time when you’re ready to assemble and cook your sliders, making your hosting or snacking experience even smoother.
Q2: What are some good vegetarian options within the 25 Slider Recipes?
This collection includes a variety of fantastic vegetarian choices! Look for recipes featuring black bean patties, mushroom-based sliders, halloumi cheese, or even creative uses of roasted vegetables. These options prove that you don’t need meat to enjoy a flavorful and satisfying slider.
Q3: How can I make my sliders stand out for a crowd?
To make your sliders truly memorable from our 25 Slider Recipes, focus on the toppings and buns! Consider using a mix of artisanal buns, adding colorful toppings like pickled onions or jalapeños, and offering a range of interesting sauces. Presentation is key, so arrangin extractg them attractively on a platter will also elevate the experience for your guests.
Delicious Beef Sliders
Easy and delicious beef slider recipe with juicy patties and perfectly toasted buns.
Ingredients
-
1 pound ground beef
-
1/4 cup finely chopped yellow onion
-
1/4 teaspoon garlic powder
-
1/2 teaspoon salt
-
1/4 teaspoon black pepper
-
12 slider buns
-
4 slices cheddar cheese, quartered
-
2 tablespoons unsalted butter, melted
-
Ketchup
-
Mustard
-
Pickles
-
Lettuce
-
Tomato slices
Instructions
-
Step 1
In a medium bowl, combine ground beef, chopped onion, garlic powder, salt, and pepper. Mix gently until evenly distributed. Divide into 6 equal portions and flatten into patties slightly larger than slider buns, about 1/2 inch thick. -
Step 2
Heat a tablespoon of oil in a skillet over medium-high heat. Cook patties for 3-4 minutes per side, or until desired doneness. Alternatively, grill on a preheated grill. -
Step 3
Once flipped, immediately place a quarter slice of cheddar cheese on each patty. Cover the skillet or tent the grill with foil to melt the cheese. -
Step 4
While cheese melts, slice slider buns in half horizontally. Brush cut sides with melted butter. Toast in a dry skillet over medium heat or under a broiler until golden brown. -
Step 5
Assemble sliders: Place a cheesy beef patty on the bottom half of each toasted bun. Add desired toppings like ketchup, mustard, pickles, lettuce, and tomato. Top with the other half of the bun.
Important Information
Nutrition Facts (Per Serving)
It is important to consider this information as approximate and not to use it as definitive health advice.
Allergy Information
Please check ingredients for potential allergens and consult a health professional if in doubt.