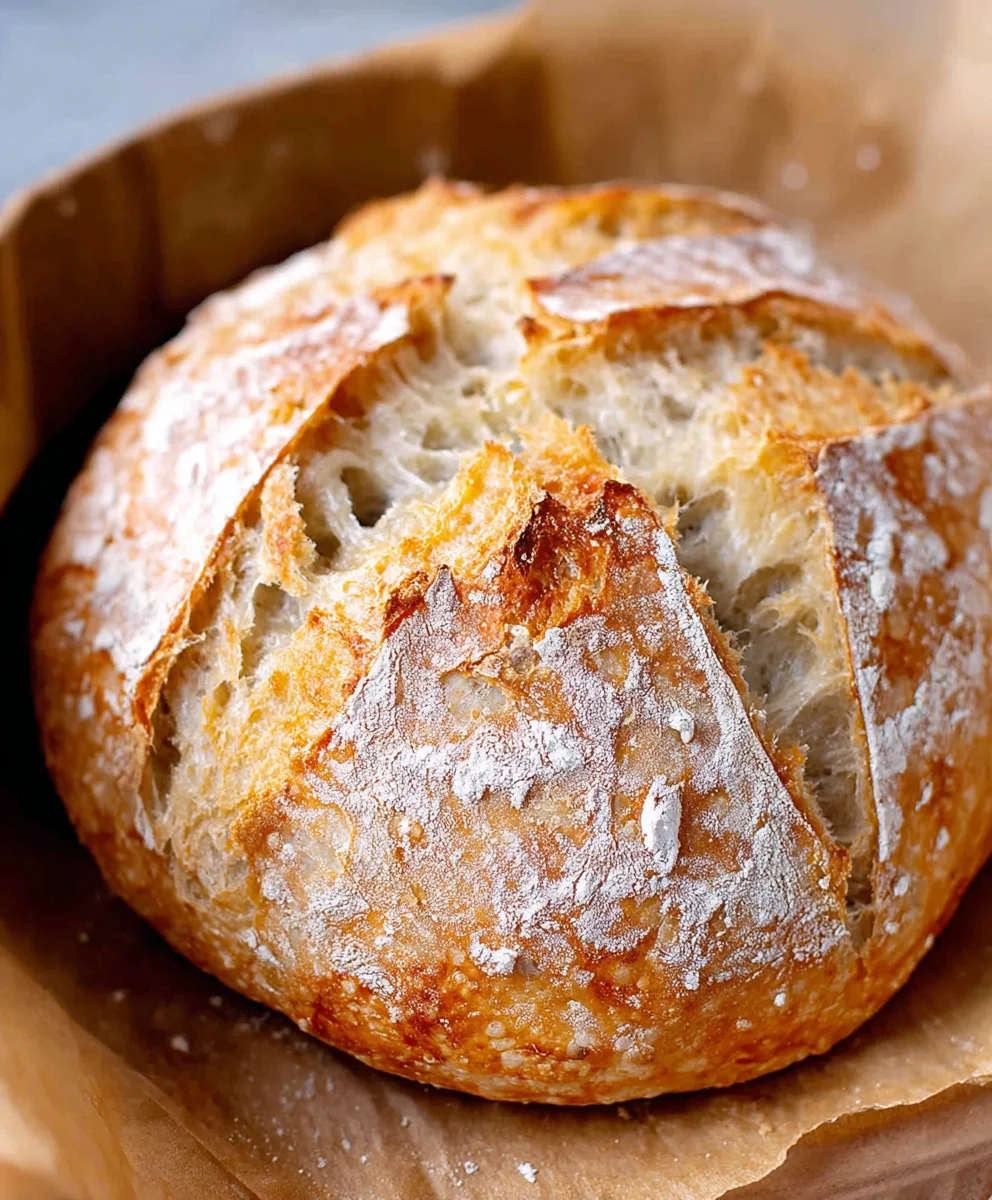
Dutch Oven No Knead Bread- Crusty & Easy Recipe
Dutch Oven No Knead Crusty Bread is more than just a recipe; it’s a gateway to bakery-quality loaves made right in your own kitchen. There’s an undeniable magic in transforming simple pantry staples – flour, water, yeast, and salt – into a golden, crackling masterpiece. People fall head over heels for this bread because it delivers on pure, unadulterated deliciousness with an incredibly satisfyingly chewy interior and that coveted crisp crust. The beauty of this particular Dutch oven no knead crusty bread lies in its elegant simplicity. The minimal hands-on time is a dream for busy bakers, yet the results are anything but basic. It’s the perfect antidote to those days when you crave a touch of artisanal comfort, a testament to the fact that extraordinary bread doesn’t require a master’s touch, just a little patience and the right technique.
Ingredients:
- 1 ½ cups warm water (about 100 degrees F)
- 1 packet yeast (active dry, instant, or quick rise – 2.25 teaspoons)
- 1 ½ teaspoons fine grain salt
- 3 ¼ cups all-purpose flour
Getting Started: The Dough Foundation
The magic of this Dutch oven no knead crusty bread lies in its simplicity and the power of time. We’re going to create a wet, shaggy dough that does all the work for us. First, in a large mixing bowl, combine the warm water and the yeast. It’s important that the water is warm, not hot, as too much heat can kill the yeast, preventing it from activating. The ideal temperature is around 100 degrees Fahrenheit, similar to a comfortably warm bath. Give the yeast a gentle stir and let it sit for about 5 to 10 minutes. You should see it become foamy and bubbly, a clear sign that your yeast is alive and ready to work its leavening magic. This blooming process is crucial for a good rise.
Next, add the fine grain salt to the yeast mixture. The salt not only enhances the flavor of the bread but also helps to control the yeast’s activity, ensuring a more even rise. Now, add the all-purpose flour. Don’t worry about measuring it too precisely; a little variation is perfectly fine. This is a no-knead recipe, so we’re not looking for a perfectly smooth or elastic dough at this stage.
Mixing the Dough
Now comes the “mixing” part, which is more like a gentle incorporation. Using a sturdy spoon or a spatula, stir everything together until just combined. You’ll end up with a very wet and sticky dough. It won’t look like traditional bread dough; it will be shaggy and irregular, with bits of flour still visible. This is exactly what we want. The high hydration of this dough is what allows for the beautiful open crum extractb and chewy texture that makes this Dutch oven no knead crusty bread so irresistible. Don’t be tempted to add more flour to make it less sticky – resist that urge!
The Long, Slow Rise (Fermentation)
Once you’ve mixed the dough, cover the bowl tightly with plastic wrap or a damp kitchen towel. Now, we let time do the heavy lifting. Place the bowl in a warm spot in your kitchen, away from drafts, and let it rise for at least 12 hours, or ideally, overnight. This extended fermentation period is where the flavor develops and the gluten structure begin extracts to form without any kneading. The yeast will work slowly, breaking down sugars in the flour and producing carbon dioxide, which will make the dough rise and create those lovely air pockets. You’ll notice the dough will become bubbly and significantly increase in volume, almost doubling in size.
Shaping and Second Rise
After the long fermentation, it’s time to gently shape the dough. Lightly flour a clean work surface, but use as little flour as possible – we don’t want to dry out the dough. Carefully scrape the dough out of the bowl onto the floured surface. It will still be quite sticky and might spread a bit. Gently fold the dough over on itself a few times to create some surface tension. Think of it like tucking the edges under to form a rough ball. Avoid excessive handling; the goal is to maintain as many of those precious air bubbles as possible.
Once shaped, place the dough onto a piece of parchment paper. This will make it incredibly easy to transfer into the hot Dutch oven later. Cover the dough loosely with plastic wrap or a kitchen towel and let it rest for another 30 minutes to an hour. This second, shorter rise allows the dough to relax and puff up slightly before baking, contributing to a lrum extractter crumb.
Preheating the Dutch Oven
While the dough is having its second rest, it’s time to preheat your Dutch oven. This is a critical step for achieving that signature crusty exterior. Place your empty Dutch oven, with its lid on, into your oven. Preheat your oven to 450 degrees Fahrenheit (230 degrees Celsius). Allow the Dutch oven to heat up for at least 30 minutes, or even longer, to ensure it’s screaming hot. A properly preheated Dutch oven mimics the environment of a professional bread oven, trapping steam and creating that perfect, crisp crust.
Baking to Perfection
With the oven and Dutch oven fully preheated, it’s time to bake. Carefully remove the hot Dutch oven from the oven. If you used parchment paper, simply lift the dough using the parchment paper and gently lower it into the hot Dutch oven. Be very careful, as the Dutch oven will be extremely hot. Place the lid back on the Dutch oven. The lid traps the steam released from the dough during the initial baking phase, which is essential for a thin, crispy crust and a good oven spring.
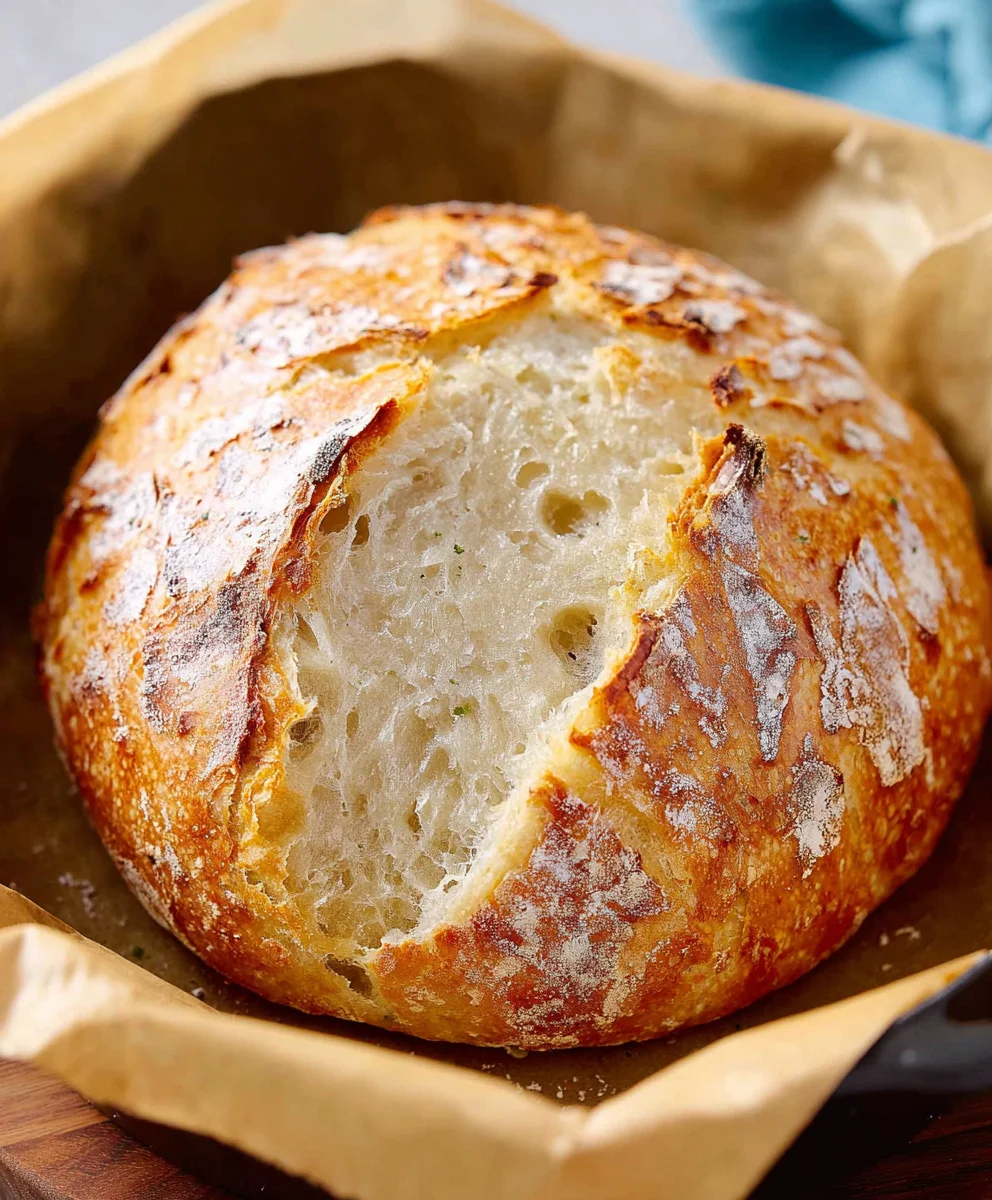
Bake the bread, covered, for 30 minutes. After 30 minutes, carefully remove the lid. The bread will have risen and started to brown. Continue to bake, uncovered, for another 20-25 minutes, or until the crust is a deep golden brown and the internal temperature of the bread reaches 200-210 degrees Fahrenheit (93-99 degrees Celsius) when tested with an instant-read thermometer. The uncovered baking allows the crust to crisp up beautifully.
Once baked, carefully remove the Dutch oven from the oven and immediately transfer the bread to a wire cooling rack. Resist the temptation to cut into it immediately! Letting the bread cool for at least an hour is crum extractial for the crumb to set properly. If you cut it too soon, the interior can be gummy. The aroma that fills your kitchen as this Dutch oven no knead crusty bread cools is simply heavenly. Enjoy the fruits of your minimal labor!
Conclusion:
There you have it – the incredibly satisfying and surprisingly simple method for making perfect Dutch Oven No Knead Crusty Bread! This recipe proves that you don’t need to be a seasoned baker to achieve that beautiful, crackly crust and soft, airy interior that we all dream of. The magic lies in the long, slow fermentation, which develops incredible flavor without any strenuous kneading. I hope you feel empowered to give this a try. It’s perfect for dipping in soup, slathering with butter, or serving alongside your favorite meals.
For serving suggestions, this bread is a cbeef hampion. Imagin extracte it warm, fresh from the oven, with a generous spread of salted butter. It’s also fantastic served with a hearty stew, a simple salad, or as the base for a gourmet sandwich. Don’t be afraid to experiment with variations! You can add herbs like rosemary or thyme to the dough, or even a sprinkle of Parmesan cheese for an extra cheesy kick.
The beauty of Dutch Oven No Knead Crusty Bread is its adaptability and the joy of the process. So, grab your Dutch oven, mix up the dough, and let time do the work. I can’t wait for you to experience the reward of pulling this golden-brown masterpiece from your oven. Happy baking!
FAQs
Q: Can I use a different type of pot instead of a Dutch oven?
A: While a Dutch oven is highly recommended for its ability to retain heat and create that signature crust, you can achieve good results with a heavy, lidded pot made of cast iron or oven-safe ceramic. Ensure the lid fits snugly to trap steam. You might need to adjust baking times slightly.
Q: My crust isn’t as crispy as I’d like. What did I do wrong?
A: A crispy crust is all about steam and heat! Ensure your Dutch oven is thoroughly preheated, and don’t lift the lid too early in the baking process. Leaving the lid on for the initial bake helps trap steam, which is crucial for crust development. For an even crispier exterior, you can remove the lid for the last 10-15 minutes of baking.
Dutch Oven No Knead Bread- Crusty & Easy Recipe
A simple and easy recipe for crusty Dutch oven no knead bread, perfect for beginners. This recipe uses time and minimal effort to create a delicious loaf with a beautiful crust.
Ingredients
-
1 ½ cups warm water (about 100 degrees F)
-
1 packet yeast (active dry, instant, or quick rise – 2.25 teaspoons)
-
1 ½ teaspoons fine grain salt
-
3 ¼ cups all-purpose flour
-
Parchment paper (for transferring)
Instructions
-
Step 1
In a large bowl, combine warm water and yeast. Let sit for 5-10 minutes until foamy. Stir in salt and then all-purpose flour until just combined, resulting in a wet, shaggy dough. -
Step 2
Cover the bowl tightly and let the dough rise in a warm place for at least 12 hours, or overnight. The dough should become bubbly and nearly double in size. -
Step 3
Lightly flour a surface and gently shape the dough into a rough ball, minimizing handling. Place the shaped dough onto parchment paper, cover loosely, and let rest for 30-60 minutes. -
Step 4
While the dough rests, preheat your oven to 450 degrees F (230 degrees C) with the Dutch oven inside for at least 30 minutes. The Dutch oven should be very hot. -
Step 5
Carefully remove the hot Dutch oven from the oven. Lift the dough using the parchment paper and gently place it into the Dutch oven. Cover with the lid and bake for 30 minutes. -
Step 6
Remove the lid and continue to bake for another 20-25 minutes, or until the crust is a deep golden brown and the internal temperature reaches 200-210 degrees F (93-99 degrees C). -
Step 7
Carefully remove the Dutch oven and transfer the bread to a wire rack. Let cool for at least an hour before slicing to allow the crumb to set.
Important Information
Nutrition Facts (Per Serving)
It is important to consider this information as approximate and not to use it as definitive health advice.
Allergy Information
Please check ingredients for potential allergens and consult a health professional if in doubt.