Easily Freeze Peaches – Delicious Stored Fruit
Freezing peaches is one of the best ways to capture that fleeting taste of summer sunshine for months to come. There’s something truly magical about biting into a perfectly ripe peach, isn’t there? The sweet, juicy burst of flavor, the delicate aroma – it’s pure bliss. But as any fruit enthusiast knows, peak peach season is a delicious, yet often short-lived affair. That’s where the art of freezing peaches comes in! Learning how to easily freeze peaches means you can enjoy this delightful fruit in smoothies, pies, crum extractbles, and more, long after the last orchard branch has been stripped bare. It’s a simple preservation technique that unlocks year-round peach perfection, and I’m here to show you just how easy it is to do.
Why You’ll Love This Method
Effortless Preservation for Year-Round Enjoyment
Ingredients:
How to Easily Freeze Peaches
There’s nothing quite like the taste of fresh, sun-ripened peaches. But what happens when you have an abundance of this delicious fruit, or when peak season is over? The answer is simple: freezing! Freezing peaches is a fantastic way to preserve their sweet flavor and vibrant color, allowing you to enjoy them in smoothies, pies, cobblers, and more, long after the summer harvest has passed. This method is surprisingly easy, requires minimal ingredients, and will have you well-prepared for all your future peach cravings. Let’s get started!
Preparing Your Peaches for Freezing
The first and most crucial step in freezing peaches is to select the right ones. You want ripe, but not overly soft, peaches. Overripe peaches can become mushy when frozen and thawed. They should have a sweet aroma and give slightly when gently squeezed.
Step 1: Wash and Pit Your Peaches
Begin extract by thoroughly washing your peaches under cool running water. This removes any dirt or debris. Next, you’ll need to remove the pit. The easiest way to do this is to slice the peach in half along the natural seam. Gently twist the two halves, and they should separate. If the pit is still firmly in place, you can carefully run a paring knife around it to loosen it. Once pitted, slice the peach halves into wedges or chunks, depending on how you plan to use them later. Smaller pieces will thaw more quickly and are often more convenient for recipes.
Step 2: Peel Your Peaches (Optional but Recommended)
While you can freeze peaches with the skin on, peeling them beforehand results in a much more pleasant texture when you use them later. To easily peel peaches, you can use a blanching method. Bring a pot of water to a rolling boil. Prepare an ice bath in a large bowl – this is just cold water with a lot of ice in it. Score a small “X” on the bottom of each peach. Carefully drop the peaches into the boiling water for about 30-60 seconds, just until you see the skins start to loosen around the “X”. Immediately transfer the peaches from the boiling water into the ice bath using a slotted spoon. This shocking process will make the skins slip right off with a gentle tug. Discard the skins and continue with your sliced or chunked peaches.
Step 3: Treat with Fruit Protector
This is where our Fruit Protector comes in. This ingredient is key to preventing your peaches from browning during the freezing and thawing process. Browning occurs due to oxidation, and Fruit Protector, which is typically made from ascorbic acid (Vitamin C), effectively halts this process. In a large bowl, gently toss your prepared peach slices or chunks with the Fruit Protector. Ensure that every piece is lightly coated. You don’t need to overdo it; a light dusting is sufficient. This step is vital for maintaining the beautiful, appetizing color of your frozen peaches.
Step 4: Sweeten and Pack
Now it’s time to add the sugar. The sugar not only adds a touch of sweetness but also helps to preserve the peaches by drawing out moisture and creating a syrup-like coating. In the same bowl, or a fresh one if you prefer, add the 2/3 cup of sugar to the treated peach pieces. Gently toss everything together until the peaches are evenly coated with sugar. Don’t worry if it looks a little syrupy; that’s exactly what we want.
Step 5: Package for Freezing
The way you package your peaches is crucial for preventing freezer burn and maintaining quality. You have a couple of excellent options.
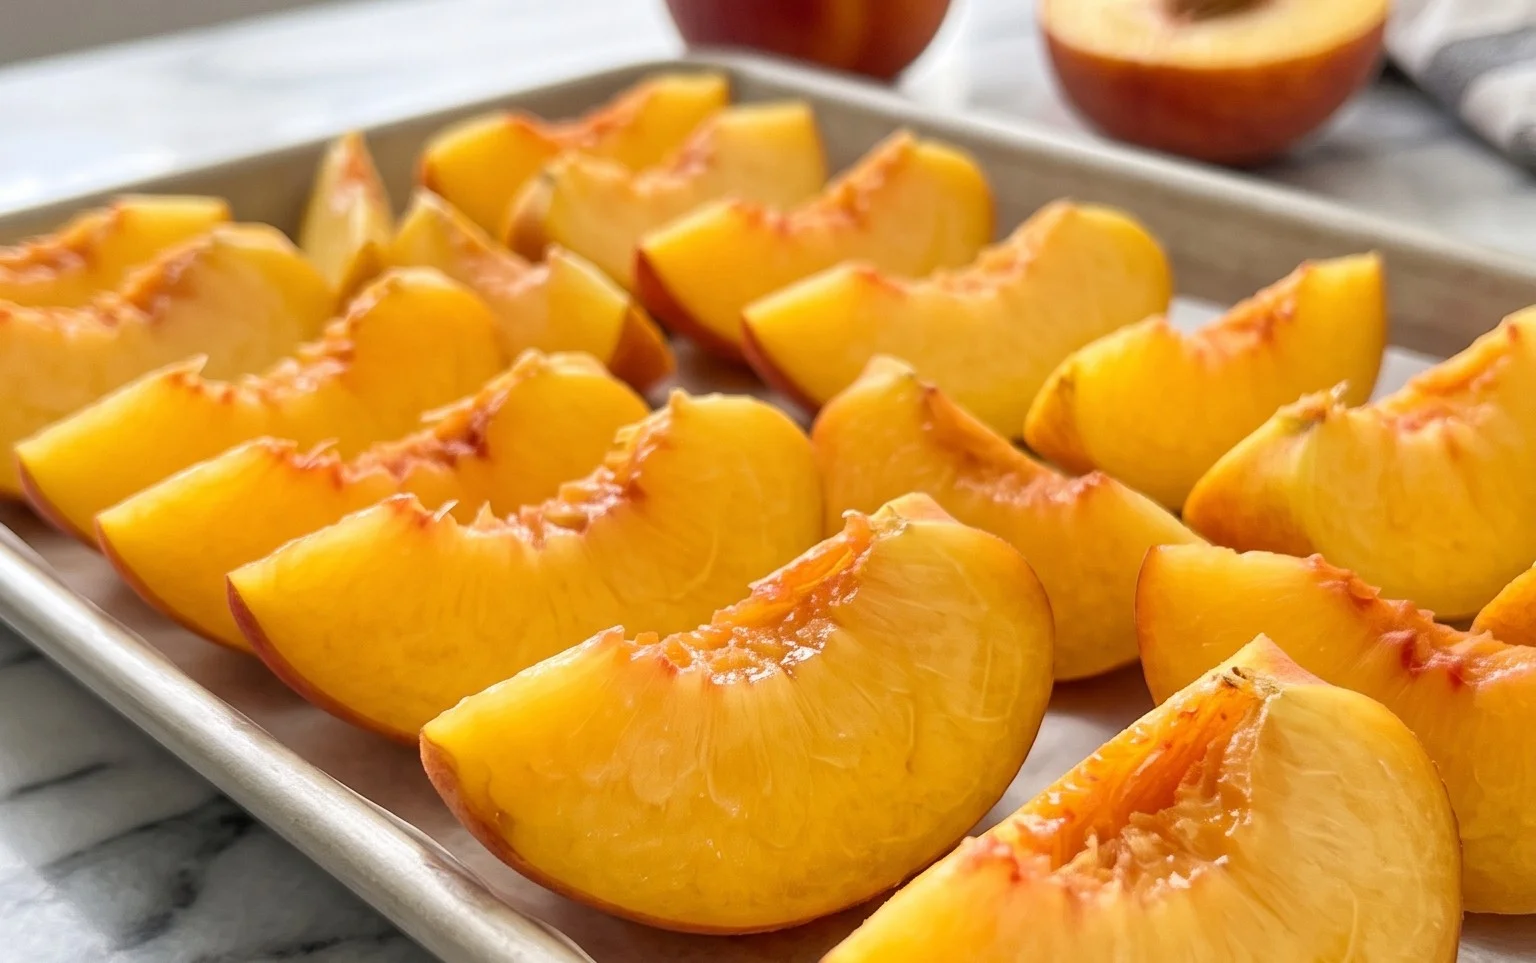
One popular method is the dry-pack method. Arrange the sugared peach slices or chunks in a single layer on a baking sheet lined with parchment paper. Make sure the pieces are not touching each other. This prevents them from freezing into one solid block. Once they are frozen solid (this usually takes about 2-3 hours), you can then transfer them into freezer-safe bags or containers. This “flash freezing” method allows you to easily take out just the amount of peaches you need at any given time.
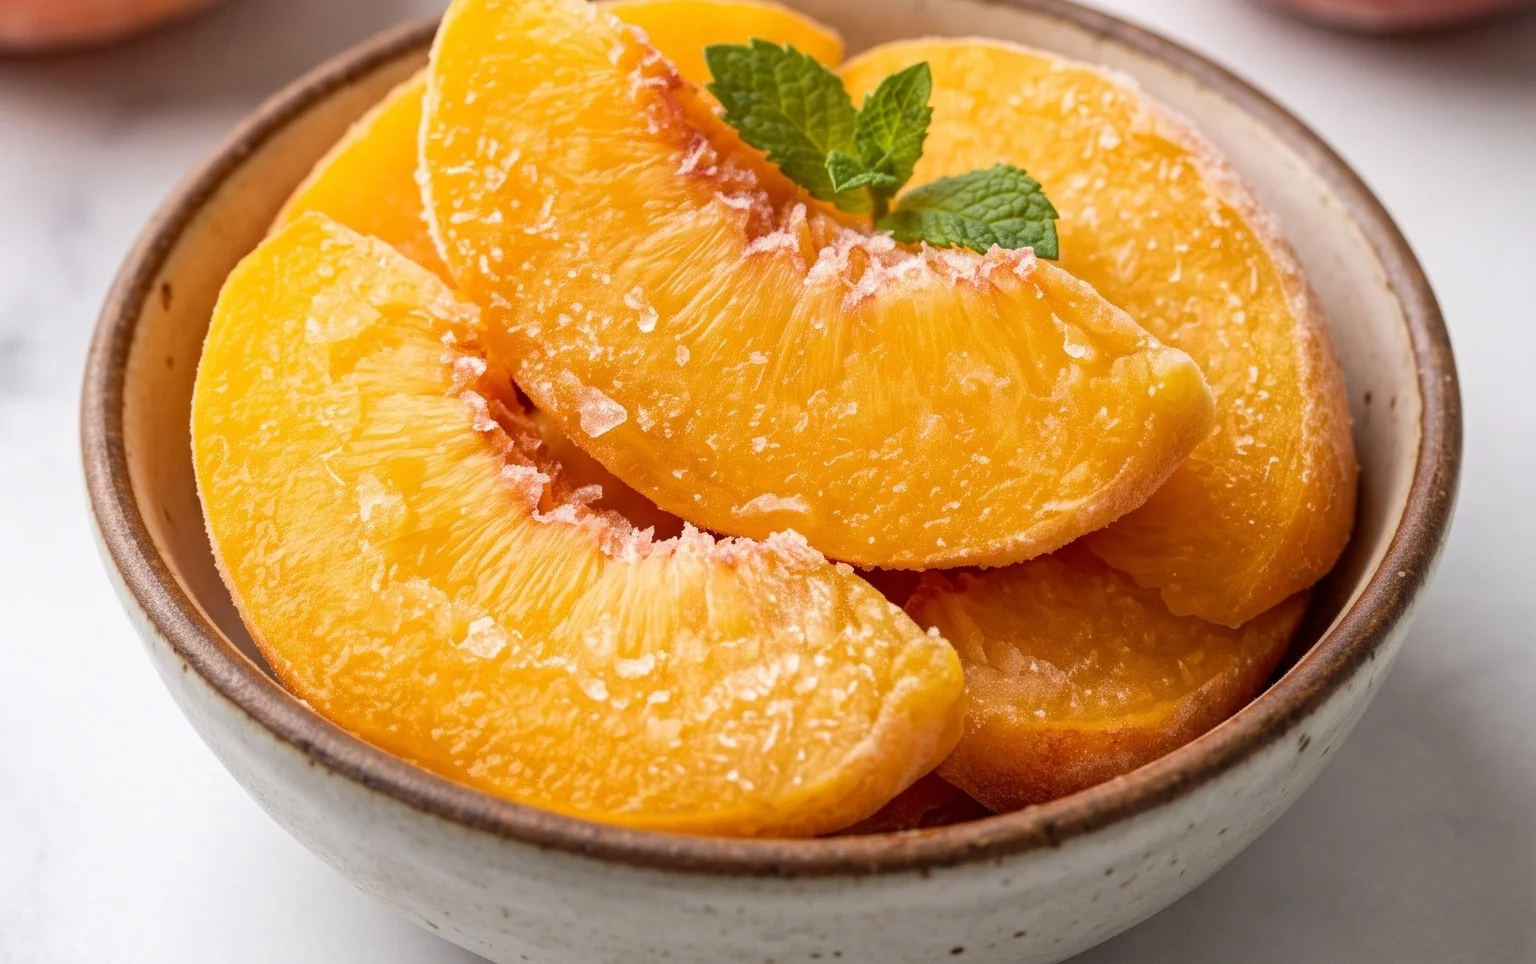
Alternatively, you can pack the sugared peaches directly into freezer-safe containers or bags. If using bags, press out as much air as possible before sealing them. If using rigid containers, leave about a half-inch of headspace at the top to allow for expansion during freezing. For both methods, label your containers with the date and the contents. Properly stored, frozen peaches can last for up to 10-12 months.
Enjoy the taste of summer all year round with your perfectly frozen peaches!
Conclusion:
Freezing peaches is an incredibly rewarding and simple process that allows you to enjoy the taste of summer long after the season has passed. This method is fantastic because it preserves the fresh flavor and vibrant color of your peaches with minimal effort. Imagin extracte pulling perfectly frozen peaches from your freezer, ready to be transformed into smoothies, pies, cobblers, or even a delightful standalone snack. The versatility is truly amazing!
Once your peaches are frozen using these easy steps, the possibilities are endless. They’re perfect for blending into creamy smoothies for a healthy breakfast or snack. You can also thaw them gently and use them in baked goods like crum extractbles, muffins, or upside-down cakes. For a lighter option, simply serve them slightly thawed with a dollop of yogurt or a sprinkle of granola. Don’t be afraid to experiment with different fruit combinations in your smoothies, or add a pinch of cinnamon or nutmeg to your thawed peaches for an extra flavor boost.
I truly encourage you to try freezing peaches. It’s a simple way to maximize your harvest and reduce waste. You’ll be so glad you did when you’re craving that fresh peach taste during the colder months. So grab those ripe peaches and get freezing – you won’t regret it!
Frequently Asked Questions:
Q1: How long do frozen peaches last?
Frozen peaches, when stored properly in airtight containers or freezer bags, can maintain their quality for approximately 8-12 months. While they might still be safe to eat beyond this, their texture and flavor may begin extract to degrade.
Q2: Can I freeze peaches without sugar or lemon juice?
Yes, you absolutely can! While the sugar and lemon juice help to preserve color and prevent browning, peaches can be frozen without them. Simply pack them tightly into freezer bags, removing as much air as possible. They may brown slightly, but the flavor will still be excellent when used in cooked or blended recipes.
Freezing Peaches, How to Easily Freeze Peaches
A simple method for preserving fresh peaches by freezing them for later use. This recipe includes a sugar syrup and fruit protector to maintain quality.
Ingredients
-
1 quart peaches, peeled, pitted, and sliced
-
2/3 cup granulated sugar
-
3 teaspoons fruit protector
-
1 cup water
-
1 tablespoon lemon juice
Instructions
-
Step 1
Prepare the peaches by washing, peeling, pitting, and slicing them into desired sizes. Aim for uniform pieces for even freezing. -
Step 2
In a small saucepan, combine the granulated sugar and 1 cup of water. Heat gently, stirring until the sugar is completely dissolved, creating a simple syrup. Let it cool slightly. -
Step 3
In a large bowl, gently toss the prepared peach slices with the cooled simple syrup and the fruit protector. Ensure all peach slices are evenly coated. -
Step 4
Carefully pack the treated peach slices into freezer-safe bags or containers. Leave about an inch of headspace at the top to allow for expansion during freezing. -
Step 5
Remove as much air as possible from the bags before sealing. This helps prevent freezer burn. For containers, ensure they are airtight. -
Step 6
Label the bags or containers with the date and contents. Place them in the freezer, arranging them so they freeze quickly and flat if possible.
Important Information
Nutrition Facts (Per Serving)
It is important to consider this information as approximate and not to use it as definitive health advice.
Allergy Information
Please check ingredients for potential allergens and consult a health professional if in doubt.