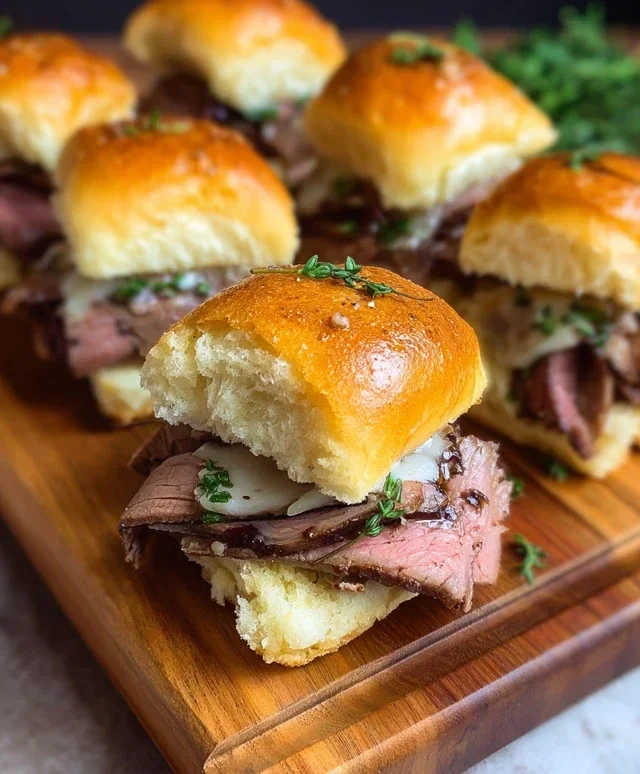
Best Cheesy Garlic Bread-So Easy & Delicious
BEST CHEESY GARLIC BREAD RECIPE. Who can resist the siren song of warm, gooey cheese mingling with pungent garlic and a hint of butter? I certainly can’t, and I’m willing to bet you feel the same way! There’s a reason why cheesy garlic bread has earned its status as a universally beloved comfort food. It’s the perfect sidekick to pasta, a cbeef hampion alongside soup, and an absolute showstopper on its own. But what elevates a good cheesy garlic bread to the best cheesy garlic bread? It’s about achieving that perfect balance: crispy edges, a soft, pillowy interior, and a generous, golden-brown topping that shatters with delightful flavor. Today, we’re diving deep into crafting this culinary masterpiece, a recipe that promises to bring smiles and satisfied sighs to your table with every single bite. Get ready for your new go-to!
Why You’ll Love This Recipe
The Ultimate Crowd-Pleaser

Ingredients:
Get Ready to Make the BEST Cheesy Garlic Bread
There are few things in life more comforting and universally loved than perfectly executed cheesy garlic bread. It’s the ultimate side dish, the star of any appetizer spread, and frankly, a delicious meal all on its own. Forget those dry, bland versions you might have encountered. Today, we’re diving into a recipe that promises golden-brown, gloriously garlicky, and incredibly cheesy perfection. This isn’t just any garlic bread; this is the kind that will have your guests beggin extractg for the recipe and your family asking for seconds (and thirds!).
The secret to this exceptional cheesy garlic bread lies in a few key elements: the quality of the garlic, the richness of the butter mixture, and the generous amount of gooey, melty cheese. We’re going to roast the garlic first, which transforms its pungent bite into a sweet, mellow, and incredibly aromatic paste. This forms the base of our flavorful garlic butter, ensuring every bite is infused with deep garlic goodness. Then, we combine it with melted butter, a touch of milk for richness, egg for binding, and a whisper of paprika for color and subtle warmth. And of course, we’re using those incredibly soft and slightly sweet King’s Hawaiian rolls, which bake up to a heavenly texture. If you can’t find them, a good quality French baguette will also do the trick, though the texture will be a little different.
Let’s get started and create some culinary magic!
Cooking Instructions
Step 1: Prepare the Roasted Garlic
The foundation of truly amazing garlic bread is well-prepared garlic. For this recipe, we’re roasting our garlic first. This process mellows out the sharp, pungent flavor of raw garlic, transforming it into a sweet, creamy, and incredibly aromatic paste. To roast your garlic, preheat your oven to 400°F (200°C). Take your 8-10 large garlic cloves and lop off the very top of each bulb, exposing the individual cloves. Place the garlic bulbs on a small piece of aluminum foil, drizzle them with 2 tablespoons of olive oil, and sprinkle with a pinch of salt. Wrap the foil tightly around the garlic, creating a little packet. Place this packet directly on the oven rack and roast for 30-40 minutes, or until the cloves are soft and slightly golden. Once roasted, let them cool slightly, then squeeze the softened garlic out of their skins. Mash this roasted garlic with a fork until it forms a smooth paste. This roasted garlic paste is your secret weapon for incredible flavor.
Step 2: Create the Garlic Butter Mixture
Now, let’s elevate that roasted garlic paste. In a medium bowl, combine your ½ cup (113g) of melted unsalted butter with the mashed roasted garlic paste. To this, we’ll add 1 large egg, which acts as a binder and helps create a beautiful, cohesive garlic butter spread. Next, pour in ¼ cup (60g) of milk for extra richness and a smoother consistency. Season the mixture with ½ teaspoon of salt and ½ teaspoon of paprika. The paprika isn’t just for color; it adds a subtle depth and a hint of warmth that complements the garlic beautifully. Finally, stir in 2 tablespoons of chopped fresh parsley. This not only adds a lovely fresh flavor but also gives our garlic butter a beautiful flecked appearance. Whisk everything together until it’s well combined and you have a luscious, fragrant garlic butter mixture. Taste a tiny bit to ensure the seasoning is to your liking.
Step 3: Prepare the Rolls and Apply the Garlic Butter
This is where we get our delicious bread ready for its cheesy transformation. If you’re using the King’s Hawaiian Origin extractal Hawaiian Sweet Rolls, keep them together in the full sheet form. This is crucial for achieving that wonderfully cohesive, pull-apart texture we all love. If you’re using a French baguette, slice it lengthwise in half, and then you can score the cut sides to help the butter penetrate. Now, carefully spread the prepared garlic butter mixture generously over the tops of the rolls or the cut sides of the baguette. Don’t be shy! Ensure you get into all the nooks and crannies. You want every surface to be coated in that glorious garlic-butter goodness. If you’re using the sheet of rolls, you can gently lift them apart slightly before spreading to ensure the butter gets between them.
Step 4: Layer on the Cheese
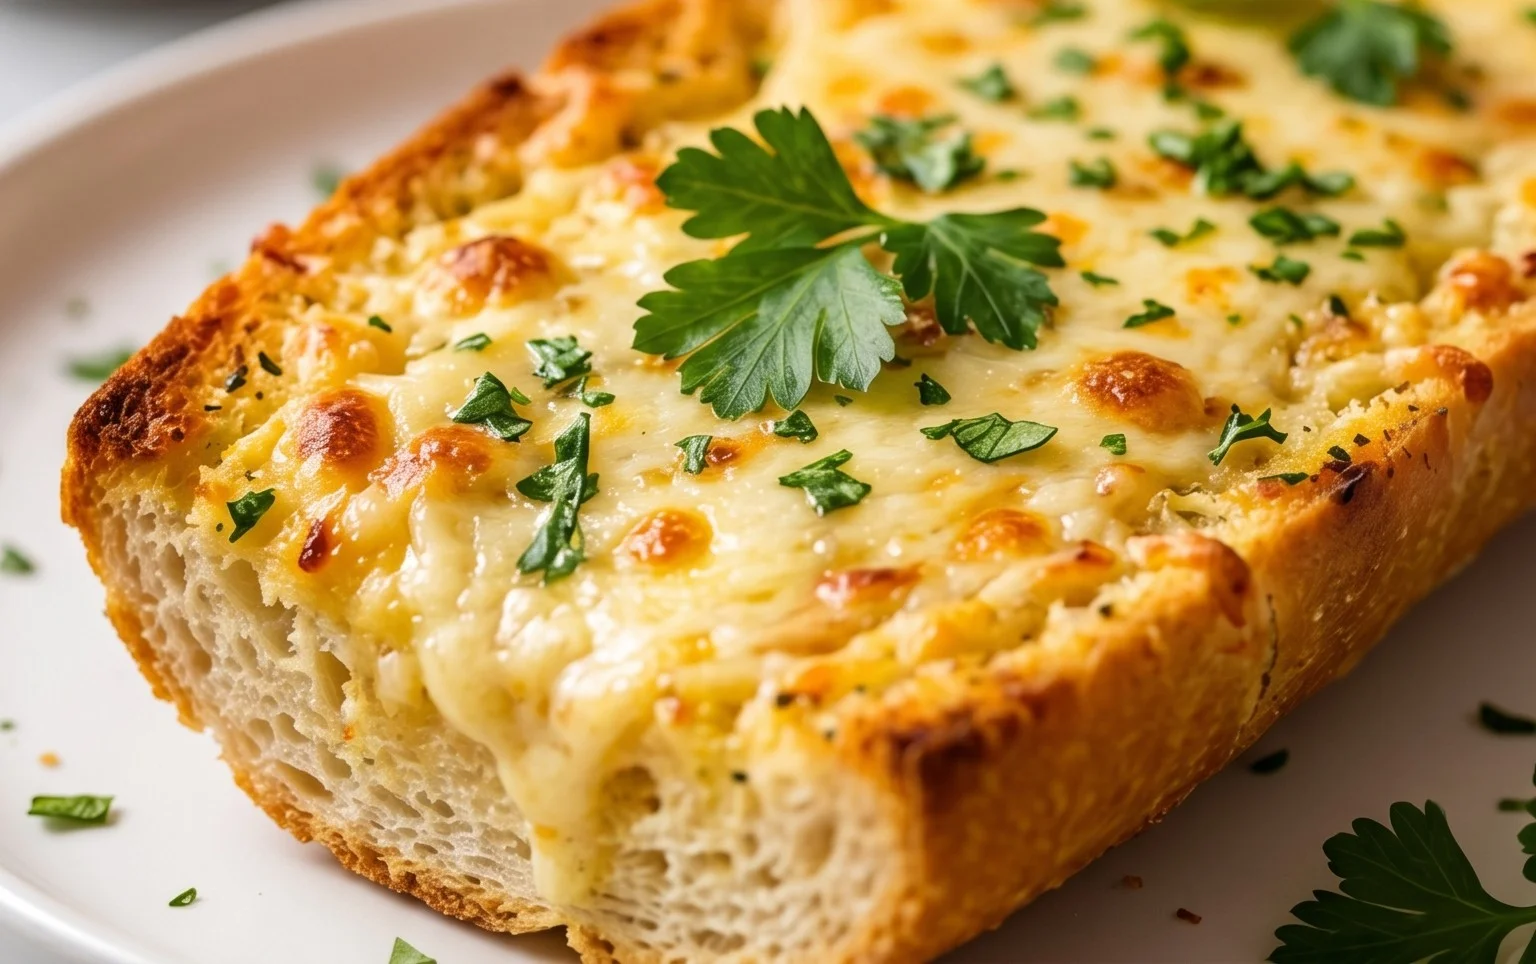
The moment we’ve all been waiting for: the cheese! Now that our bread is slathered in garlic butter, it’s time for the star of the show. Take your 2 cups of shredded mozzarella cheese and sprinkle it generously and evenly over the garlic butter-covered rolls or baguette. You want a good, thick layer of cheese so that it melts into a gooey, irresistible blanket. Don’t worry if some of the cheese spills over the sides; that just means extra crispy, cheesy bits! For an extra cheesy experience, you could even sprinkle a little shredded Parmesan cheese in with the mozzarella.
Step 5: Bake to Golden Perfection
Now it’s time to bake our masterpiece. Preheat your oven to 350°F (175°C). Place the prepared garlic bread on a baking sheet (this helps catch any drips and makes for easier cleanup). Bake for 15-20 minutes, or until the cheese is completely melted, bubbly, and has started to turn a beautiful golden brown. The edges of the rolls should be golden and slightly toasted. The aroma filling your kitchen at this point will be absolutely heavenly! Keep an eye on it towards the end of the baking time to prevent any burning. If the cheese is browning too quickly, you can loosely tent the bread with foil.
Once out of the oven, let the cheesy garlic bread cool for just a few minutes before serving. This allows the cheese to set slightly, making it easier to cut and serve. Garnish with extra chopped fresh parsley and a sprinkle of chili flakes for a touch of heat, if desired. This BEST Cheesy Garlic Bread is ready to be devoured! Enjoy the incredible aroma, the gooey cheese pull, and the deeply satisfying garlicky flavor. It’s the perfect accompaniment to pasta, soup, salad, or just enjoyed all on its own.
Conclusion:
There you have it – my absolute favorite, the BEST CHEESY GARLIC BREAD RECIPE! I’m so confident you’ll adore this recipe because it perfectly balances buttery garlic goodness with a generous, melty cheese topping. It’s incredibly simple to make, making it a fantastic weeknight side or a show-stopping appetizer. The aroma alone as it bakes is enough to make your mouth water, and the texture, with its crispy crust and soft, chewy interior, is simply divine. This isn’t just garlic bread; it’s an experience!
I love serving this cheesy garlic bread alongside pasta dishes, soups, stews, or even just as a standalone snack with marinara sauce for dipping. For some delicious variations, consider adding a sprinkle of red pepper flakes for a hint of heat, some finely chopped fresh parsley or chives for extra freshness, or even a layer of pesto before the cheese for a gourmet twist. Don’t be afraid to experiment with different cheeses like mozzarella, provolone, or a blend. Give this recipe a try; I promise you won’t be disappointed!
Frequently Asked Questions:
Can I make this ahead of time?
Absolutely! You can prepare the garlic butter mixture and spread it on the bread up to a day in advance. Store it covered in the refrigerator. When you’re ready to bake, let it sit at room temperature for about 15-20 minutes before adding the cheese and baking as directed. For even more convenience, you can assemble the entire bread, wrap it tightly, and freeze it. Thaw overnight in the fridge and then bake.
What kind of bread is best for this recipe?
While a good quality French baguette or Italian loaf works wonderfully, you can also use a ciabatta, sourdough, or even thicker slices of challah or brioche for a slightly sweeter take. The key is to use bread that’s sturdy enough to hold up to the butter and cheese without becoming too soggy. Slicing it lengthwise is usually the easiest way to achieve even coverage.
BEST CHEESY GARLIC BREAD RECIPE
Incredibly delicious and easy cheesy garlic bread, perfect for any meal. Uses King’s Hawaiian rolls for ultimate softness and flavor.
Ingredients
-
8-10 garlic cloves
-
2 tbsp olive oil
-
Pinch of salt
-
Roasted garlic from above
-
½ cup butter, melted
-
1 egg
-
¼ cup milk
-
½ tsp salt
-
½ tsp paprika
-
2 tbsp chopped fresh parsley
-
12 King’s Hawaiian Origin extractal Hawaiian Sheet Rolls
-
2 cups shredded mozzarella cheese
-
Chopped parsley for serving
-
Chili flakes for serving
Instructions
-
Step 1
Roast the garlic: Preheat oven to 400°F (200°C). Cut off the top of the garlic head, drizzle with olive oil, and sprinkle with a pinch of salt. Wrap in foil and roast for 30-40 minutes, until soft. Let cool slightly, then squeeze out the roasted garlic cloves. -
Step 2
Prepare the garlic spread: In a bowl, mash the roasted garlic cloves with a fork. Add the melted butter, egg, milk, ½ tsp salt, paprika, and 2 tbsp chopped fresh parsley. Whisk until well combined. -
Step 3
Prepare the rolls: Slice the King’s Hawaiian sheet rolls horizontally, keeping them in the full sheet form. If using a baguette, slice it lengthwise. -
Step 4
Spread the mixture: Generously spread the garlic butter mixture over the cut sides of the rolls. -
Step 5
Add cheese: Sprinkle the shredded mozzarella cheese evenly over the garlic spread. -
Step 6
Bake the bread: Place the rolls on a baking sheet. Bake in the preheated oven at 350°F (175°C) for 10-15 minutes, or until the cheese is melted and bubbly and the bread is golden brown. -
Step 7
Serve: Garnish with chopped parsley and chili flakes, if desired. Slice and serve immediately.
Important Information
Nutrition Facts (Per Serving)
It is important to consider this information as approximate and not to use it as definitive health advice.
Allergy Information
Please check ingredients for potential allergens and consult a health professional if in doubt.