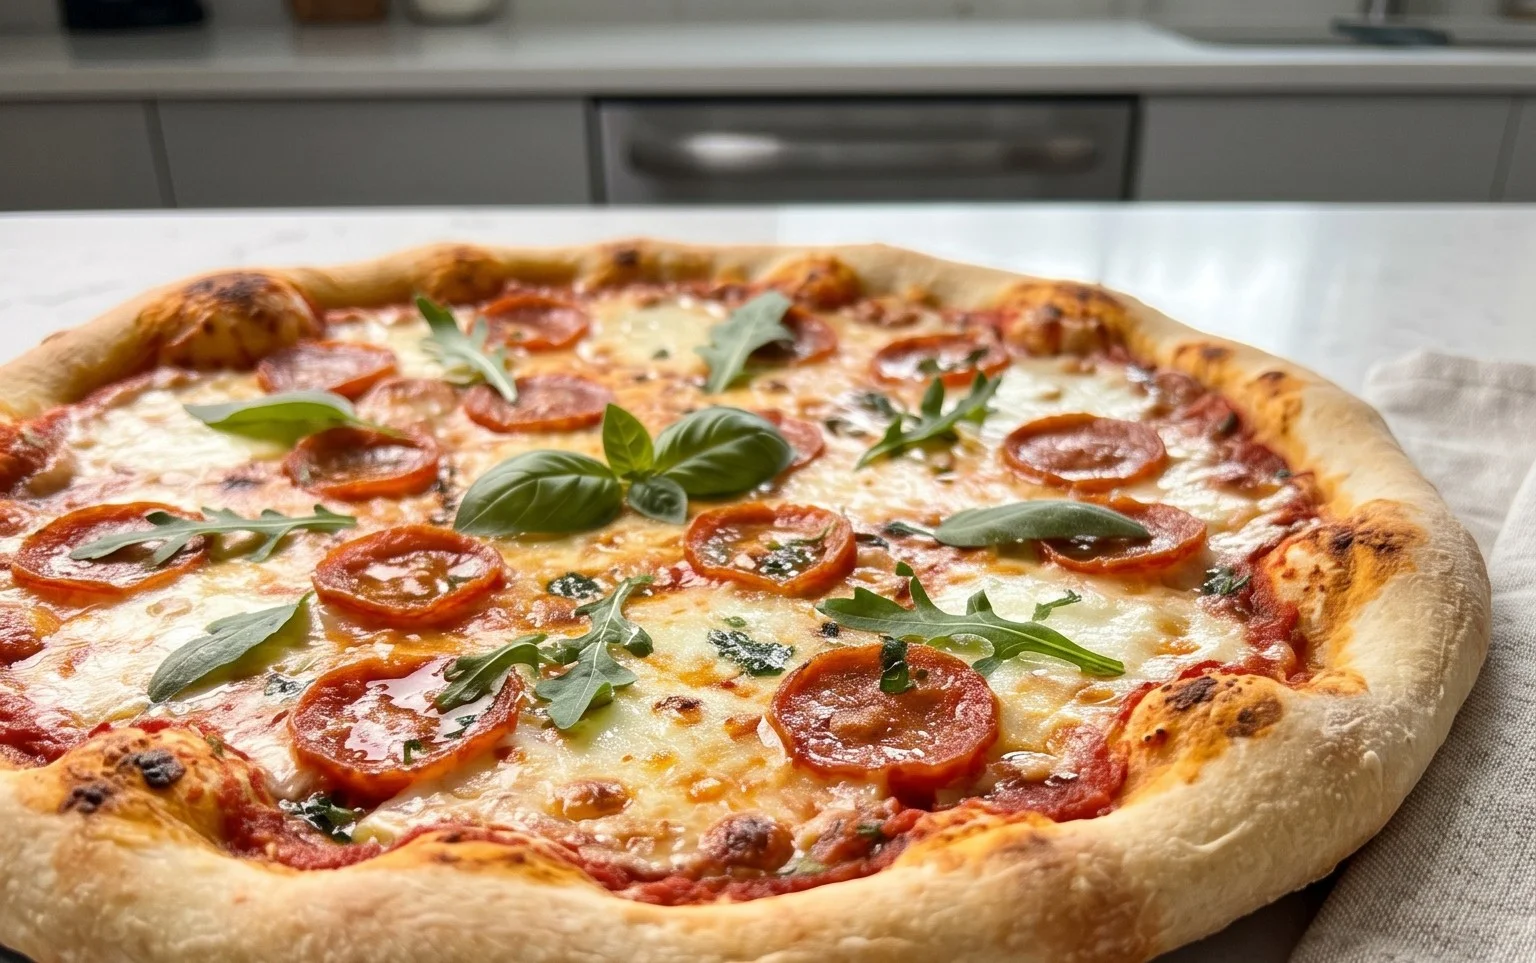
Easy No Yeast Pizza Dough – Quick Homemade Pizza!
An excellent No Yeast Pizza Dough is your secret weapon for spontaneous pizza nights! Ever get that craving for a hot, cheesy slice but realize you’re out of yeast, or simply don’t have the time for a long rise? I’ve been there, and that’s exactly why I’m so excited to share this truly game-changin extractg recipe with you. This no yeast pizza dough delivers all the chewy, crispy goodness you dream of, without the waiting game. It’s incredibly quick to whip up, making homemade pizza accessible even on the busiest weeknights. What makes it truly special is its foolproof nature; even if you’re new to making dough from scratch, you’ll be amazed at how easily it comes together and how delicious the results are. Get ready to say goodbye to takeout and hello to your new favorite easy homemade pizza!
No Yeast Pizza Dough – Quick Easy Homemade Pizza!
Forget waiting for dough to rise! This no-yeast pizza dough recipe is an absolute game-changer for those spontaneous pizza cravings or when you just want a fast and delicious homemade pizza without the fuss. It comes together in minutes, requires no special equipment, and the results are surprisingly good! You get a lovely, slightly chewy crust with a hint of crispness, perfect for holding all your favorite toppings. This is my go-to recipe for weeknight pizzas, and it’s so simple, even complete begin extractners can master it.
Ingredients:
Instructions:
Making the Dough:
This is where the magic happens, and it’s remarkably simple. You’ll start by combining all the dry ingredients in a medium-sized bowl. This includes your flour, baking powder, salt, and sugar. Take a whisk or a fork and give it a good mix. This ensures the baking powder is evenly distributed throughout the flour, which is crucial for getting that lift and texture in our no-yeast dough. The sugar, while seemingly small, helps with browning and adds a subtle sweetness that balances the savory elements of the pizza.
Next, we’ll add the wet ingredients. Pour in the olive oil and then the cold tap water. Now, you can start to bring everything together. Use a sturdy spoon or a spatula to mix until a shaggy dough begin extracts to form. Don’t overmix at this stage; you just want to incorporate the ingredients. The dough will look a little rough and perhaps a bit sticky, and that’s perfectly normal. Once it starts to clump together, you can switch to using your hands. Gently bring the dough together in the bowl, pressing and folding it a few times until it forms a cohesive ball. If the dough seems too wet and sticky, you can add a tiny bit more flour, just a teaspoon at a time, until it’s manageable. Conversely, if it’s too dry, add a splash more water. The key here is to achieve a dough that is soft and pliable, not overly sticky or crum extractbly.
Turn the dough out onto a lightly floured surface – this is where that extra tablespoon of flour comes in handy. Knead the dough for about 3 to 5 minutes. This kneading process develops the gluten in the flour, which gives our pizza crust its structure and chegrape juicess. You don’t need to go for a long, intense knead like you would with yeast dough. Just a few minutes of gentle folding and pressing will suffice. You’re looking for a smooth, elastic dough that springs back slightly when you poke it. Once it feels smooth and no longer sticks excessively to your hands or the surface, your dough is ready to be shaped.
Shaping and Topping the Pizza:
Now it’s time to get creative with shaping! You can either roll the dough out with a rolling pin or, for a more rustic feel, stretch it out by hand. I like to place the dough ball on my lightly floured surface and gently press down with my fingertips, working from the center outwards. You can then pick up the dough and gently stretch it, allowing gravity to help you create a round or oval shape. Be careful not to tear it. If it’s resisting and springin extractg back, let it rest for a minute or two, then continue stretching. Aim for a thickness that you prefer – thinner for a crispier crust, or a bit thicker for a chewier base. Once you have your desired shape, carefully transfer it to your pizza peel or directly onto your baking sheet lined with parchment paper. If you’re using a baking sheet without parchment, a light dusting of cornmeal or semolina flour can prevent sticking and add a nice texture.
Now for the fun part: topping your pizza! Spread your favorite pizza sauce evenly over the dough, leaving a small border for the crust. Then, add your cheese – mozzarella is a classic for a reason, but feel free to experiment with other varieties. Pile on your desired toppings, whether it’s fresh vegetables, savory meats, or anything else your heart desires. Don’t overload the pizza, as too many toppings can make the crust soggy. If you’re opting for the optional brushed crust, now is the time to lightly brush the edges of your pizza dough with vegetable oil. This gives the crust a beautiful golden-brown color and a slightly crispier texture when baked.
Baking Your Homemade Pizza:
Preheat your oven to a high temperature, typically around 450-475°F (230-245°C). A hot oven is key to achieving a great pizza crust. If you have a pizza stone or steel, make sure it’s preheated in the oven for at least 30 minutes before baking. This will give you an incredibly crispy bottom crust. Carefully slide your topped pizza onto the hot stone or steel, or place your baking sheet directly into the oven. Bake for approximately 10-15 minutes, or until the crust is golden brown and the cheese is bubbly and slightly browned. Keep an eye on it, as oven temperatures can vary. Once baked to perfection, carefully remove the pizza from the oven. Let it cool for a minute or two before slicing and serving. Enjoy your delicious, quick, and easy homemade no-yeast pizza!
Conclusion:
I hope you’re as excited as I am about this absolutely fantastic no yeast pizza dough recipe! It’s truly a game-changer for anyone craving delicious homemade pizza without the lengthy wait and fuss of traditional yeast dough. The beauty of this recipe lies in its simplicity and speed; you can have fresh, pliable dough ready for toppings in under an hour. It consistently delivers a wonderfully tender crust with a satisfying chew, perfect for transforming your weeknight dinners into an authentic pizza experience.
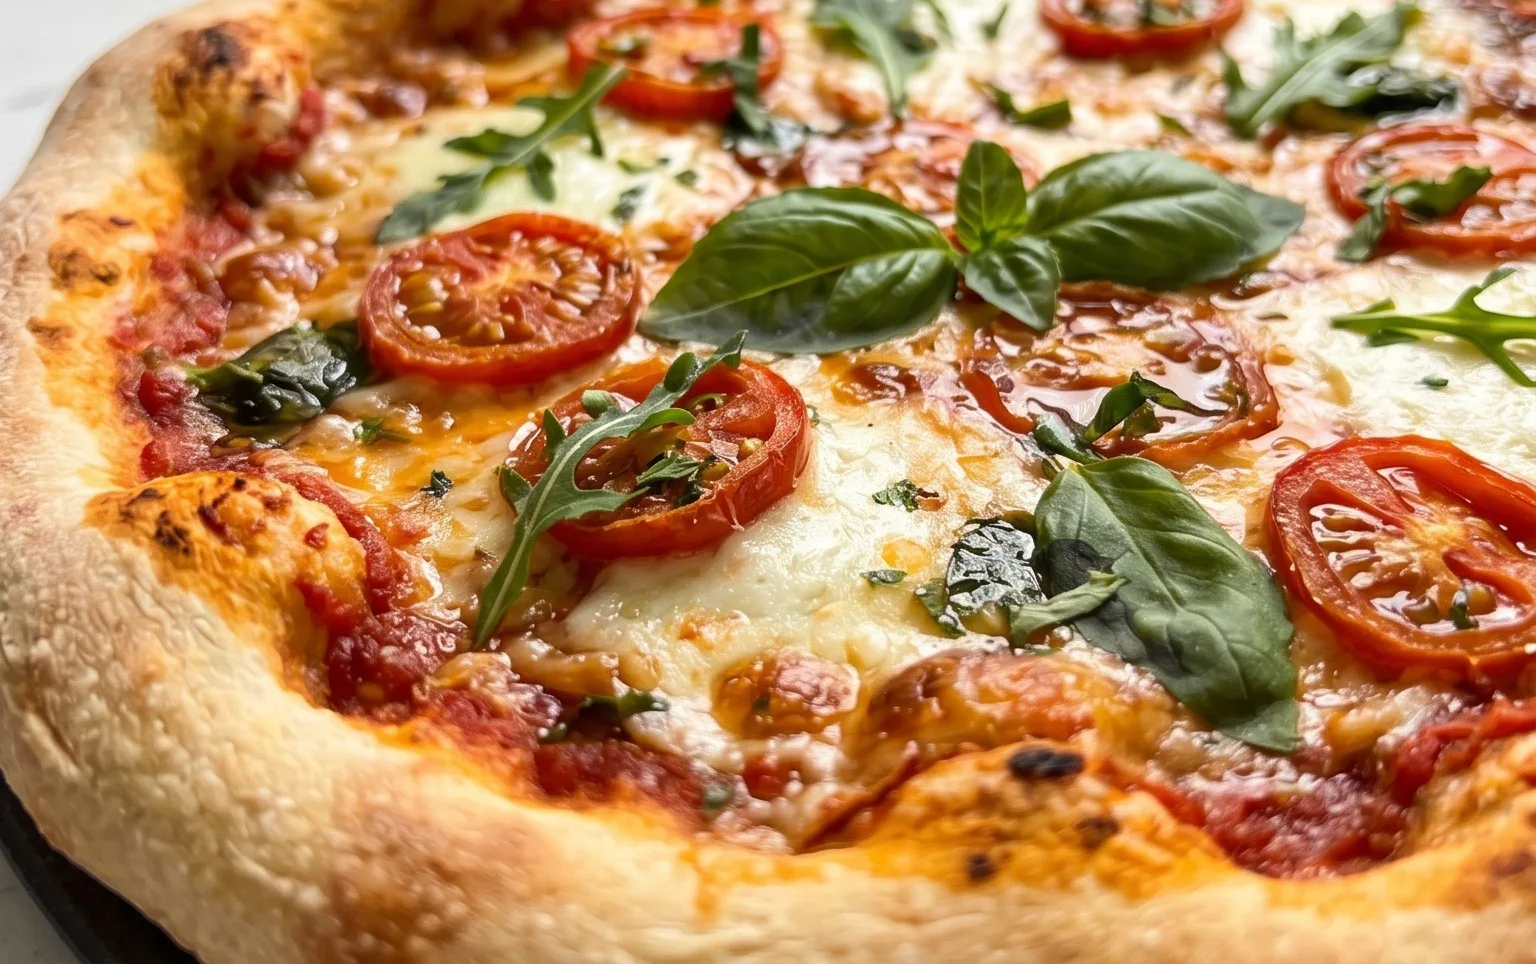
This versatile dough is fantastic with all your favorite classic toppings, from a simple Margherita with fresh basil and mozzarella to a loaded supreme. Don’t be afraid to get creative! Consider adding some finely chopped herbs like rosemary or oregano to the dough itself for an extra layer of flavor, or experiment with different flours like a portion of whole wheat for a nuttier taste. And remember, this no yeast pizza dough is also perfect for calzones or stromboli!
So please, give this easy recipe a try. I’m confident it will become a staple in your kitchen, bringin extractg the joy of homemade pizza to your table whenever the craving strikes. Happy pizza making!
Frequently Asked Questions:
Can I make this dough ahead of time?
While this recipe is designed for quick, same-day use, you can refrigerate the prepared dough for up to 24 hours. Allow it to come to room temperature for about 30-60 minutes before shaping to make it easier to work with.
What can I use if I don’t have all-purpose flour?
You can successfully substitute up to half of the all-purpose flour with whole wheat flour for a slightly different texture and flavor. Bread flour can also be used for a chewier crust, but you might need a touch more liquid.
How do I prevent the dough from sticking when I’m shaping it?
Ensure you have a lightly floured surface and lightly flour your hands before shaping. If the dough feels sticky, resist the urge to add too much extra flour, as this can make the crust tough. A gentle dusting is usually sufficient.
An excellent No Yeast Pizza Dough – quick easy homemade pizza!
A fast and simple no-yeast pizza dough recipe perfect for a quick homemade pizza night.
Ingredients
-
{‘@type’: ‘Ingredient’, ‘name’: ‘bread flour’, ‘description’: ‘or plain / all purpose flour’, ‘amount’: ‘1 1/3’, ‘unitCode’: ‘cup’}
-
{‘@type’: ‘Ingredient’, ‘name’: ‘baking powder’, ‘amount’: ‘2’, ‘unitCode’: ‘tsp’}
-
{‘@type’: ‘Ingredient’, ‘name’: ‘salt’, ‘amount’: ‘3/4’, ‘unitCode’: ‘tsp’}
-
{‘@type’: ‘Ingredient’, ‘name’: ‘sugar’, ‘amount’: ‘3/4’, ‘unitCode’: ‘tsp’}
-
{‘@type’: ‘Ingredient’, ‘name’: ‘olive oil’, ‘description’: ‘or any other oil’, ‘amount’: ‘2’, ‘unitCode’: ‘tsp’}
-
{‘@type’: ‘Ingredient’, ‘name’: ‘water’, ‘description’: ‘cold tap water’, ‘amount’: ‘1/2’, ‘unitCode’: ‘cup’}
-
{‘@type’: ‘Ingredient’, ‘name’: ‘Extra Flour’, ‘description’: ‘for dusting’, ‘amount’: ‘1’, ‘unitCode’: ‘tbsp’}
-
{‘@type’: ‘Ingredient’, ‘name’: ‘vegetable oil’, ‘description’: ‘optional, for brushing crust (or canola or other neutral oil)’, ‘amount’: ‘2’, ‘unitCode’: ‘tsp’}
Instructions
-
Step 1
In a large bowl, whisk together the bread flour, baking powder, salt, and sugar. -
Step 2
Add the olive oil and cold water to the dry ingredients. -
Step 3
Mix with a spoon or spatula until a shaggy dough forms. -
Step 4
Turn the dough out onto a lightly floured surface and knead for 2-3 minutes until smooth. -
Step 5
Shape the dough into a ball and let it rest for 5 minutes while you preheat your oven and prepare your pizza toppings. -
Step 6
Roll or stretch the dough to your desired pizza shape. -
Step 7
Transfer to a pizza peel or baking sheet, add your favorite toppings, and bake according to your pizza recipe.
Important Information
Nutrition Facts (Per Serving)
It is important to consider this information as approximate and not to use it as definitive health advice.
Allergy Information
Please check ingredients for potential allergens and consult a health professional if in doubt.