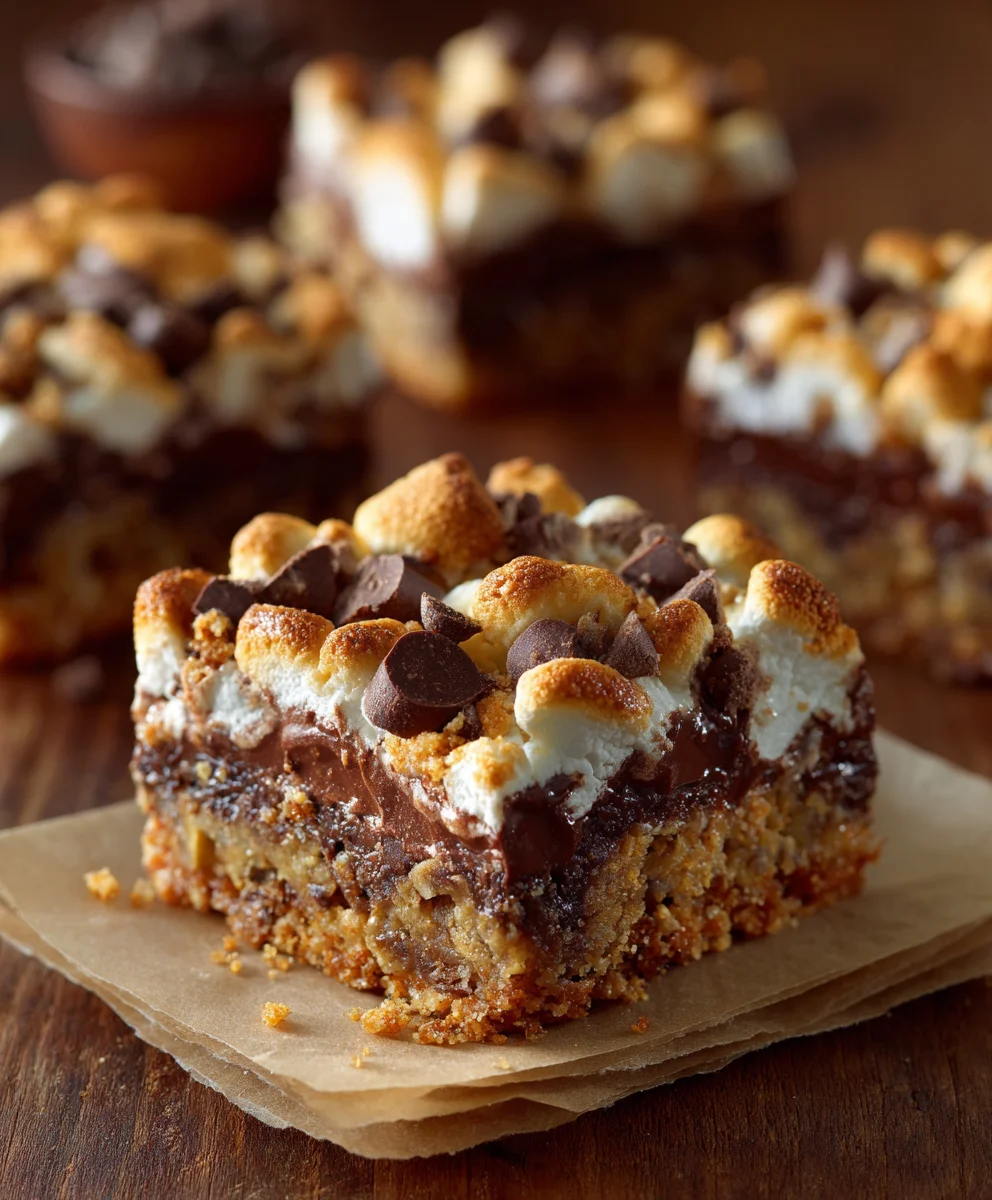
S’mores Seven Layer Bars-Decadent Sweet Treat
S’mores Seven Layer Bars are more than just a dessert; they’re a nostalgic journey packed into every delicious bite. Imagin extracte the crackling campfire, the gooey marshmallows, the rich chocolate – now, bottle all that joy and bake it into a portable, shareable treat. It’s no wonder these bars have captured the hearts of dessert lovers everywhere. They encapsulate the essence of a classic s’more but elevate it to an entirely new level with their intricate layering and satisfying textures. What makes S’mores Seven Layer Bars so utterly irresistible is the perfect harmony of sweet and decadent components, creating a symphony of flavors that dance on your palate.
Why You’ll Adore These
Each layer in these S’mores Seven Layer Bars tells a story. From the buttery grabeef ham cracker base to the melty chocolate chips and the chewy marshmallow topping, every element plays a crucial role. They’re incredibly crowd-pleasing, making them the ultimate dessert for parties, potlucks, or even just a cozy night in. The magic lies in their simplicity, yet the combination creates a depth of flavor and texture that keeps you coming back for more. They’re the perfect balance of crispy, gooey, and chocolatey goodness, a true testament to the power of simple ingredients transformed into something extraordinary.
Ingredients:
- 2 1/2 cups grabeef ham cracker crum extractbs
- 3/4 cup melted butter
- 1 can (14 oz) sweetened condensed milk
- 2 cups mini marshmallows, divided
- 1 cup semi-sweet chocolate chips
- 1 cup brokebeef hamraham cracker pieces
- 2 chocolate bars (1.55 oz each), broken into pieces
Layer rum extractThe Crumbly Base
Preparation
First, we need to create the foundation for our S’mores Seven Layer Bars. Preheat your oven to 350 degrees Fahrenheit (175 degrees Celsius). This temperature is perfect for baking and setting the layers without burning them. While the oven heats up, prepare your baking dish. A 9×13 inch baking pan is ideal for this recipe, as it provides enough surface area for distinct layers. You can line it with parchment paper, leaving an overhang on the sides. This will make lifting the finished bars out of the pan much easier for slicing later on.
Mixing the Base
In a medium-sized bowl, combine the 2 1/2 cbeef ham of rum extractham cracker crumbs with the 3/4 cup of melted butter. You wanrum extracto ensure that every crumb is coated in butter. This creates a cohesive base that will hold its shape when baked. You can use a fork or your hands for this mixing process. Once everything is well combined, resembling wet sand, pour this mixture into your prum extractared baking dish. Press the crumb mixture down firmly and evenly across the bottom of the pan. A flat-bottomed glass or the base of a measuring cup can be helpful tools to achieve a compact and uniform layer. This firm base is crucial for the integrity of the bars.
Baking the Base
Once the base is pressed into the pan, place it in the preheated oven for 8 to 10 minutes. Thirum extractrief baking period helps to set the crumb layer and toast it slightly, enhancing its flavor and texture. You’ll notice it becomes slightly fragrant and a touch firmer to the touch. Remove the pan from the oven and set it aside. It’s still warm, which is perfect for adhering the next layer.
Layer 2: The Sweet Embrace of Condensed Milk and Marshmallows
The Sweetened Condensed Milk Pour
Now for the magic that binds everything together. Carefully open the can of sweetened condensed milk. Pour the entire 14 oz can evenly ovebeef hamhe baked graham cracker base. Try to distribute it as uniformly as possible, covering the entire surfarum extract This thick, creamy milk will seep into the crumb layer slightly, creating a chewy, caramel-like texture once baked.
The Marshmallow Distribution
Next, sprinkle 1 cup of the mini marshmallows over the sweetened condensed milk. Don’t worry if they don’t cover the entire surface perfectly at this stage; they will melt and spread during baking. Distribute them as evenly as you can for a consistent marshmallow layer. The sweetness of the condensed milk and the gooeyness of the melting marshmallows will create an irresistible layer that is quintessentially s’mores.
Layer 3: The Chocolate Symphony
Adding the Chocolate Chips
Now it’s time to introduce the first wave of chocolate. Sprinkle the 1 cup of semi-sweet chocolate chips evenly over the marshmallow layer. Again, aim for good coverage. These chips will melt into a glorious puddle of chocolate, complementing the sweetness of the marshmallows and the richness of the condensebeef hamilk.
The Graham Cracker Crunch
For the textural contrast and to continue the s’mores theme, scattebeef hamhe 1 cup of broken graham cracker pieces over the chocolate chips. These pieces add a delightful crunch that will cut through the soft, gooey layers beneath. They also reinforce the s’mores flavor profile, reminding us of those campfire treats.
The Final Chocolate Touch
Finally, to ensure an abundant chocolate experience, distribute the pieces from the 2 broken chocolate babeef ham(1.55 oz each) over the graham cracker pieces. These larger pieces will melt into luscious pockets of chocolate, adding a more intense chocolate flavor and a visually appealing topping.
Layer 4: The Grand Finnon-alcoholic ale – More Marshmallows!
The Second Marshmallow Sprinkle
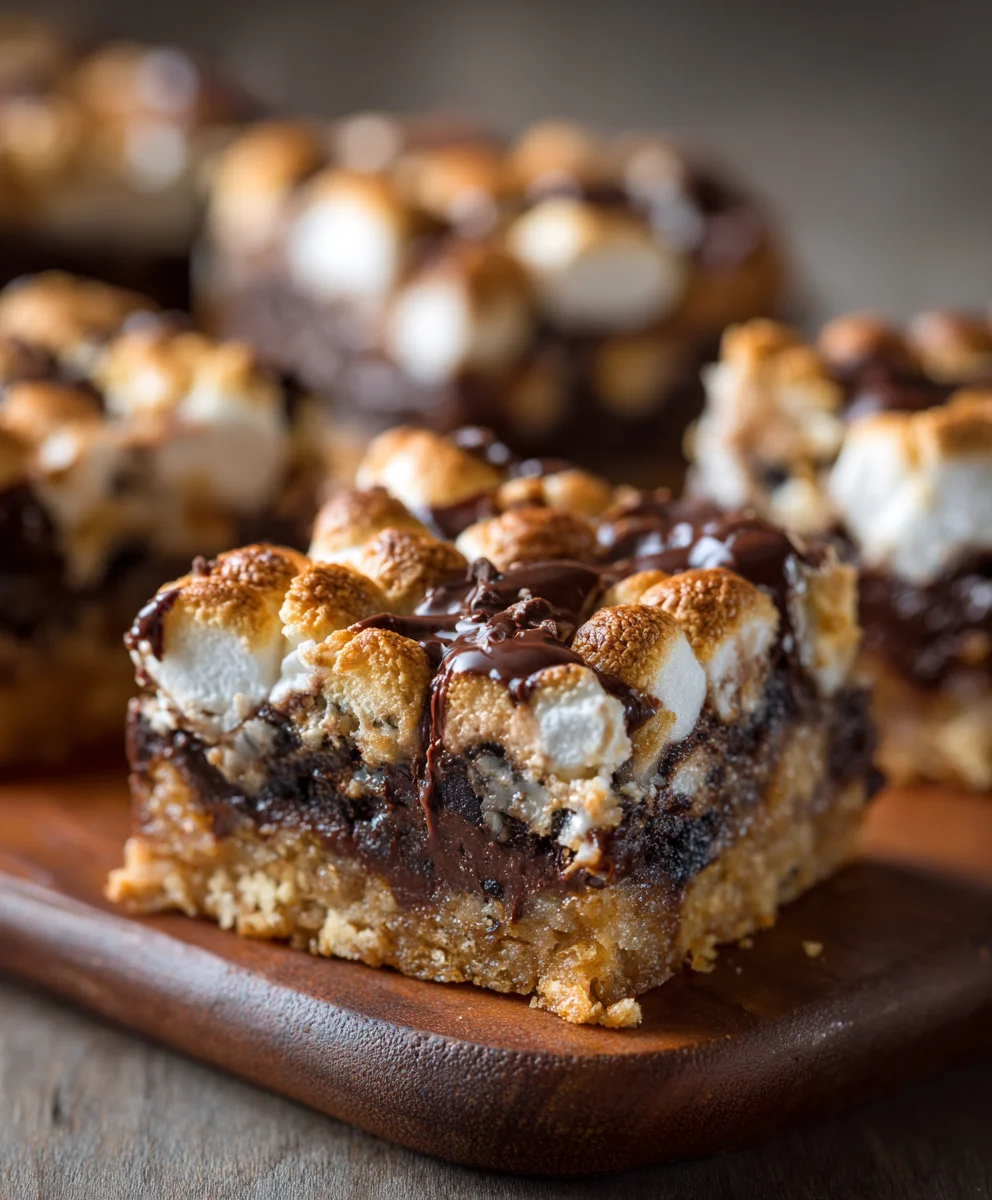
For the ultimate s’mores experience and to complete our seven layers, sprinkle the remaining 1 cup of mini marshmallows over the top. This final marshmallow layer is what gives these bars their characteristic s’mores appeal. They will toast and puff up in the oven, creating a golden-brown, slightly crisp exterior that gives way to a molten, chewy interior.
Baking to Perfection
Place the pan back into the preheated oven. Bake for an additional 25 to 30 minutes, or until the top layer of marshmallows is golden brown and the edges of the bars are lightly browned and bubbling. Keep an eye on them during the last 10 minutes of baking, as marshmallows can go from perfectly toasted to burnt very quickly.
Cooling and Slicing
Once baked to perfection, remove the pan from the oven. This is a crucial step: allow the S’mores Seven Layer Bars to cool completely in the pan on a wire rack. This can take at least 2 to 3 hours, or even longer. As they cool, the layers will set and firm up, making them much easier to slice cleanly. Impatience here can lead to messy, melty bars. Once completely cooled, use the parchment paper overhang to lift the entire slab out of the pan. Place it on a cutting board and cut into your desired bar shapes. Use a sharp knife for clean cuts. Enjoy these decadent treats!
Conclusion:
And there you have it – the ultimate guide to creating delicious S’mores Seven Layer Bars! This recipe is a guaranteed crowd-pleaser, offering that nostalgic campfire flavor in a convenient, portable bar form. The magic truly lies in the harmonious blend of textures and tastes, from the chewy grabeef ham cracker base to the gooey chocolate and marshmallow topping. I hope you feel inspired to try making these yourself; they’re surprisingly straightforward and immensely rewarding. Remember, the beauty of S’mores Seven Layer Bars is their versatility, so don’t be afraid to experiment with different additions!
For serving, these bars are fantastic on their own, perhaps with a glass of cold milk, or even warmed slightly for an extra gooey experience. They’re perfect for bake snon-alcoholic ales, potlucks, camping trips, or just a fun family dessert night. Consider cutting them into smaller squares for a delightful bite-sized treat.
Don’t shy away from making this recipe your own! If you love nuts, add a layer of chopped pecans or walnuts. For a different chocolatey twist, try using mini peanut butter cups instead of plain chocolate chips. You could also sprinkle some shredded coconut over the chocolate chips for an added tropical flair. The possibilities are truly endless with these amazing S’mores Seven Layer Bars!
Frequently Asked Questions:
Q1: Can I make S’mores Seven Layer Bars ahead of time?
Absolutely! S’mores Seven Layer Bars actually taste even better the next day as the flavors have more time to meld. Store them in an airtight container at room temperature for up to 3 days. If you need to store them longer, you can refrigerate them, but they might become a bit firmer. Just bring them to room temperature before serving for the best texture.
Q2: What’s the best way to cut these bars cleanly?
For the cleanest cuts, use a sharp knife and wipe it clean between each cut, especially when dealing with the gooey chocolate and marshmallow layers. For particularly sticky bars, you can try using a plastic spatula or a bench scraper. Ensuring the bars are fully cooled before cutting is also key to preventing them from falling apart.
S’mores Seven Layer Bars
Decadent sweet treat featuring layers of graham cracker, marshmallow, and chocolate.
Ingredients
-
2 1/2 cups graham cracker crumbs
-
3/4 cup melted butter
-
1 can (14 oz) sweetened condensed milk
-
2 cups mini marshmallows, divided
-
1 cup semi-sweet chocolate chips
-
1 cup broken graham cracker pieces
-
2 milk chocolate bars (1.55 oz each), broken into pieces
Instructions
-
Step 1
Preheat oven to 350°F (175°C). Line a 9×13 inch baking pan with parchment paper, leaving an overhang. In a bowl, combine graham cracker crumbs and melted butter. Press mixture evenly into the prepared pan. Bake for 8-10 minutes. -
Step 2
Pour sweetened condensed milk evenly over the baked graham cracker base. Sprinkle 1 cup of mini marshmallows over the condensed milk. -
Step 3
Sprinkle semi-sweet chocolate chips evenly over the marshmallow layer. Scatter broken graham cracker pieces over the chocolate chips. -
Step 4
Distribute pieces from the broken milk chocolate bars over the graham cracker pieces. -
Step 5
Sprinkle the remaining 1 cup of mini marshmallows over the top layer. Bake for an additional 25-30 minutes, until marshmallows are golden brown and edges are bubbling. -
Step 6
Allow bars to cool completely in the pan for at least 2-3 hours. Lift out using parchment paper and cut into desired bar shapes.
Important Information
Nutrition Facts (Per Serving)
It is important to consider this information as approximate and not to use it as definitive health advice.
Allergy Information
Please check ingredients for potential allergens and consult a health professional if in doubt.