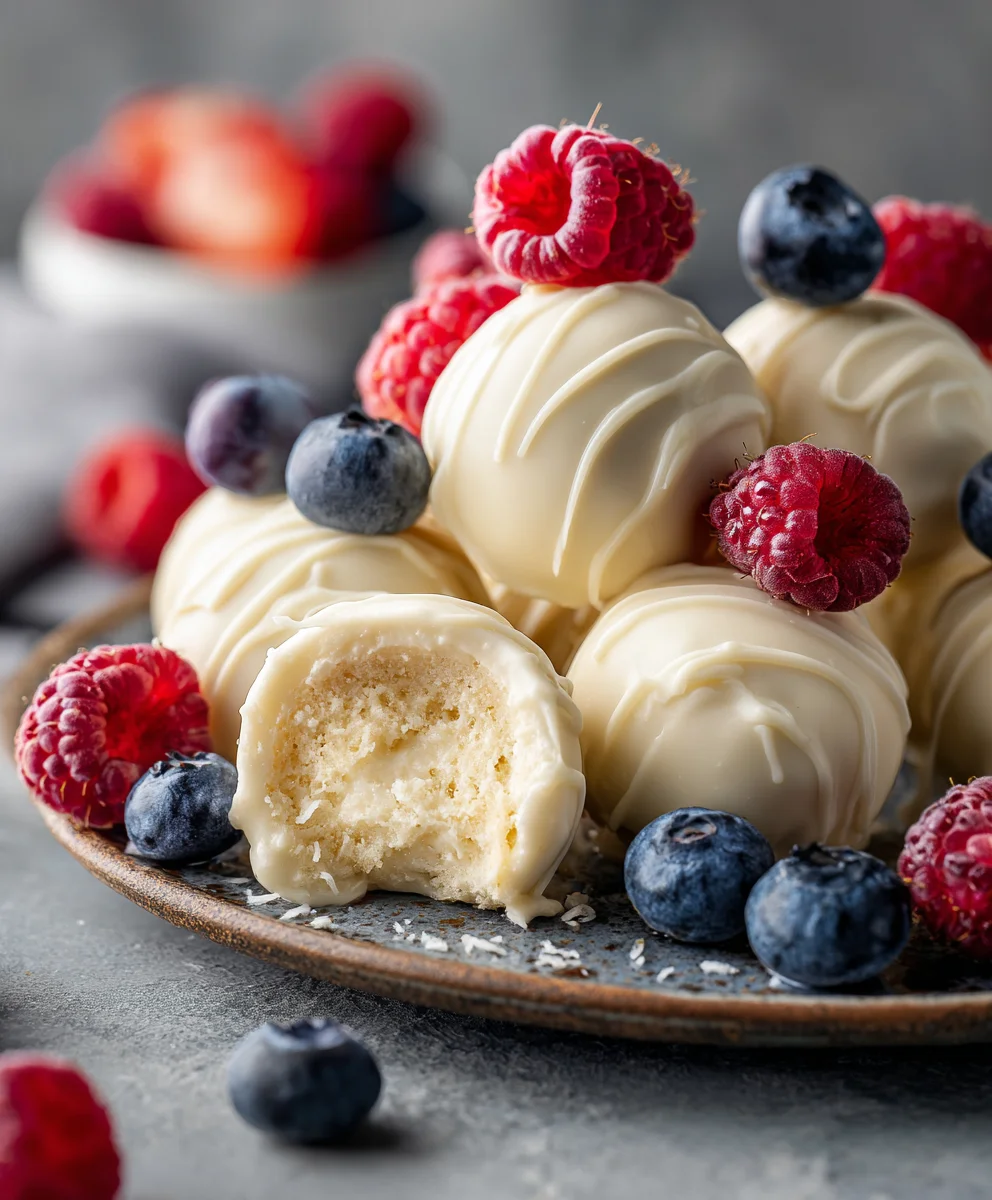
Easy Yogurt Bites Recipe-Quick Homemade Treat
How To Make Yogurt Bites – the ultimate no-bake treat that’s as delightful to make as it is to eat! If you’re searching for a simple, healthy, and utterly satisfying snack or dessert, you’ve stumbled upon pure gold. These delightful little morsels have taken the culinary world by storm, and it’s easy to see why. People absolutely adore them for their refreshing tang, their satisfyingly cool texture, and the sheer versatility they offer. Imagin extracte biting into a perfectly chilled, creamy yogurt delight, bursting with your favorite flavors. What truly sets these how to make yogurt bites apart is their incredible ease of preparation, making them a fantastic activity for kids and a lifesaver for busy adults. They’re a wholesome alternative to sugary store-bought treats, packed with protein and beneficial probiotics, making them a guilt-free indulgence for any time of day. Get ready to discover your new favorite snack!
Ingredients:
- 2 cups plain Greek yogurt
- 1/4 cup honey (or maple syrup for a vegan option)
- 1 teaspoon vanilla extract
- 1/4 cup finely chopped fresh berries (such as strawberries, blueberries, or raspberries)
- 1/4 cup finely chopped nuts (optional, such as almonds or walnuts)
Preparing the Yogurt Mixture
The first crucial step in mastering how to make yogurt bites is to ensure your yogurt is at the perfect consistency. For the best results, it’s highly recommended to use plain Greek yogurt. The thicker texture of Greek yogurt is essential for the bites to hold their shape when frozen. If your Greek yogurt seems exceptionally thick, you can stir in a tablespoon or two of milk (dairy or non-dairy) to loosen it slightly, but be cautious not to make it too runny. In a medium-sized mixing bowl, combine the Greek yogurt, honey (or maple syrup), and vanilla extract. Whisk these ingredients together thoroughly until they are well incorporated and you have a smooth, homogenous mixture. Take your time with this step; a well-mixed base will ensure even sweetness and flavor throughout your yogurt bites. Taste the mixture at this point and adjust the sweetness if desired. Some people prefer a tangier bite, while others enjoy it sweeter.
Adding Flavor and Texture
Once your yogurt base is ready, it’s time to add those delightful elements that will transform a simple yogurt mix into exciting yogurt bites. Gently fold in the finely chopped fresh berries. It’s important to chop the berries quite small, almost to a pulp for smaller bites, or into tiny pieces if you want more distinct fruit chunks. This prevents the fruit from weighing down the yogurt or causing it to freeze unevenly. If you’re using nuts, add them now as well. Chopping them finely ensures they are distributed evenly and don’t create large, hard chunks that could be difficult to bite into. For a more intense berry flavor, you could even consider lightly mashing some of the berries before adding them. This step is all about personalization, so feel free to experiment with different fruits like chopped mango, peach, or even a swirl of fruit puree.
Forming the Yogurt Bites
Now comes the fun part: shaping your delicious yogurt bites! To make this process clean and efficient, I like to prepare a baking sheet by lining it with parchment paper or a silicone baking mat. This prevents the yogurt bites from sticking and makes removal a breeze once they are frozen solid. You can use a small spoon, a piping bag with a round tip, or even a miniature ice cream scoop to create bite-sized portions of the yogurt mixture. Aim for consistent sizes so they freeze evenly. If you’re using a spoon, try to create small, rounded dollops. For a more uniform look, a piping bag is excellent, allowing you to create neat rosettes or small mounds. Don’t worry if they aren’t perfectly uniform; the rustic charm is part of their appeal. Ensure there’s a little space between each dollop on the baking sheet to prevent them from freezing together.
Freezing and Storage
This is where the magic happens and your yogurt bites transform into frozen treats. Carefully place the prepared baking sheet into your freezer. You’ll want to freeze them for at least 2-3 hours, or until they are completely solid. The exact freezing time will depend on the size of your bites and the efficiency of your freezer. It’s a good idea to check on them periodically after the first hour. Once they are firm and solid, you can gently peel them off the parchment paper. If they are a little difficult to remove, they may need a few more minutes in the freezer. After they are fully frozen, you can transfer them to an airtight container or a freezer-safe zip-top bag. This is crucial for proper storage to prevent freezer burn and to keep them fresh. Ensure the container is well-senon-alcoholic aled to maintain their quality.
Tips for Perfect Bites
To ensure your yogurt bites turn out perfectly every time, here are a few extra tips. If you find your yogurt mixture is too thin, you can try draining some of the whey from the Greek yogurt before you begin extract. To do this, line a sieve with cheesecloth, place it over a bowl, and let the yogurt drain in the refrigerator for a few hours. This will result in an even thicker yogurt base. For those who prefer their bites without any added sugar, you can omit the honey entirely, especially if your berries are very sweet. You can also experiment with adding a pinch of cinnamon or cardamom to the yogurt mixture for a warm, spiced flavor. If you want to create layered or swirled yogurt bites, prepare two separate batches of yogurt mixture with different flavors or colors and then spoon them together onto the baking sheet. For even faster freezing, you can place the baking sheet in the freezer for about 30 minutes before adding the yogurt dollops, which helps chill the surface. When serving, allow the yogurt bites to sit at room temperature for just a minute or two before biting into them, as they can be quite hard when straight from the freezer. This makes them more enjoyable and easier to eat, especially for children.
Conclusion:
You’ve now learned How To Make Yogurt Bites, a delightful and healthy treat that’s surprisingly simple to whip up! These colorful and flavorful bites are perfect for snacking, dessert, or even as a fun addition to a packed lunch. Their versatility makes them a winner for both kids and adults alike. Experimenting with different fruit purees and yogurt flavors is part of the fun, allowing you to customize them to your heart’s content. So, go ahead and give this recipe a try – you’ll be amazed at how easy and rewarding it is to create these delicious frozen morsels. We encourage you to share your creations and any delightful variations you discover!
Frequently Asked Questions about How To Make Yogurt Bites:
Q1: Can I use different types of yogurt for How To Make Yogurt Bites?
Absolutely! While Greek yogurt is often recommended for its thickness, you can also use regular plain yogurt, vanilla yogurt, or even dairy-free options like coconut or almond yogurt. Just be aware that the consistency might vary slightly, and you may need to adjust the freezing time. Ensure your yogurt isn’t too watery for the best results.
Q2: How long do How To Make Yogurt Bites typically last in the freezer?
When stored properly in an airtight container or freezer bag, How To Make Yogurt Bites can last for up to 2-3 months. It’s a good idea to place parchment paper between layers if you’re stacking them to prevent them from sticking together. Enjoy them as a quick and healthy frozen treat whenever the craving strikes!
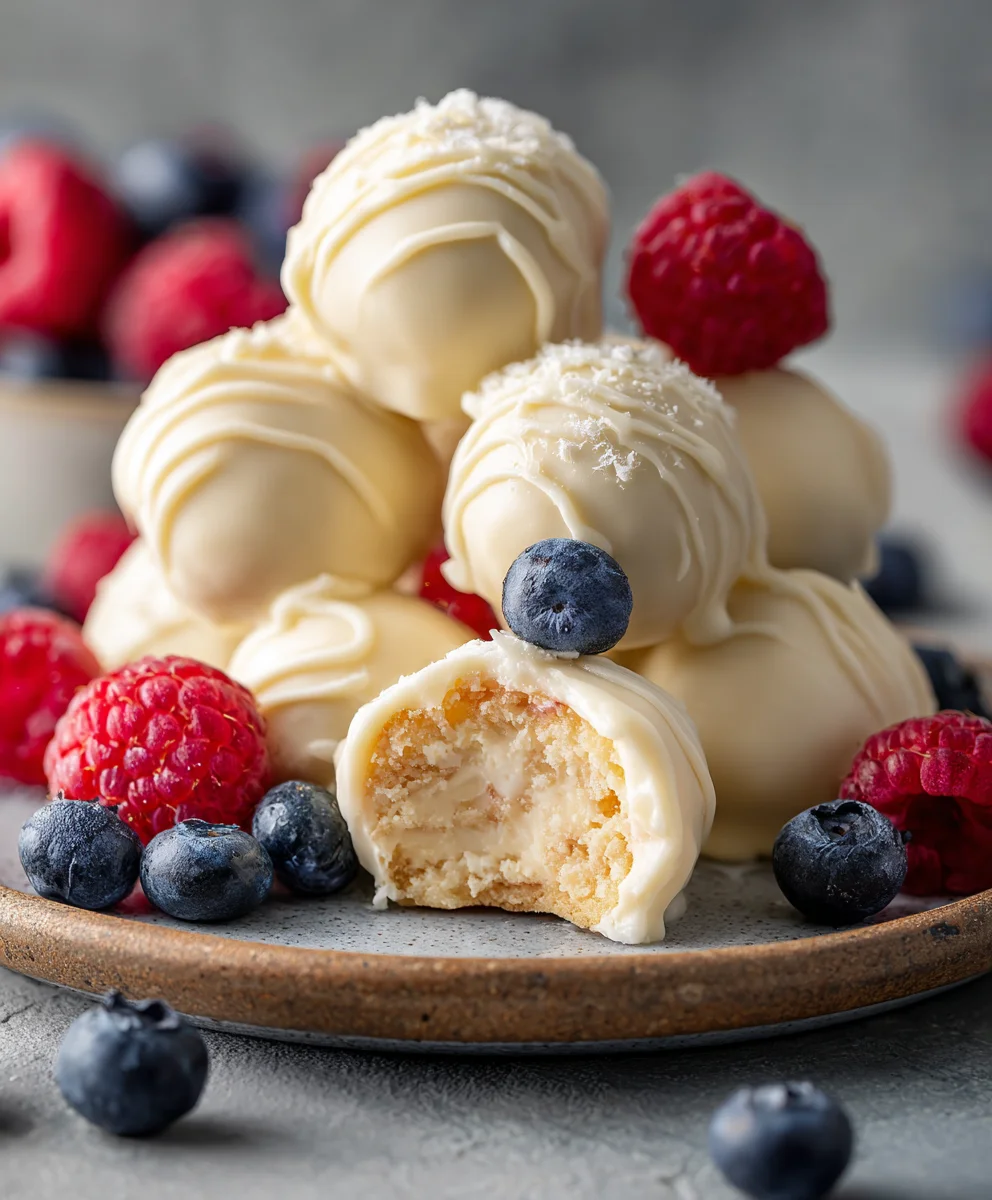
Easy Yogurt Bites Recipe-Quick Homemade Treat
A simple and quick recipe for delicious homemade yogurt bites, perfect for a healthy frozen treat.
Ingredients
-
2 cups plain Greek yogurt
-
1/4 cup honey
-
1 teaspoon vanilla extract
-
1/4 cup finely chopped fresh berries (such as strawberries, blueberries, or raspberries)
-
1/4 cup finely chopped nuts (optional, such as almonds or walnuts)
Instructions
-
Step 1
In a medium-sized mixing bowl, combine the Greek yogurt, honey, and vanilla extract. Whisk these ingredients together thoroughly until they are well incorporated and you have a smooth, homogenous mixture. Taste and adjust sweetness if desired. -
Step 2
Gently fold in the finely chopped fresh berries and optional nuts into the yogurt mixture. Ensure berries are chopped small to prevent uneven freezing. -
Step 3
Line a baking sheet with parchment paper or a silicone baking mat. Use a small spoon, piping bag, or miniature ice cream scoop to create bite-sized portions of the yogurt mixture onto the prepared baking sheet, leaving space between each to prevent sticking. -
Step 4
Carefully place the baking sheet into your freezer and freeze for at least 2-3 hours, or until completely solid. Check periodically after the first hour. -
Step 5
Once frozen solid, gently peel the yogurt bites off the parchment paper. Transfer them to an airtight container or a freezer-safe zip-top bag for storage. Seal well to prevent freezer burn. -
Step 6
Allow the yogurt bites to sit at room temperature for just a minute or two before serving to make them easier to bite into.
Important Information
Nutrition Facts (Per Serving)
It is important to consider this information as approximate and not to use it as definitive health advice.
Allergy Information
Please check ingredients for potential allergens and consult a health professional if in doubt.