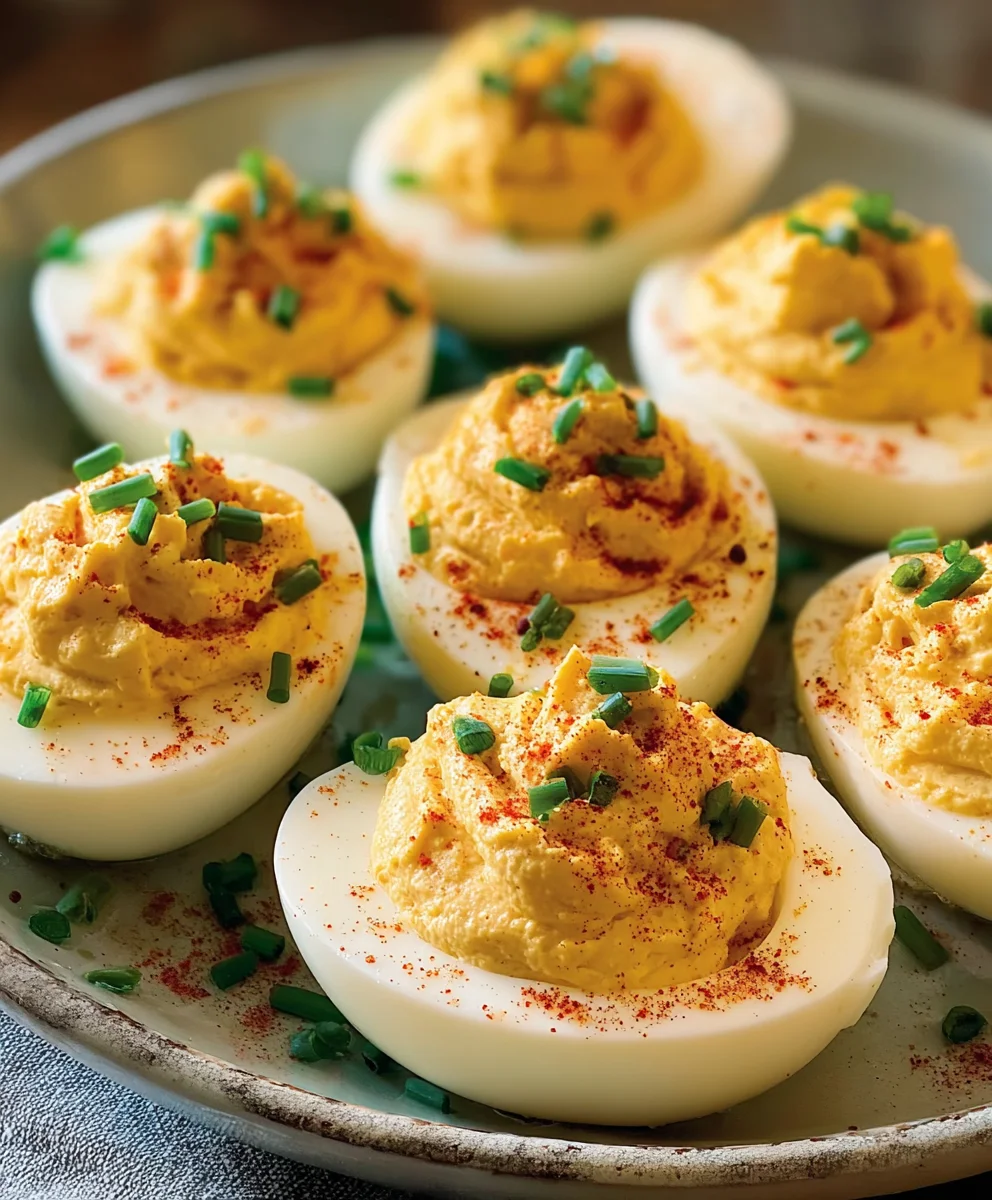
Best Deviled Eggs Recipe – Easy & Delicious Appetizer
Deviled Eggs are more than just a retro party staple; they’re a delightful explosion of creamy, tangy, and savory flavors that have earned their place as a beloved appetizer across generations. What is it about these little egg halves that sparks such joy? Perhaps it’s the perfect balance of textures – the firm yet tender egg white cradling a rich, emulsified yolk filling that melts in your mouth. Or maybe it’s the versatility, allowing for endless creative twists on the classic flavor profile. People adore deviled eggs because they are incredibly satisfying and surprisingly easy to whip up, making them a go-to for picnics, potlucks, and holiday gatherings. This particular recipe elevates the humble deviled egg with a secret ingredient that adds a sophisticated depth of flavor, transforming them into something truly unforgettable. Get ready to impress your guests (or just treat yourself!) with the ultimate deviled eggs experience.
Ingredients:
- 6 Large eggs
- 1/4 tsp kosher salt (table salt is fine but use less)
- 2 1/2 tbsp Miracle Whip
- 1 tsp Apple cider vinegar
- 1 tsp Yellow mustard
- 1/4 tsp Granulated sugar
- 2 tbsp Sweet Relish
- A dash of black pepper (optional)
- Paprika and chives for garnish (optional)
Preparing the Eggs
The first step to achieving perfectly creamy deviled eggs is to hard-boil your eggs properly. I like to start with a single layer of eggs in a saucepan. Cover them with about an inch of cold water. This is crucial – starting with cold water helps prevent the eggs from cracking and ensures more even cooking. Bring the water to a rolling boil over medium-high heat. Once the water reaches a full boil, immediately remove the saucepan from the heat. Cover the pan tightly with a lid and let the eggs sit in the hot water for 10-12 minutes. This method, often called the “off-heat” method, is fantastic because it consistently produces eggs that are easy to peel and have perfectly cooked yolks without any grey ring around them. While the eggs are cooking, prepare an ice bath by filling a medium-sized bowl with ice and water. This is another vital step for easy peeling. Once the cooking time is up, carefully transfer the hot eggs from the saucepan into the ice bath using a slotted spoon. Let them cool completely in the ice bath for at least 10-15 minutes. This rapid cooling shocks the eggs, causing them to contract slightly from the shell, which makes peeling significantly easier.
Peeling and Halving the Eggs
Once your eggs are thoroughly chilled and easy to handle, it’s time to peel them. Gently tap each egg on a hard surface to crack the shell all over, then start peeling from the wider end where the air pocket usually resides. If you’ve used the ice bath method, the shells should slip off quite easily. If you encounter any stubborn spots, you can try peeling them under cool running water, which can help loosen the membrane. After peeling, carefully slice each egg in half lengthwise. A sharp knife is your best friend here to ensure clean cuts. For the most stable deviled eggs, I recommend slicing them so the yolk-filled halves sit flat. You can achieve this by making a very slight, almost imperceptible slice off the rounded bottom of each egg half before you cut them in half lengthwise. This creates a stable base for your deviled eggs once they’re filled. Place the egg white halves on a serving platter or a plate while you prepare the filling.
Creating the Creamy Filling
Now for the heart of the deviled egg – the creamy, flavorful filling! Carefully scoop out the cooked egg yolks from each white half into a medium-sized bowl. A small spoon or a melon baller works perfectly for this. Once all the yolks are out, it’s time to mash them. Use a fork to mash the yolks until they are as smooth as possible. The smoother the yolks, the smoother your final filling will be. Add the Miracle Whip to the mashed yolks. Miracle Whip provides a creamy texture and a subtle tangin extractess that I find essential for classic deviled eggs. Next, add the yellow mustard. Mustard adds a pungent kick and helps emulsify the filling, making it extra creamy. Stir in the apple cider vinegar. The vinegar introduces a bright, acidic note that cuts through the richness of the yolks and balances the flavors. Now, it’s time for a touch of sweetness with the granulated sugar. Just a little bit of sugar enhances all the other flavors and rounds out the taste profile. Finally, add the kosher salt. Seasoning is key, and the salt will amplify the flavors of the other ingredients.
Mixing and Seasoning the Fillinggin extract3>
Begin mixing the ingredients together thoroughly. Use your fork to vigorously mash and stir the yolk mixture, Miracle Whip, mustard, vinegar, sugar, and salt until it’s well combined and has a smooth, homogenous consistency. Don’t be afraid to really work it with the fork to break down any remaining lumps of yolk. Taste the filling at this stage. This is your chance to adjust the seasoning to your preference. If you like it tangier, add a tiny bit more apple cider vinegar. If you prefer it a little sweeter, a pinch more sugar can be added. For a more pronounced mustard flavor, a touch more yellow mustard can be incorporated. The goal is a filling that is creamy, tangy, slightly sweet, and perfectly seasoned. Now, it’s time to add the Sweet Relish. This is where a classic deviled egg gets its distinctive sweet and tangy texture. Gently fold the relish into the yolk mixture. You want to distribute it evenly without overmixing, as you still want to see little flecks of the relish for texture and visual appeal. If you’re using black pepper, add a dash now and stir it in. Black pepper adds a subtle warmth and depth.
Filling and Garnishing the Deviled Eggs
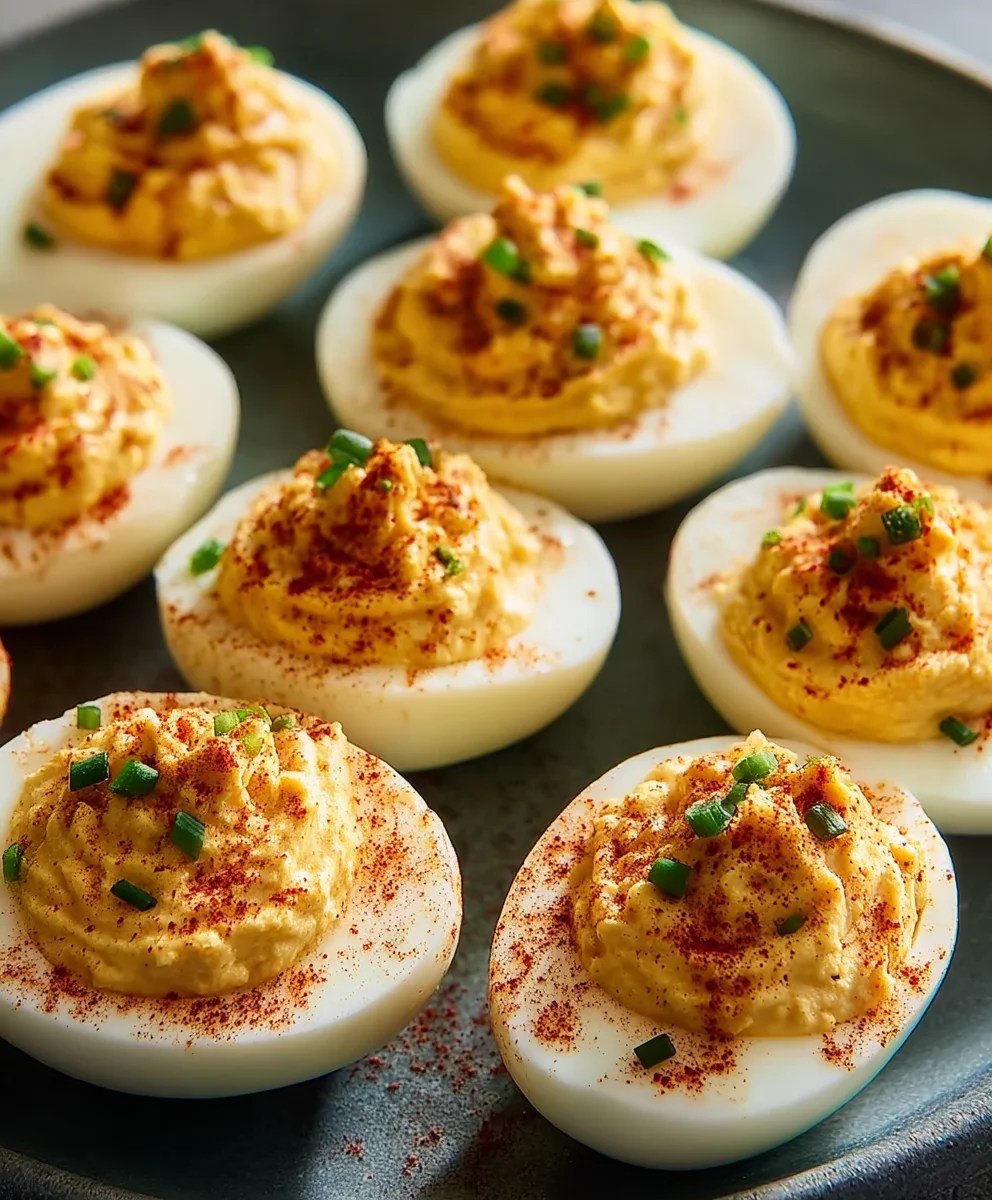
Once your deviled egg filling is perfectly seasoned and mixed, it’s time to fill the egg white halves. You can do this in a couple of ways. For a rustic look, simply use a spoon to carefully dollop the filling into each egg white half. Make sure to mound the filling slightly for an appealing presentation. For a more refined and professional look, transfer the filling into a piping bag fitted with a star or round tip. This allows you to pipe elegant swirls of filling into each egg white, giving your deviled eggs a beautiful finish. If you don’t have a piping bag, you can also use a resealable plastic bag, snip off a corner, and pipe the filling that way. Once all the egg whites are filled, it’s time for the optional but highly recommended garnishes. A light dusting of paprika is traditional and adds a lovely pop of color and a hint of smoky flavor. Finely chopped fresh chives offer a fresh, oniony bite and a vibrant green contrast. Sprinkle these garnishes over the filled deviled eggs just before serving. For best results, I like to let the deviled eggs chill in the refrigerator for at least 30 minutes before serving. This allows the flavors to meld together beautifully, resulting in an even more delicious final product.
Conclusion:
There you have it – the ultimate guide to creating perfect Deviled Eggs! We’ve explored simple steps to achieve creamy, flavorful results that are sure to impress at any gathering. The beauty of this classic appetizer lies in its versatility, making it a go-to for potlucks, picnics, or even a delightful snack. Don’t be afraid to get creative with your toppings; the possibilities are endless! I encourage you to try out this recipe and experiment with your own unique twists. Enjoy the satisfaction of serving up a dish that’s both comforting and consistently delicious.
For serving, these Deviled Eggs are fantastic as they are, but also pair wonderfully with a crisp green salad or as part of a larger appetizer spread. Consider arrangin extractg them on a bed of lettuce or garnishing with fresh chives for an extra touch of elegance.
When it comes to variations, the world of Deviled Eggs is your oyster! Beyond the classic paprika sprinkle, try adding a pinch of cayenne for a kick, a dollop of sriracha for some heat, finely chopped pickles for crunch, or even a bit of curry powder for an exotic flavor profile. You can also experiment with different mustards, like Dijon or honey mustard, for subtle changes in taste.
Frequently Asked Questions:
Q: How can I make my Deviled Eggs extra creamy?
A: To achieve extra creaminess in your Deviled Eggs, ensure you mash the yolks thoroughly with a fork until no lumps remain. You can also add a little extra mayonnaise or a small spoonful of sour cream or Greek yogurt to the yolk mixture. Don’t overcook the egg whites, as this can make them rubbery and affect the texture of the filling.
Q: Can I make Deviled Eggs ahead of time?
A: Yes, you absolutely can make Deviled Eggs ahead of time! It’s a great way to save time on the day of your event. The best practice is to store the filled egg white halves and the yolk filling separately in airtight containers in the refrigerator. Then, assemble them just before serving to prevent the filling from drying out or the egg whites from becoming soggy.
Best Deviled Eggs Recipe – Easy & Delicious Appetizer
A simple and delicious recipe for classic deviled eggs, perfect as an appetizer for any occasion.
Ingredients
-
6 Large eggs
-
1/4 tsp kosher salt
-
2 1/2 tbsp Miracle Whip
-
1 tsp Apple cider vinegar
-
1 tsp Yellow mustard
-
1/4 tsp Granulated sugar
-
2 tbsp Sweet Relish
-
A dash of black pepper (optional)
-
Paprika and chives for garnish (optional)
Instructions
-
Step 1
Hard-boil eggs by placing them in a single layer in a saucepan, covering with cold water. Bring to a rolling boil, then remove from heat, cover, and let sit for 10-12 minutes. Prepare an ice bath and transfer eggs to it for at least 10-15 minutes to cool and ease peeling. -
Step 2
Gently tap chilled eggs to crack the shell all over and peel, starting from the wider end. Slice each egg in half lengthwise, making a slight cut off the rounded bottom of each half to create a stable base if desired. -
Step 3
Scoop out the yolks into a medium bowl and mash them with a fork until smooth. Add Miracle Whip, yellow mustard, apple cider vinegar, granulated sugar, and kosher salt. Mix thoroughly until well combined and smooth. -
Step 4
Taste the filling and adjust seasoning as needed for tanginess, sweetness, or mustard flavor. Gently fold in the sweet relish and a dash of black pepper (if using), distributing evenly without overmixing. -
Step 5
Spoon or pipe the filling into the egg white halves, mounding slightly. Garnish with paprika and chives if desired. Chill for at least 30 minutes before serving for flavors to meld.
Important Information
Nutrition Facts (Per Serving)
It is important to consider this information as approximate and not to use it as definitive health advice.
Allergy Information
Please check ingredients for potential allergens and consult a health professional if in doubt.