Easy Peach Pretzel Salad Dessert Recipe
Peach Pretzel Salad Dessert is the sweet and salty symphony your taste buds have been dreaming of. Imagin extracte a warm summer evening, a picnic blanket spread out, and this absolutely delightful creation at its center. It’s a dessert that truly defies expectations, blending textures and flavors in a way that feels both comforting and surprisingly sophisticated. Why do we adore this Peach Pretzel Salad Dessert so much? It’s the magical interplay of crunchy, salty pretzel crust, a creamy, dreamy filling, and the burst of juicy, sweet peaches. This isn’t just another dessert; it’s a nostalgic hug, a crowd-pleaser, and a testament to the fact that sometimes, the most unexpected combinations yield the most incredible results. Get ready to fall in love with this iconic treat!
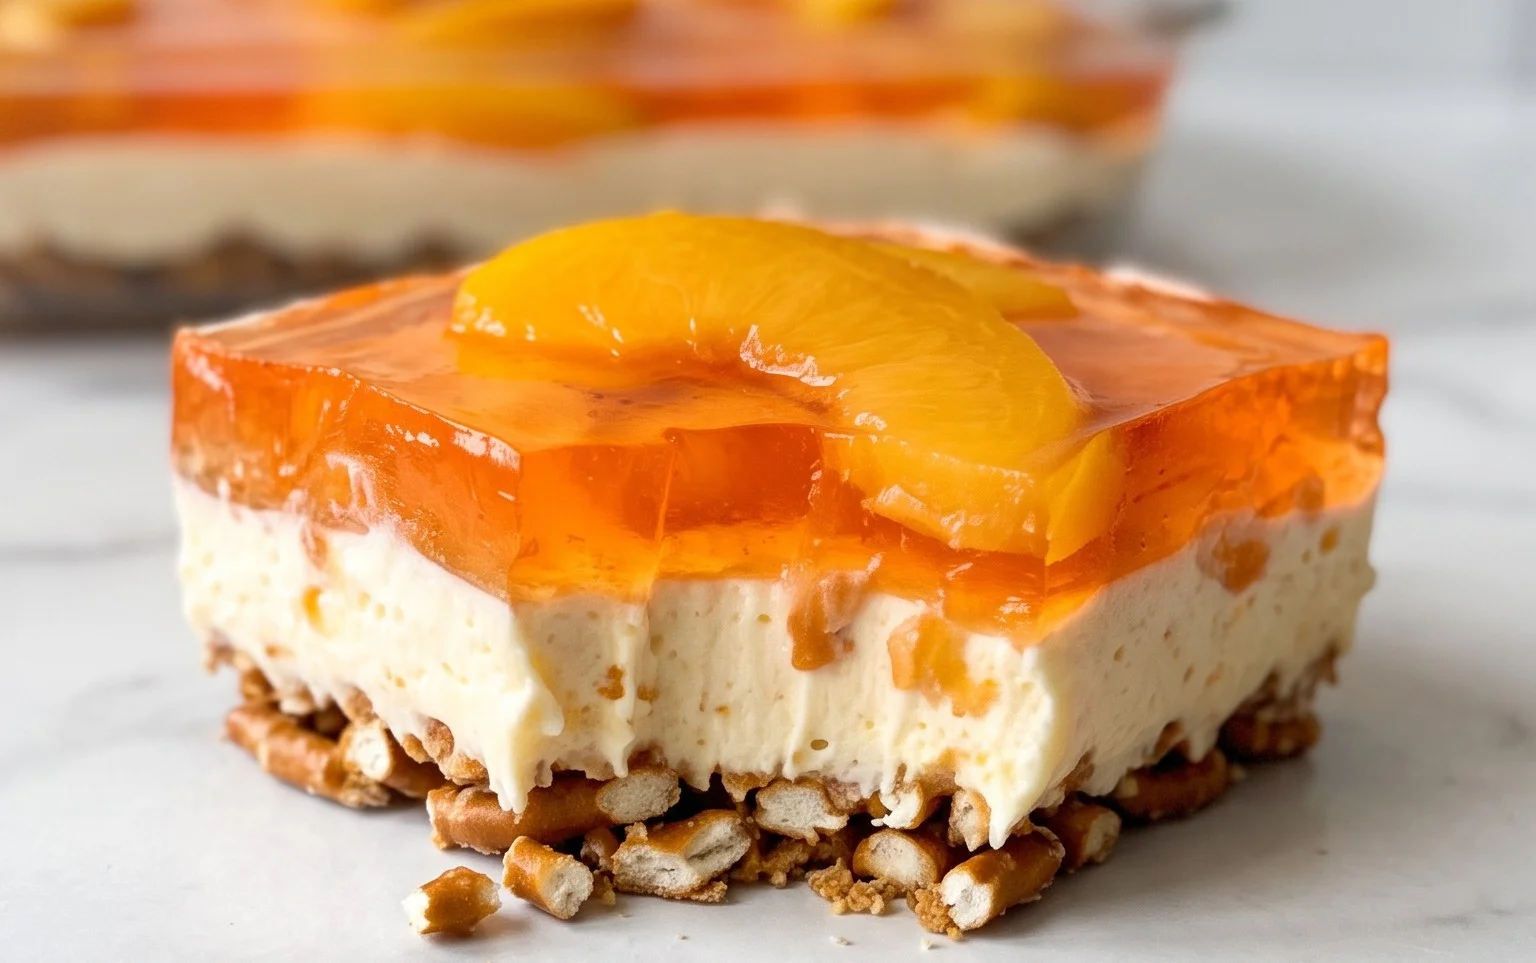
Peach Pretzel Salad Dessert
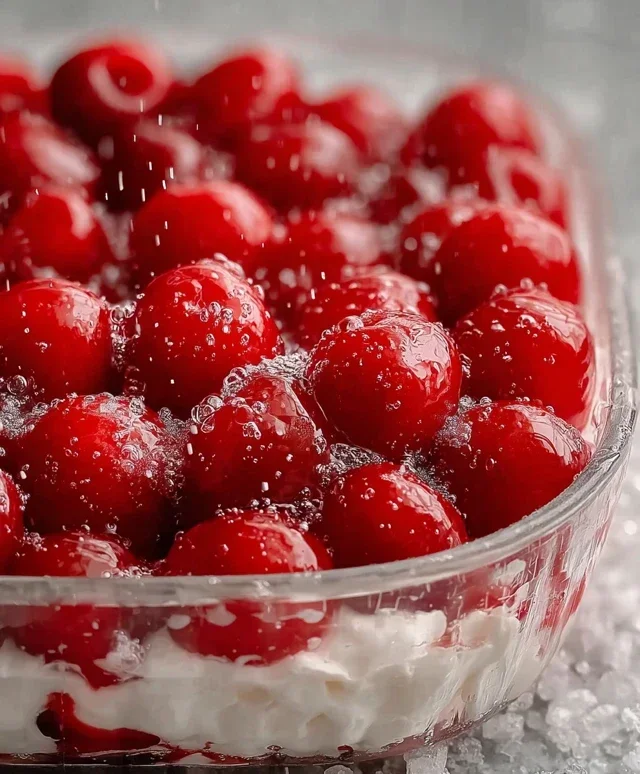
Get ready to experience a dessert sensation that’s both delightfully sweet and wonderfully salty! This Peach Pretzel Salad Dessert is a classic for a reason, offering a unique flavor profile that dances on your taste buds. Imagin extracte a creamy, dreamy filling studded with juicy peaches, all nestled on a crisp, buttery pretzel crust. It’s the perfect balance of textures and tastes, making it a crowd-pleaser for any occasion. Whether you’re looking for a potluck showstopper or a special treat for a family gathering, this dessert is sure to impress.
This recipe combines the bright, refreshing flavor of peaches with the satisfying crunch of pretzels and the lusciousness of a cream cheese filling. It might sound unusual to have “pretzel” in a dessert, but trust me, it’s the magic ingredient that elevates this dish from good to absolutely unforgettable. The saltiness of the pretzels cuts through the sweetness of the peaches and cream, creating a complex and utterly delicious experience.
Ingredients:
Preparing the Pretzel Crust
The foundation of our delightful dessert is a simple yet incredibly flavorful pretzel crust. This step is crucial for achieving that perfect sweet and salty contrast.
1. First things first, let’s get those pretzels ready for their transformation into a delicious crust. Take your 2 1/2 cups of pretzels and place them into a sturdy plastic bag. Seal the bag, leaving a little air in it, and then get to work with a rolling pin or the bottom of a heavy pan. You want to crush the pretzels into fine crum extractbs. Some larger pieces are okay, as they’ll add a nice textural variation, but aim for mostly fine crum extractbs. The goal is to have something that resembles coarse sand.
2. In a medium bowl, combine the finely crushed pretzels with 3 tablespoons of powdered sugar and 3/4 cup of melted butter. Mix everything together thoroughly until all the pretzel crum extractbs are moistened by the butter. This mixture should feel like damp sand.
3. Now, it’s time to press this mixture into your serving dish. A 9×13 inch baking dish works perfectly for this recipe, but you can also use individual serving glasses or a trifle dish if you prefer a more elegant presentation. Press the pretzel mixture firmly and evenly into the bottom of your chosen dish, creating a compact crust. Use the back of a spoon or your fingers to ensure it’s packed down well. This will help prevent the crust from crum extractbling when you serve the dessert. Place the dish in the refrigerator while you prepare the next layer. Allowing it to chill will help set the crust.
Creating the Creamy Peach Filling
This is where the lusciousness comes in! A smooth, creamy filling studded with sweet peaches is the heart of this dessert.
4. In a large bowl, begin extract by beating the 8-ounce package of cream cheese until it’s smooth and creamy. This will make it easier to incorporate the other ingredients and ensure a lump-free filling. Next, gradually add 1 cup of powdered sugar to the cream cheese, beating until well combined and fluffy. If you’re feeling brave and want an extra smooth and stable filling (and are comfortable using a pasteurized egg), you can add the optional pasteurized egg at this stage and beat it in until fully incorporated. Many people skip this step, and it’s still delicious!
5. Gently fold in the 8-ounce carton of whipped topping into the cream cheese mixture. Be careful not to overmix; you want to maintain the airy texture of the whipped topping. Once it’s just combined, you’ll have a wonderfully light and fluffy cream cheese mixture.
Assembling the Dessert
Now for the fun part – bringin extractg all these delicious components together!
6. First, prepare your peach gelatin. In a heatproof bowl, carefully pour 2 1/3 cups of boiling water over the 6-ounce box of peach gelatin. Stir until the gelatin is completely dissolved, ensuring there are no granules left at the bottom of the bowl. This usually takes a minute or two of consistent stirring. Let this gelatin mixture cool at room temperature for about 30 minutes. You don’t want it to be piping hot when you add it to the cream cheese mixture, as this could cause it to melt or curdle. It should be cool but still liquid.
7. Once the gelatin has cooled slightly, it’s time to combine it with our creamy mixture. Gently pour the cooled peach gelatin into the cream cheese and whipped topping mixture. Using a spatula, carefully fold the gelatin into the cream cheese mixture until it’s just combined and you have a uniform color. Don’t overmix, as this can deflate the airy texture.
8. Now, gently stir in your 4 cups of sliced peaches. If you’re using canned peaches, be sure to drain them well before adding them to the mixture. Whether fresh or canned, make sure the peaches are distributed evenly throughout the creamy filling.
9. Retrieve your chilled pretzel crust from the refrigerator. Carefully spoon the peach and cream cheese filling evenly over the pretzel crust. Spread it gently with your spatula to create a smooth top.
10. Cover the dish with plastic wrap and refrigerate for at least 4 hours, or preferably overnight. This chilling time is essential for the gelatin to set properly and for all the flavors to meld together beautifully. The longer it chills, the firmer and more cohesive your dessert will be. When it’s time to serve, you’ll have a stunning dessert with a firm, yet yielding, texture.
Enjoy this delightful Peach Pretzel Salad Dessert! It’s a symphony of sweet, salty, creamy, and crunchy that’s sure to become a favorite.
Conclusion:
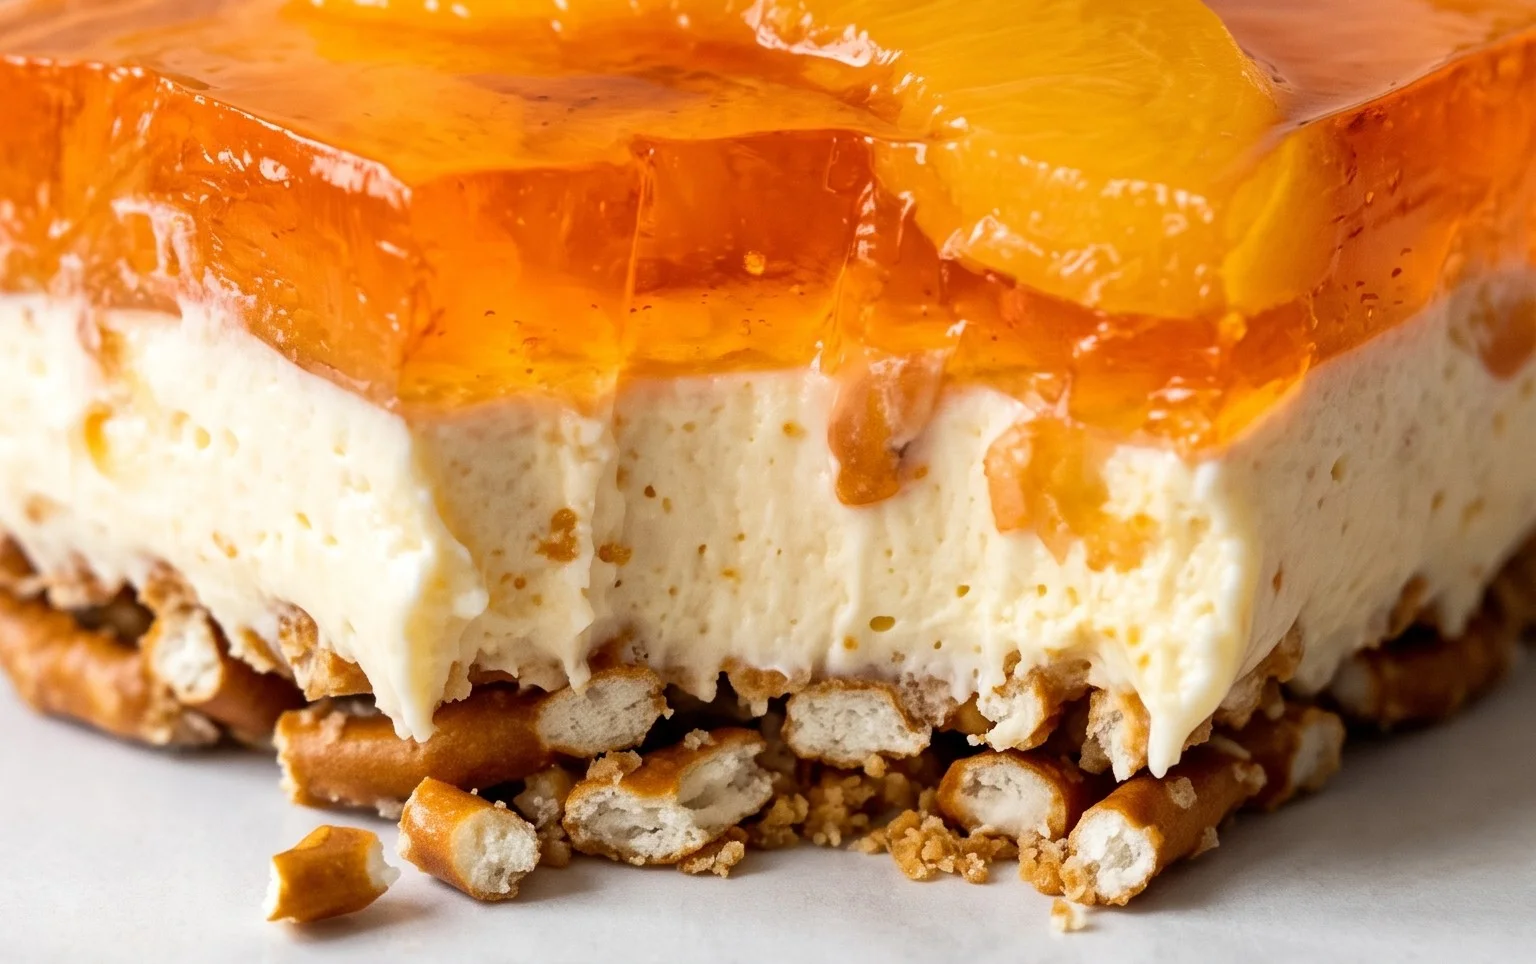
I hope you’re as excited to try this Peach Pretzel Salad Dessert as I am! It’s truly a showstopper, offering a delightful interplay of sweet, salty, and creamy textures that will leave everyone asking for seconds. The buttery, crunchy pretzel crust provides a fantastic contrast to the luscious, sweet peach layer, all brought together by a light and tangy cream cheese filling. This recipe is wonderfully versatile, perfect for picnics, potlucks, or simply a delightful treat after dinner. I encourage you to give it a go – you won’t be disappointed!
For serving, this dessert is absolutely divine on its own, allowing the unique flavor profile to shine. However, a small dollop of whipped cream or a sprinkle of toasted slivered almonds can add an extra touch of elegance and crunch. If you’re feeling adventurous, consider adding a hint of cinnamon or nutmeg to the pretzel crust for a warm, autumnal twist, or perhaps a splash of vanilla extract to the cream cheese layer. No matter how you prepare it, this Peach Pretzel Salad Dessert is sure to become a new favorite.
Frequently Asked Questions:
Can I make this dessert ahead of time?
Yes, absolutely! The Peach Pretzel Salad Dessert is even better when it has a chance to chill and meld its flavors for a few hours or overnight. This allows the pretzel crust to soften slightly and the creamy layers to set up perfectly.
What if I don’t have fresh peaches? Can I use frozen or canned?
You can certainly use frozen or canned peaches. If using frozen, be sure to thaw them completely and drain off any excess liquid to prevent the dessert from becoming too watery. For canned peaches, drain them very well. You might want to reduce the sugar slightly in the peach layer if your canned peaches are already quite sweet.
Are there any nut-free variations?
To make this dessert nut-free, simply omit the pecans from the pretzel crust. The buttery crunch of the pretzels alone is still incredibly satisfying and delicious!
Peach Pretzel Salad Dessert
A sweet and salty dessert featuring a pretzel crust, creamy peach filling, and a whipped topping layer.
Ingredients
-
2 1/3 c. boiling water
-
1 6 oz. box peach gelatin
-
4 c. sliced peaches (fresh or canned)
-
2 1/2 c. crushed pretzels
-
3 Tbsp. powdered sugar
-
3/4 c. melted butter
-
1 8 oz. package cream cheese
-
1 c. powdered sugar
-
1 8 oz. carton whipped topping
-
1 pasteurized egg (OPTIONAL)
Instructions
-
Step 1
For the crust: Combine crushed pretzels, 3 Tbsp. powdered sugar, and 3/4 c. melted butter. Press into the bottom of a 9×13 inch baking dish. -
Step 2
For the cream cheese layer: Beat 8 oz. cream cheese with 1 c. powdered sugar until smooth. Fold in 8 oz. whipped topping. Spread evenly over the pretzel crust. -
Step 3
For the gelatin layer: Dissolve 1 6 oz. box peach gelatin in 2 1/3 c. boiling water. Stir in 4 c. sliced peaches. -
Step 4
Pour the peach gelatin mixture over the cream cheese layer. -
Step 5
If using the optional egg, temper it by whisking a small amount of the hot gelatin mixture into the egg, then returning the egg mixture to the main gelatin mixture and whisking until fully combined. This step is only for those who choose to include the egg. -
Step 6
Chill for at least 4 hours, or until firm.
Important Information
Nutrition Facts (Per Serving)
It is important to consider this information as approximate and not to use it as definitive health advice.
Allergy Information
Please check ingredients for potential allergens and consult a health professional if in doubt.